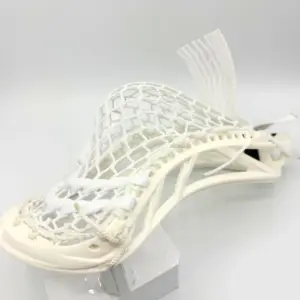
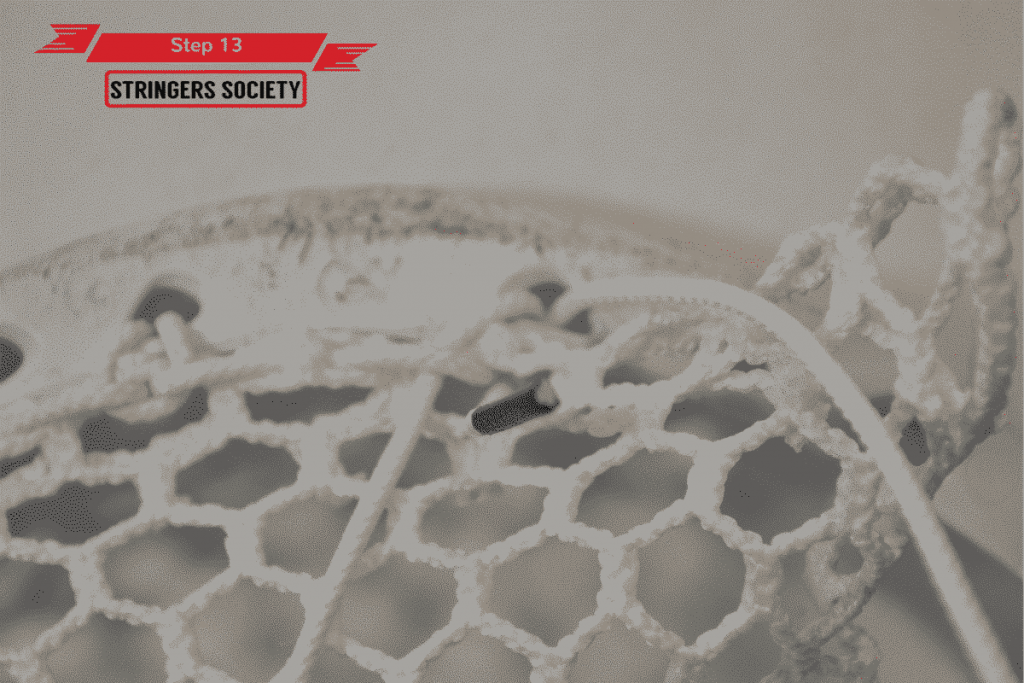
Your top string is the backbone of stinging your lacrosse head, which is key for keeping a consistent stick. If you neglect the top string, over time the sidewall will slack causing your release to be inconsistent and your throws to be bad.
How to String a 9-Diamond Top String
This tutorial will cover how to string a 9-diamond top string for performance. If you haven’t strung a lacrosse stick before then make sure you are up to date with the stringing rules.
Fold and Stretch Your Lacrosse Mesh

During this step, you can choose to fold the lacrosse mesh over on the rough or smooth side depending on which side you would like the ball to make contact with. Most players tend to stick to the ball making contact with the rough side but its personal preference.
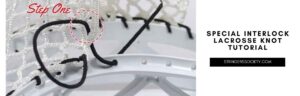
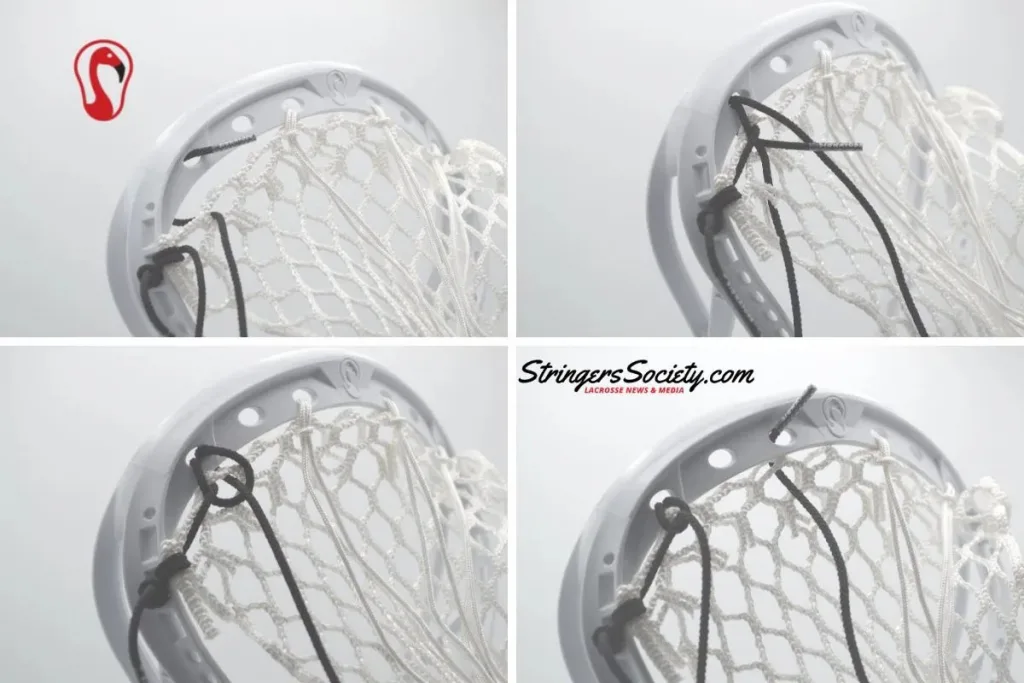
The Double Overhand Knot
The first step that you should take when stringing a 9-diamond top string is to create your starting knot. As you can see I do not just use a normal knot but one with two loops.
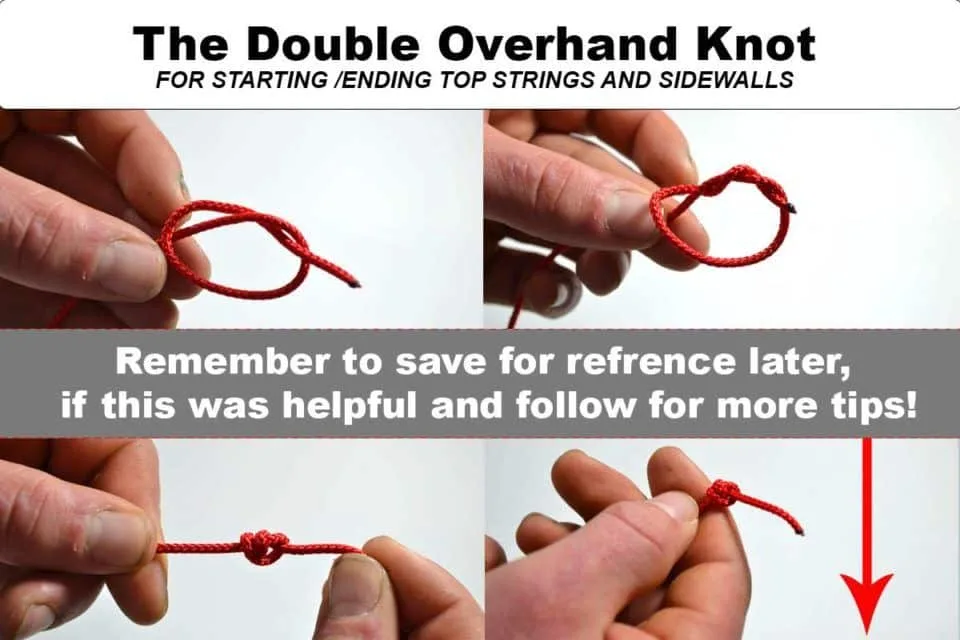
This is because sometimes a basic one will pull through the sidewall so it’s a preventative measure. If you’re starting knot is too small and slides through while playing and will not only be annoying, but it can ruin how you are playing.
If this is the first time you stringing a lacrosse head don’t get caught up on the starting knot. Just string a normal knot and move on, the emphasis on the double overhand knot is for anyone looking to perfect their stringing performance, not beginners.
Attaching the Mesh to The Head
The second step in stringing a top string is to attach the first loop of the mesh to the sidewall. The pro tip is to make sure that the mesh is centered on the hole and parallel to the side of the head. You can also do two loops to create less room for the knot to pull through. It also looks a little cleaner if you do two loops.
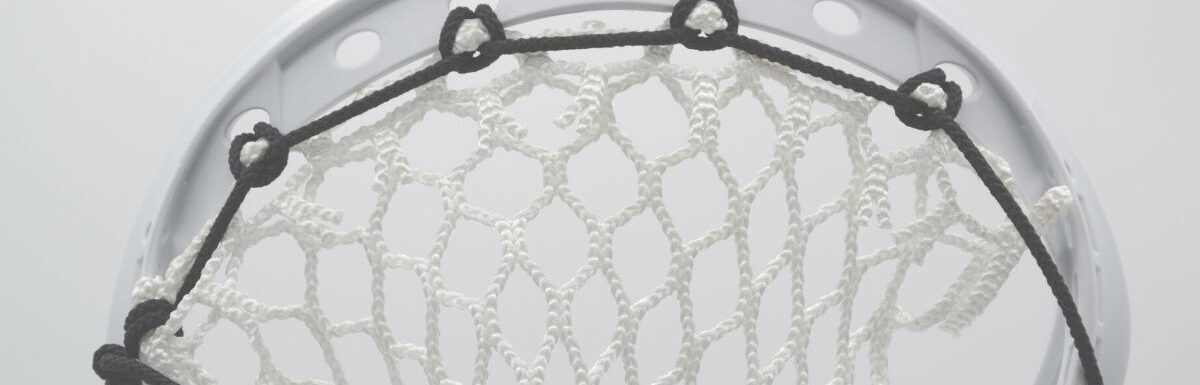
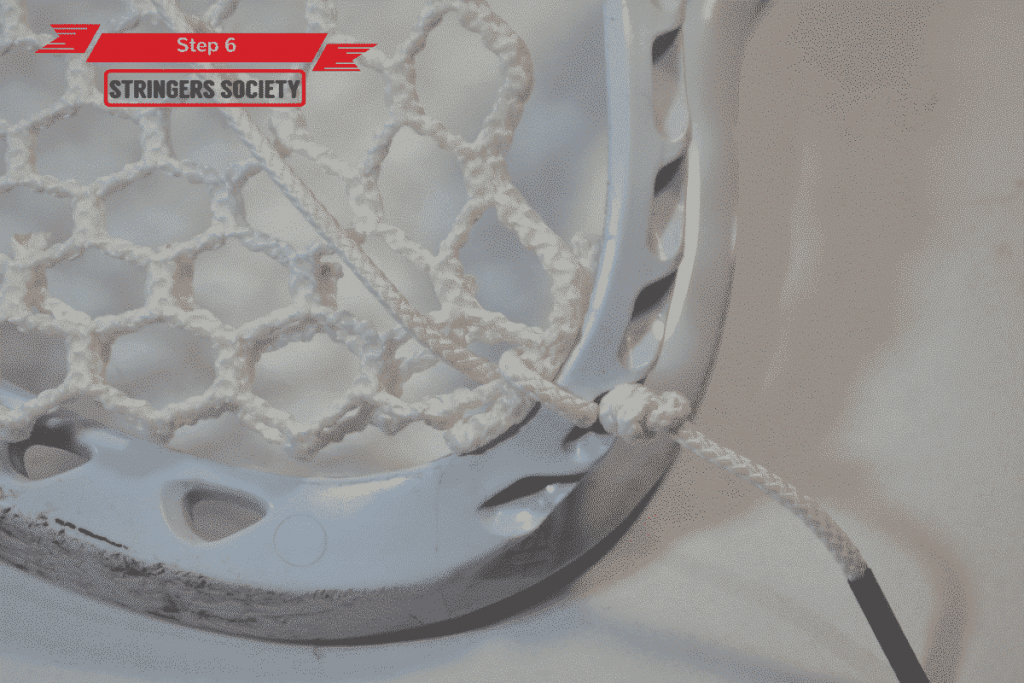
First Top String Knot
First, make sure that the lacrosse mesh is tightly secured to the sidewall of the head.
Then, you will want to take your sidewall lacrosse string through the backside of the mesh and the front side of the scoop (seen above).
Below, you can see the knuckle of the lacrosse mesh tightly secured. This is what your knot should look like before proceeding.
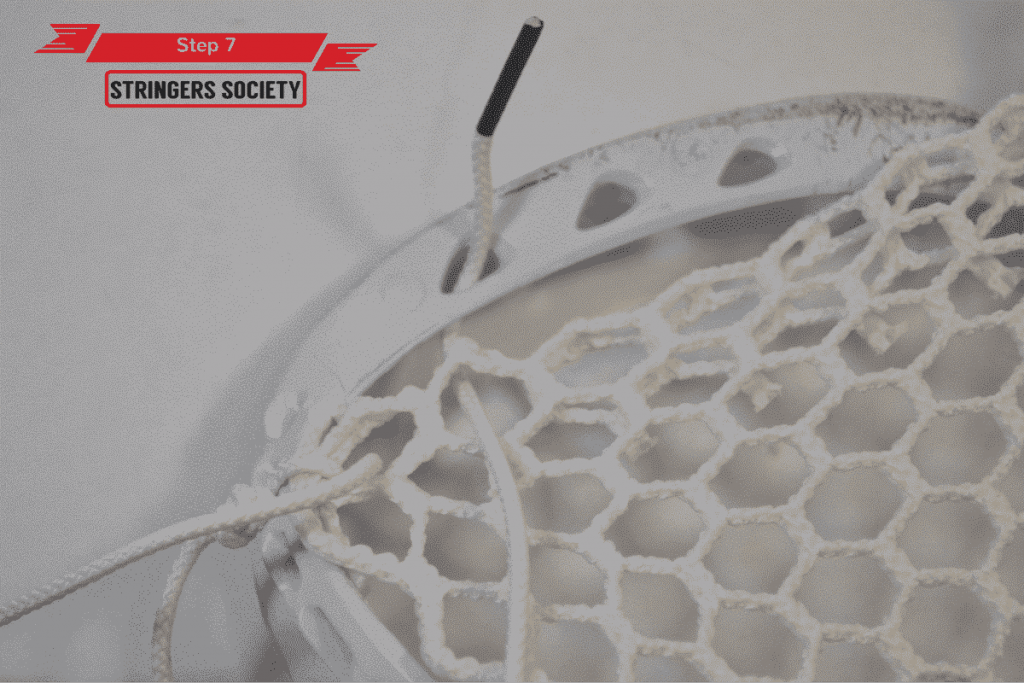
Take your lacrosse sidewall string back through the hole and through the loop created (pictured below).
The picture below captures the process above in one photo.
To summarize:
- Take your string through the back of the mesh, through the front of the head, and under the string. Pull tight and make sure the knuckle of the mesh isn’t pinched but locked tight.
- Take your string back through the hole, through the front of the lacrosse mesh, and through the loop you just created. Pull tight.
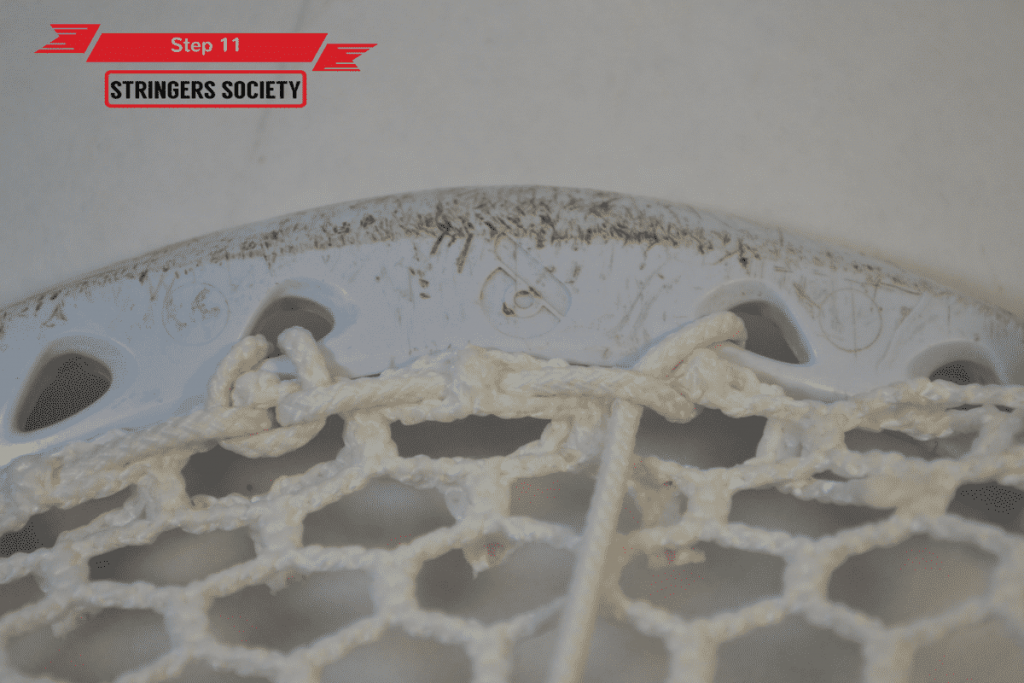
Repeat and Continue Down the Scoop
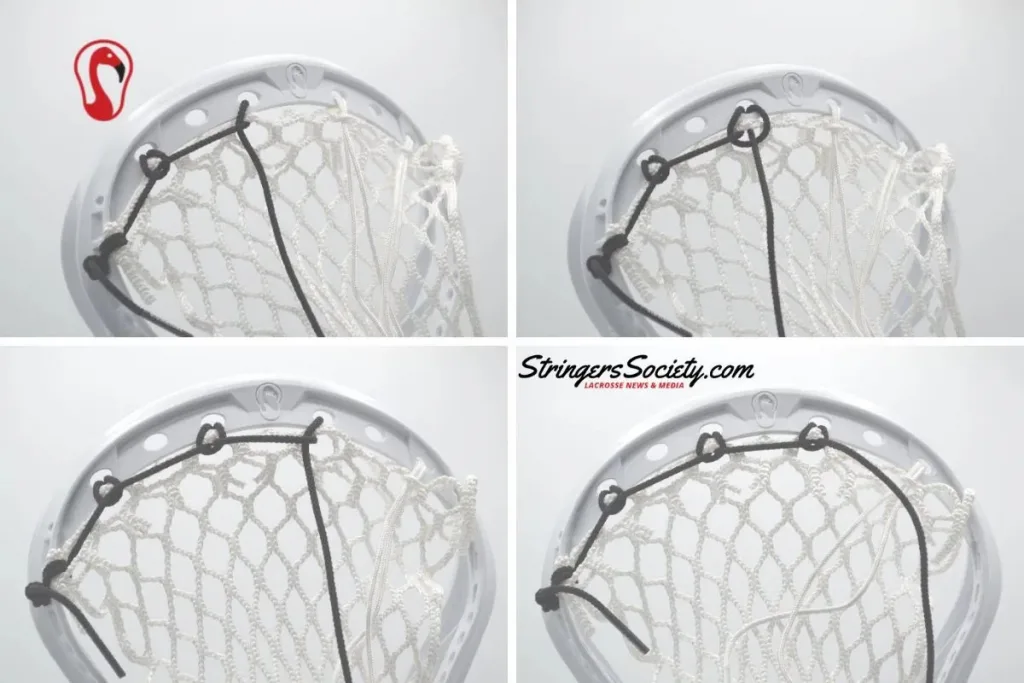
You are going to want to go back through the top string hole on the lacrosse head. Then take your sidewall through the front of the scoop, and then through the loop, you created. The “knuckle” of the mesh should be centered between the two strings. Pull the lacrosse string tight and move it back and forth to tighten up the lacrosse top string knot.
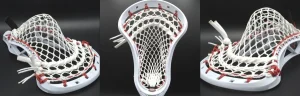
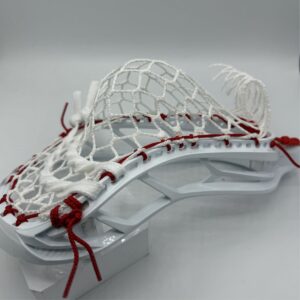
Final Results
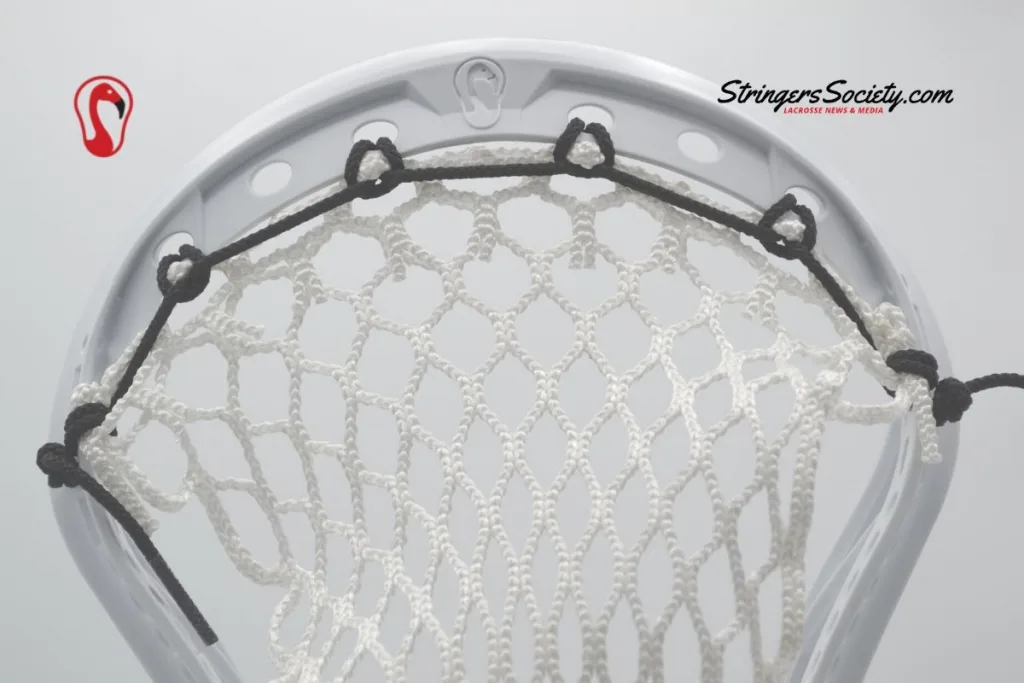
The Key to any great lacrosse pocket is a tight and even lacrosse top string. Think about it. If your top string is uneven then your channel will be uneven. If your top string is too loose or not tight enough then the ball might hit off of the plastic. Both will negatively affect how you pass and shoot.
Ready to upgrade your stick?
Learn expert top stringing methods with our tutorials, then shop the best selection at Stringers Lacrosse Shop.