This is part 3 of the STX ProForm Ladder Pocket Installation tutorial series. In this video, we’ll dive into the crosslace technique, which is essential for creating the pocket’s channel and ensuring optimal ball control. We’ll cover each step in detail, including the proper tensioning and knotting techniques to ensure your pocket performs at a pro level. Let’s get started!
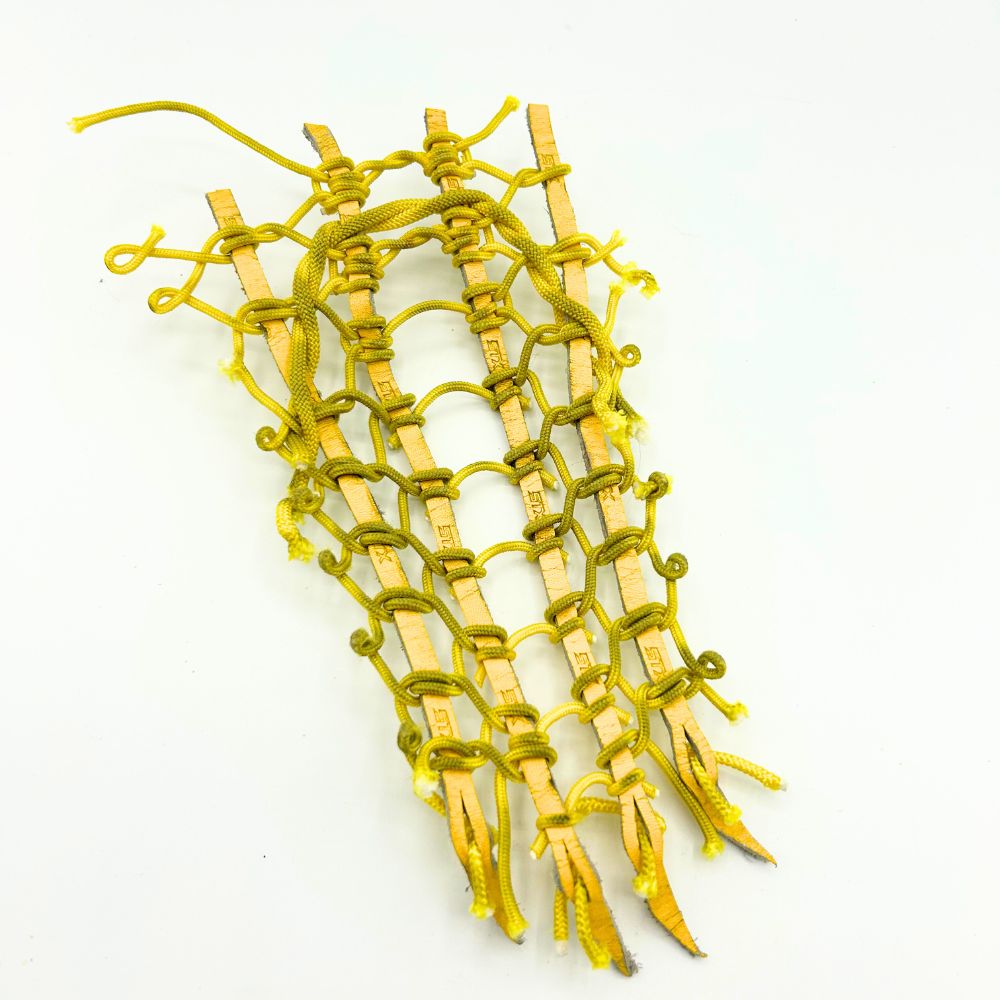
ProForm Ladder Pocket Tutorial Series:
- Part 1: Attaching Leathers: Learn how to properly attach the leathers to your STX ProForm head, setting the foundation for a perfect pocket.
- Part 2: Preparing Pocket for Stringing: Discover the essential steps to prepare your pocket for stringing, including setting the diamonds and tensioning the sidewall.
- Part 3: Adding Crosslace (You are here): Master the crosslace technique to create the pocket’s channel and achieve optimal ball control.
This step-by-step tutorial series will guide you through the entire process of stringing your STX ProForm ladder pocket like a pro!
Materials Needed
How to attach Crosslace
The first step is to feed each 72-inch crosslace string through the leathers we prepared in the first part of this tutorial. Make sure the string is fed halfway through the leather and you tighten each leather before proceeding. See the image below for reference.
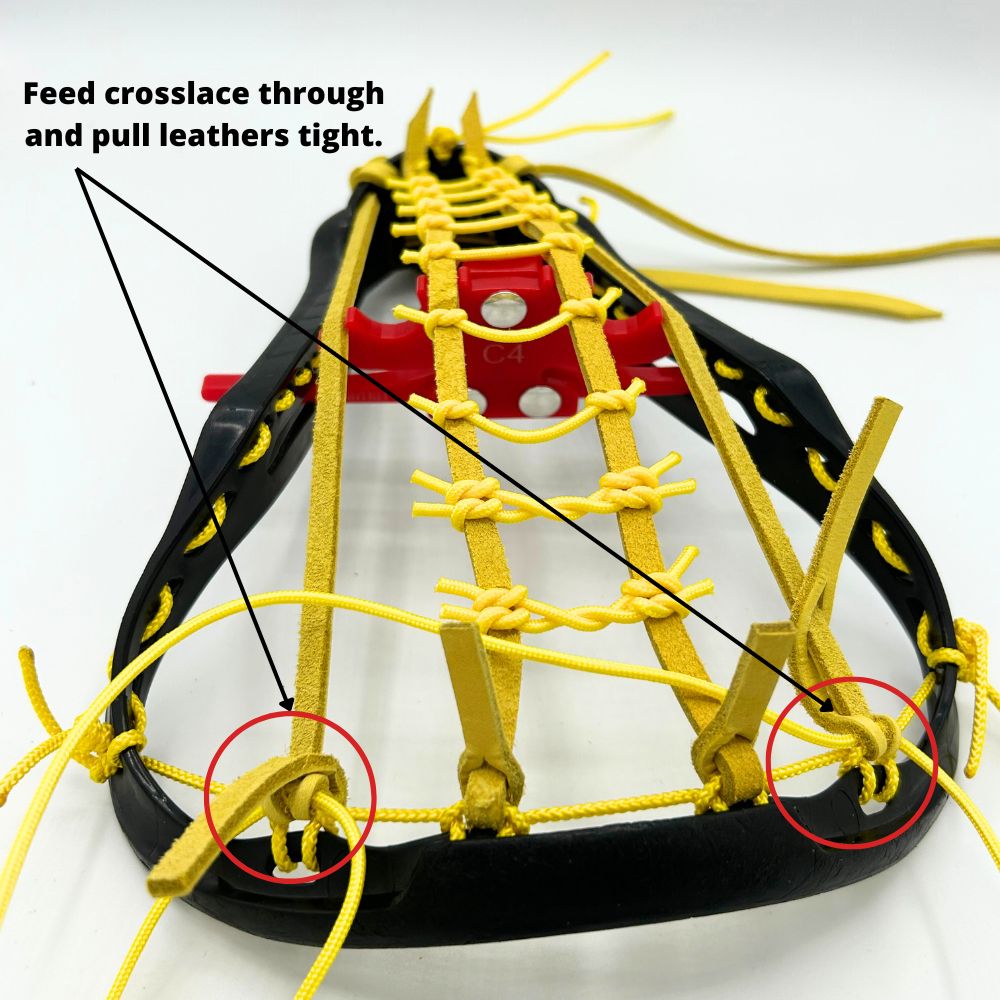
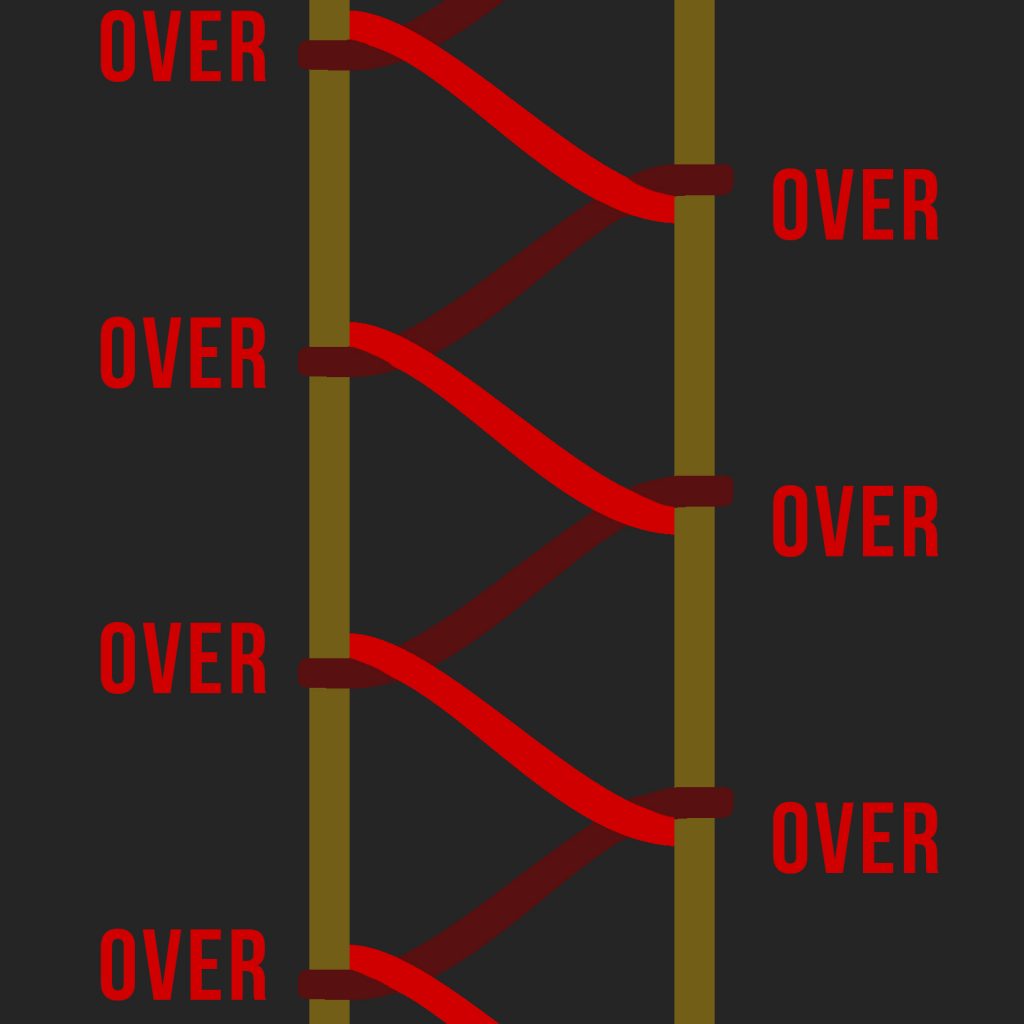
Now, let’s begin weaving the crosslace down the head. A valuable tip I learned from Mike at PhantomLacrosse.com is to maintain a consistent weaving pattern on each track. While many beginners (myself included) start learning traditional by alternating “over, over” down the track, Mike suggests a more efficient approach: (Over, Under).
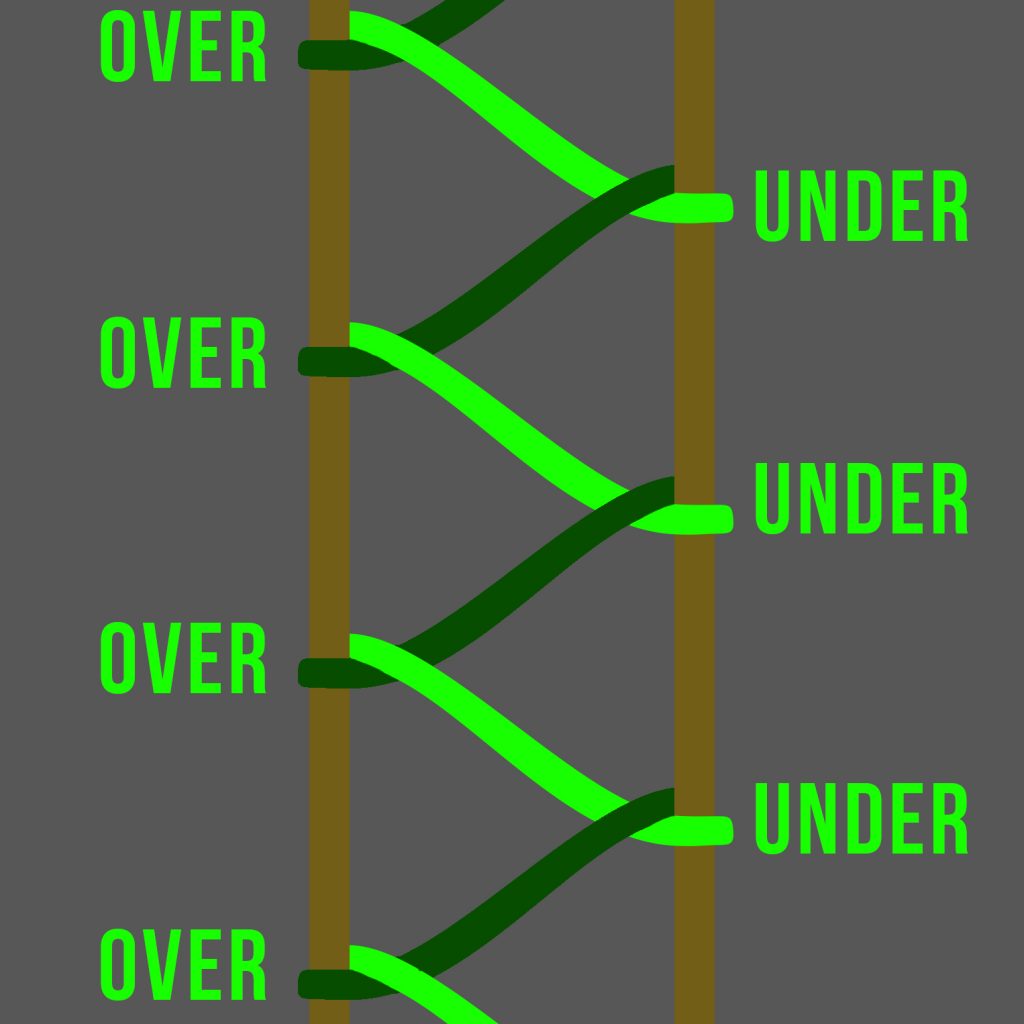
This method creates a smoother weave, helps maintain even tension throughout the pocket, and really locks the pocket in compared to the over-over method (seen below).
Now that you have the key insight for crosslace weaving, the next step is to apply it to your STX ProForm pocket. Since the Trad-i-Tree lacrosse stringing tool holds the leathers securely in place and the sidewall defines your diamond size, the rest of the tutorial is pretty straightforward.
While the outside tracks maintain the same knotting pattern throughout, the top three knots on the center track require a slight variation. Instead of simply passing under and around the crosslace like a traditional knot, the ProForm pocket design involves looping the crosslace over the leather once more on these top three knots. This creates a more secure hold and helps form that shape the ProForm pocket is known for. You can see this technique demonstrated in the image below, circled in red.
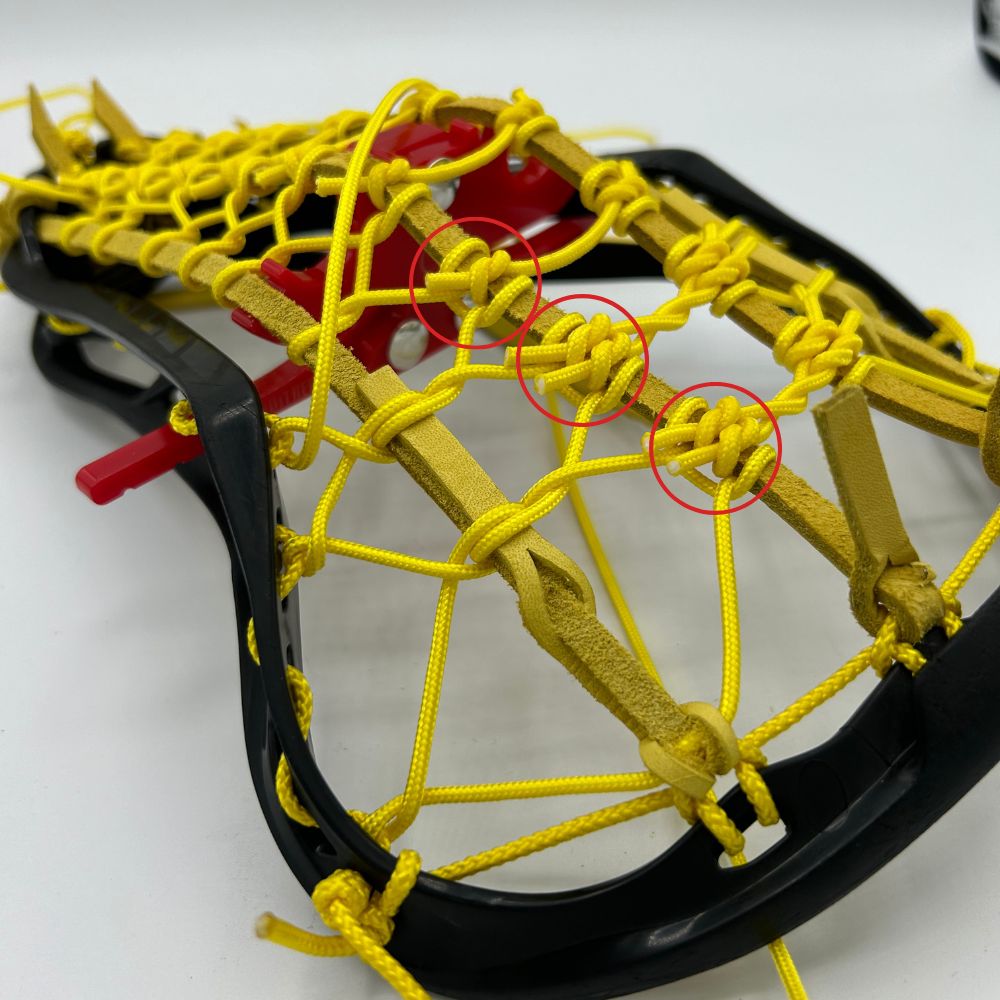
Next continue weaving the crosslace according to the pattern you’ve chosen, alternating the pattern between each track.
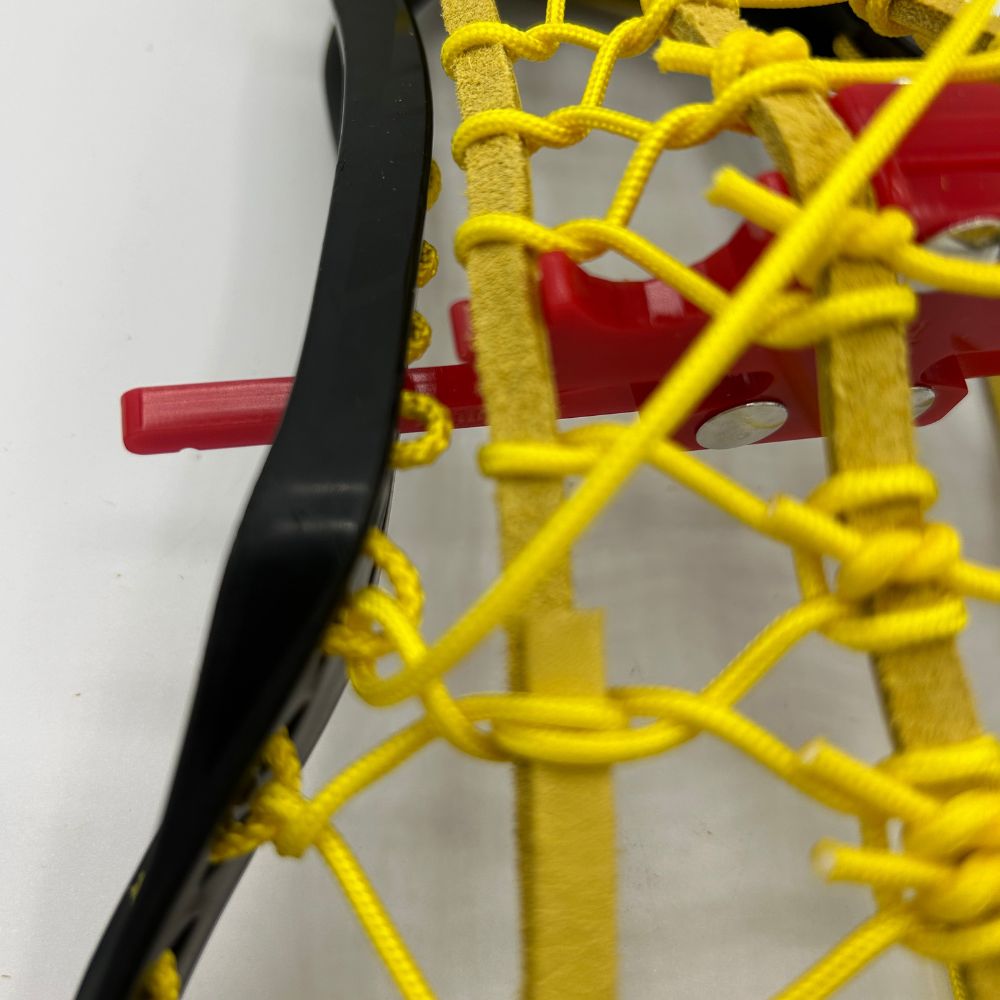
As you progress down the head, make sure to keep the tension consistent and the diamonds uniform. Take your time, and don’t be afraid to adjust as needed to achieve a smooth and even weave.
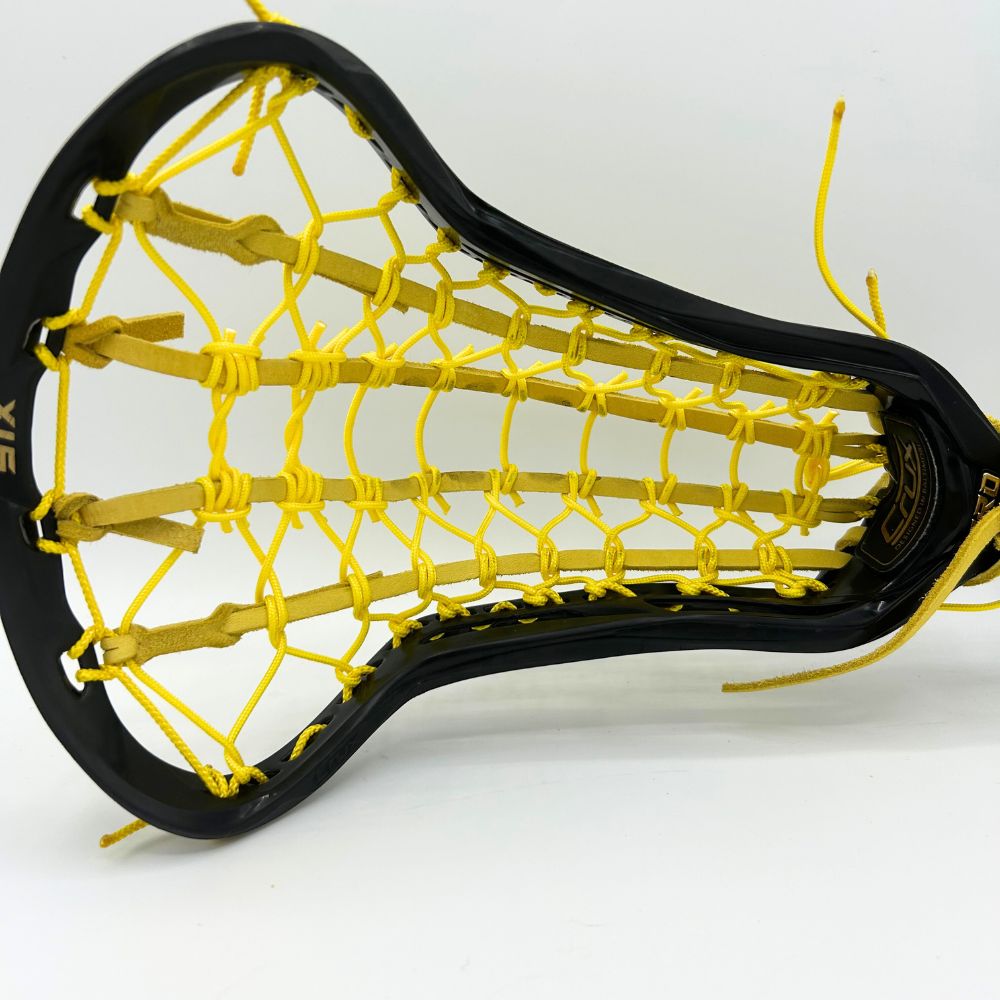
Remember, practice makes perfect! The more you string pockets, the better your technique will become.
Once you’ve completed the crosslace, don’t forget to pocket pound your pocket to help it settle into its final shape. After pocket pounding, you may need to adjust the tension of your knots.
Finally, ensure your pocket is legal for game play by checking the depth and whip measurements against your league’s regulations.
Ready to string your own ProForm pocket? Shop a wide selection of stringing supplies at Stringers Lacrosse Shop and get everything you need to create the perfect pocket for your game!

