If you’re new to lacrosse stringing or need to freshen up on how to string your stick, this article is for you. We will explain how to string a Women’s Lacrosse Stick with Ignite Lacrosse Mesh from our friends at The Mesh Dynasty. Ignite lacrosse mesh from The Mesh Dynasty is some of the best women’s lacrosse mesh available and is always a great choice.
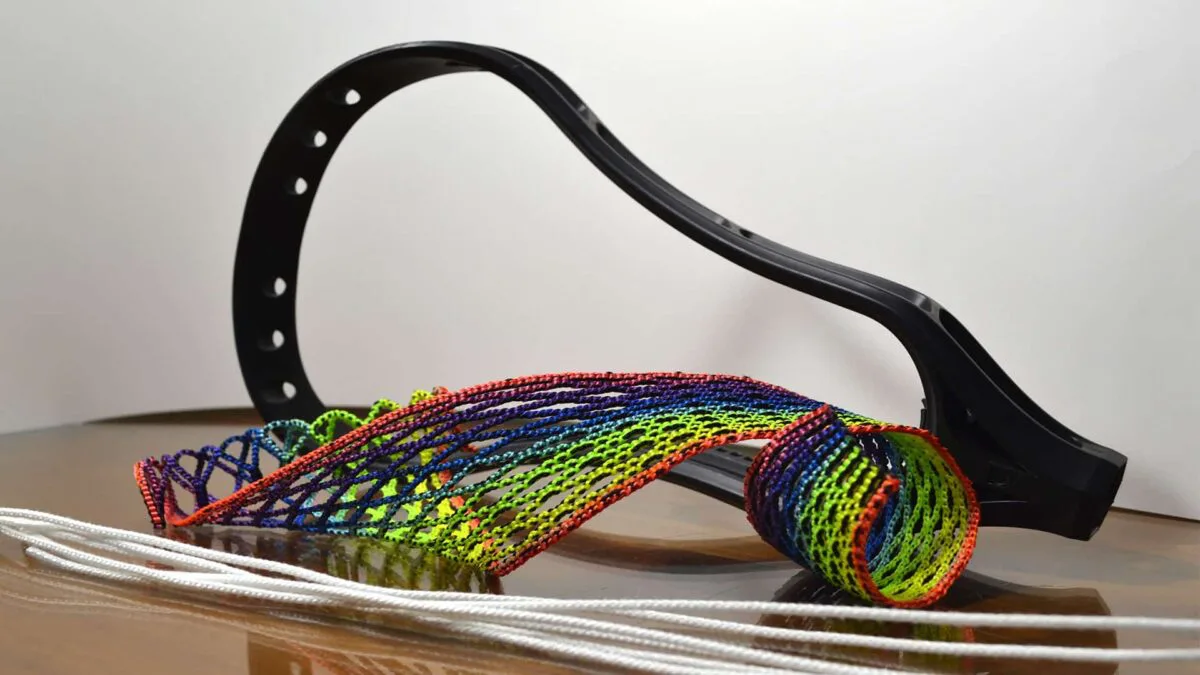
Until women’s lacrosse mesh got produced, traditional lacrosse stringing was the only choice. That made it hard for ladies to adjust their lacrosse pocket if they weren’t an experienced stringer. Women’s lacrosse mesh is much easier to maintain and adjust than a traditional lacrosse pocket or a runner. Lots of women’s lacrosse players are switching to mesh now that’s available, and here is how you string up a great women’s lacrosse pocket with mesh.
Total Time:
How to String a Women’s Lacrosse Top String
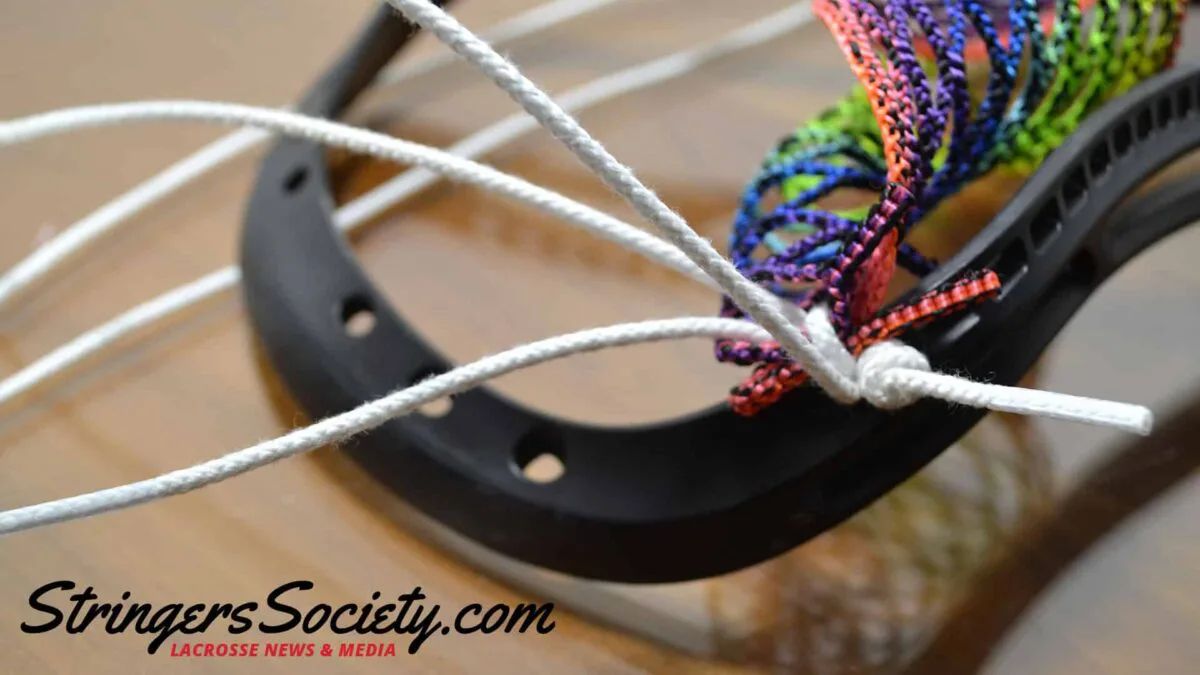
This tutorial shows you how to string a 7 Diamond Top String, but you can also try an 8 Diamond Top String. We will include an 8 diamond Top String tutorial in the next revision of this page. To string a Girls Lacrosse Top String, start by doubling up the 7 diamond row of Lacrosse Mesh by folding it over on itself. Lacrosse mesh has two sides, one rough, one smooth; usually, men’s players will string a stick with the rough side touching the ball. However, either side is fine and it’s all player preference. The way you fold your lacrosse mesh will dictate which side touches the ball. So make sure you check which way you are going before you start stringing and have to redo the whole thing.
Attaching your Lacrosse Mesh to your Lacrosse Head with a Top String
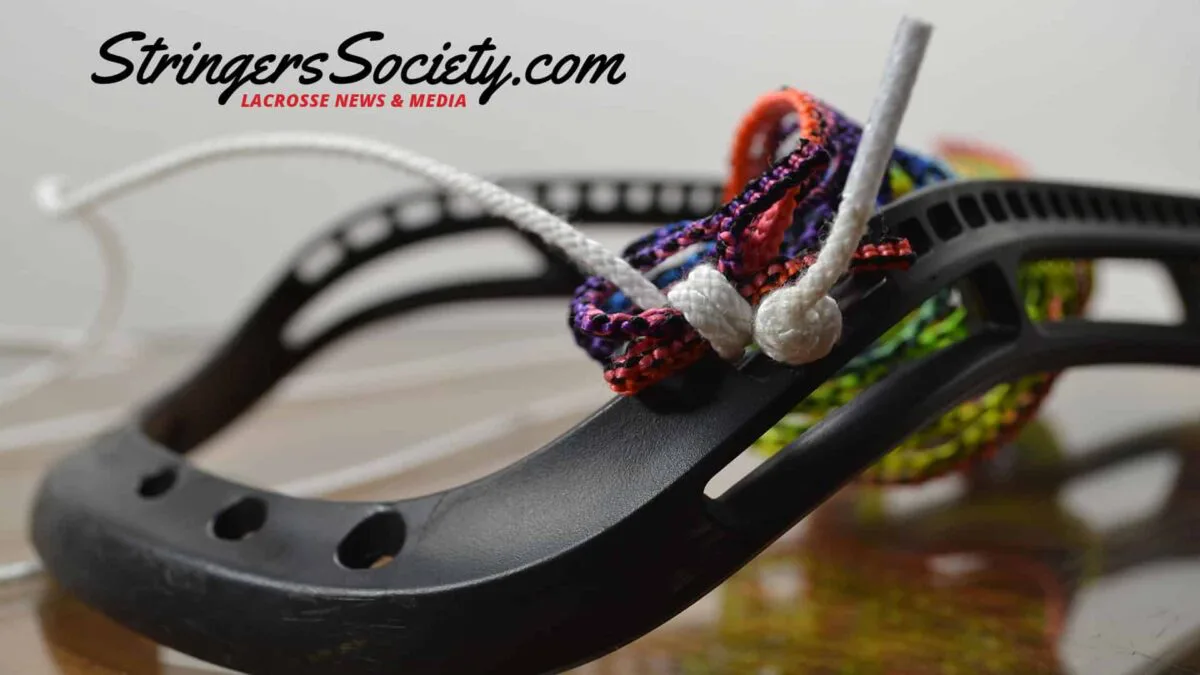
The first step in stringing a women’s lacrosse top string is to attach the mesh to the sidewall of the lacrosse head. To do this, take your lacrosse string through the outside of your lacrosse head, through the front of the lacrosse mesh and back through the hole. While some stringers will only loop the sidewall once around the lacrosse head, I prefer to loop it twice. This ensures that the mesh stays securely in place and against the side of the sidewall. Mesh that is very secure may stretch, but mesh that is not secure with stretch and shift. A pocket that has shifted out of place can be uneven and lead to inaccuracy, so be sure to get the mesh attached solidly.
First Top String Hole Knot
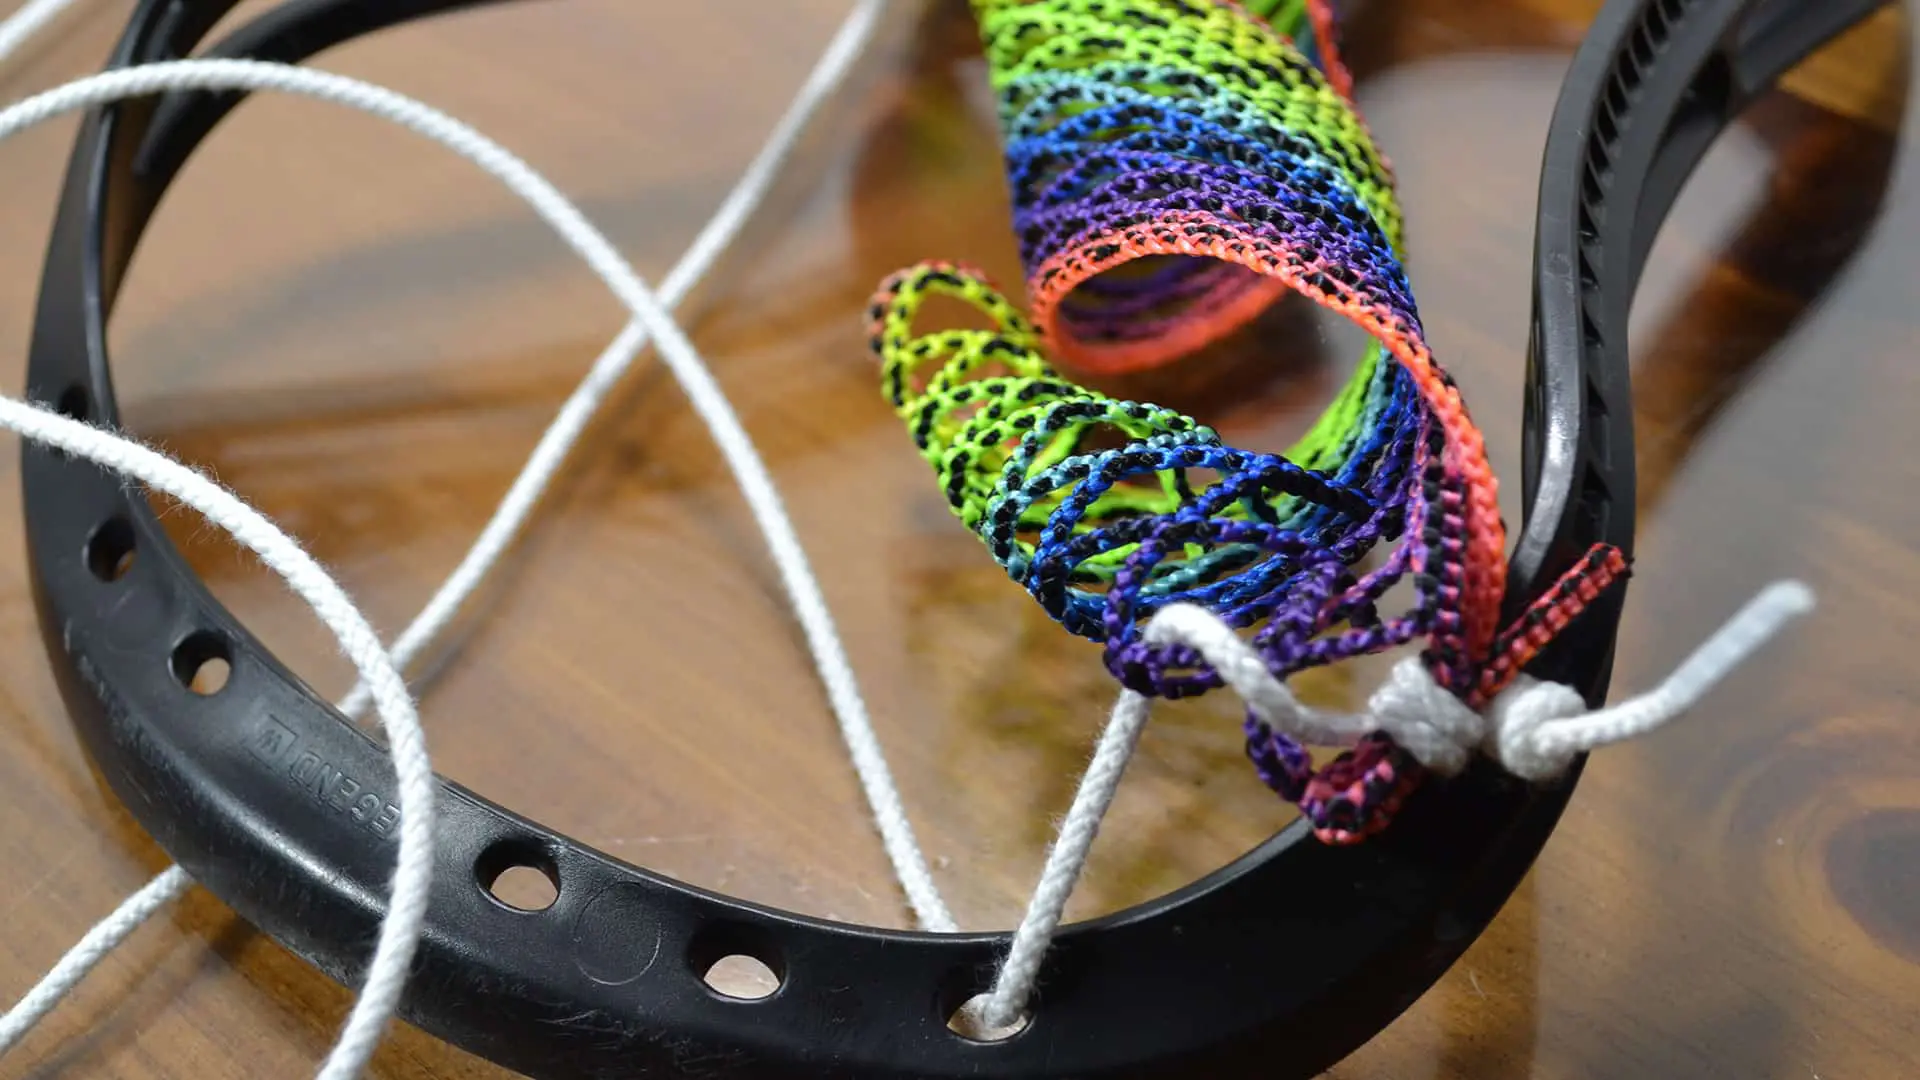
The follow photos along with corresponding steps below will guide you on stringing your first lacrosse top string knot. Follow along below
First Top String Hole Knot 2

First, take your lacrosse string through the back of your lacrosse mesh and then the back of your lacrosse head.
First Top String Hole Knot 3
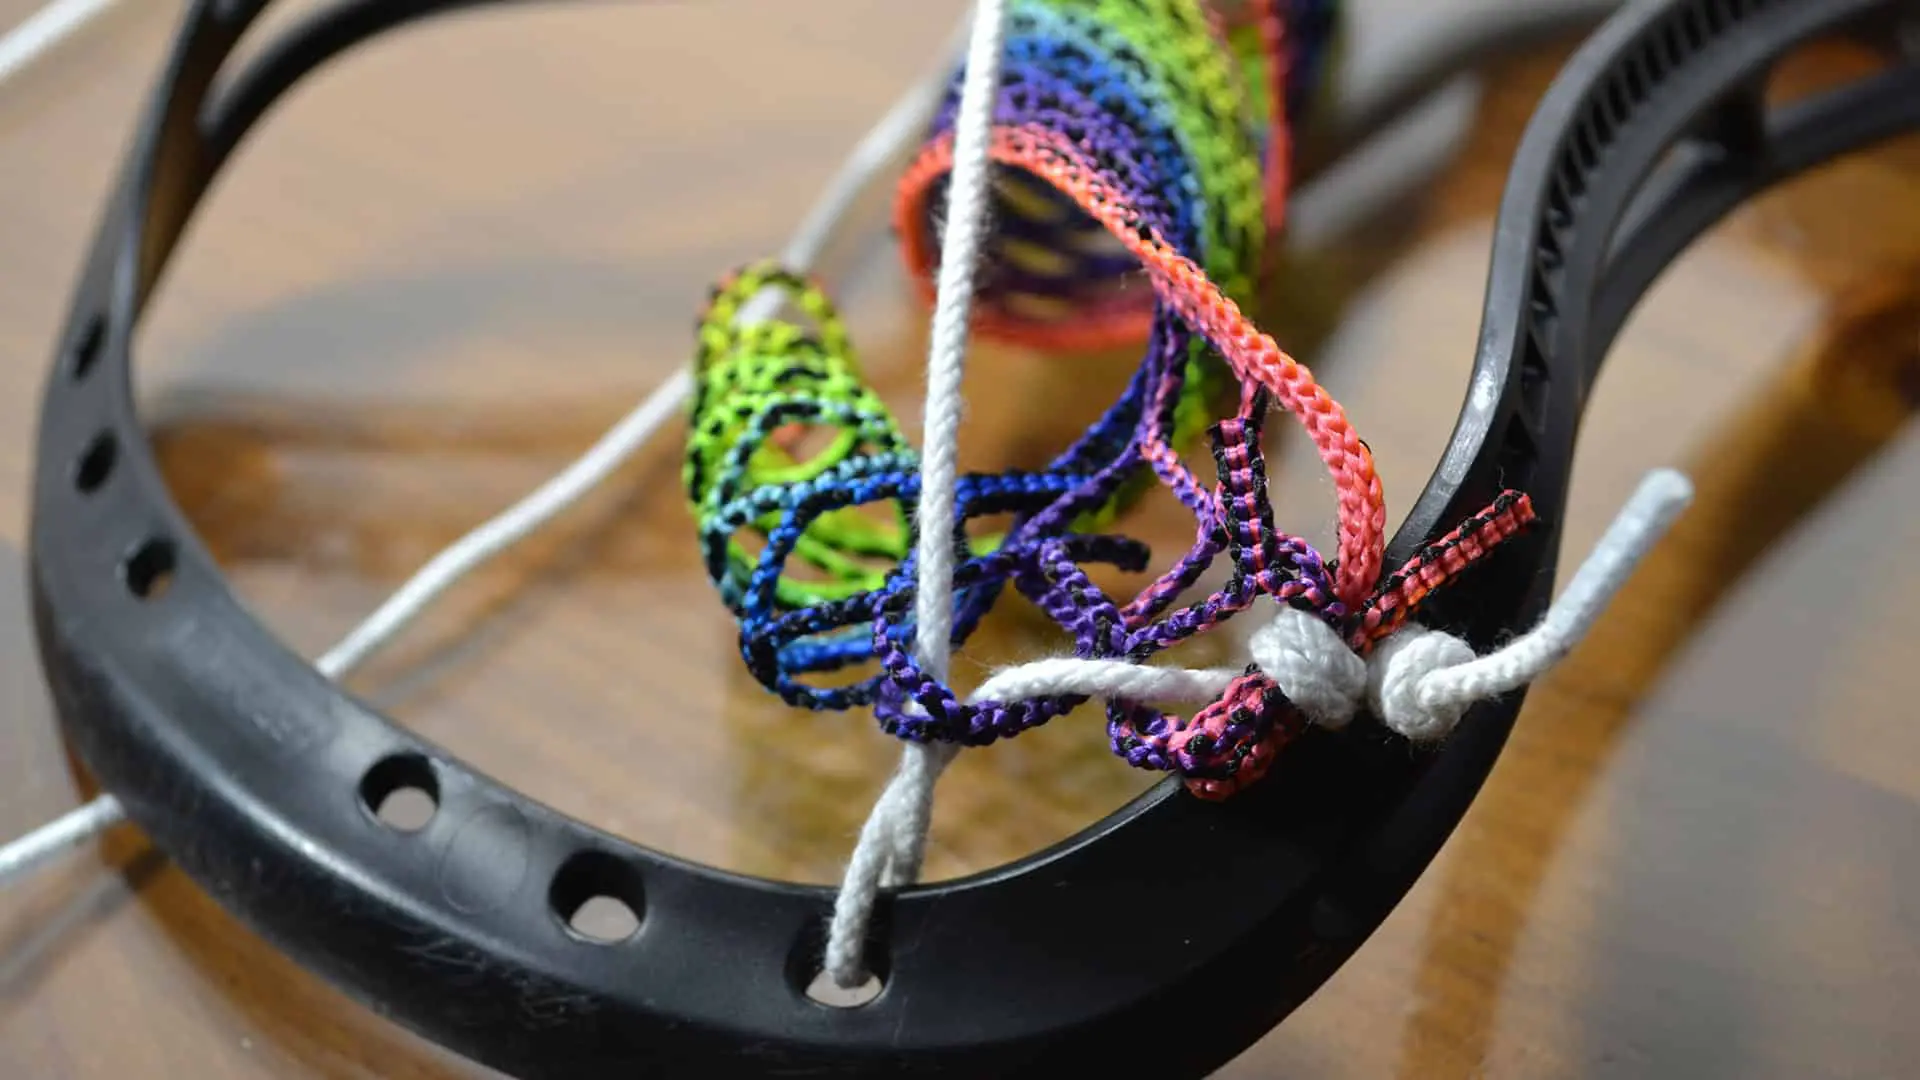
Once you take your lacrosse string through the back of the lacrosse head, you want to secure the mesh to the scoop with a series of moves. You will want to take your string around itself as it passes back to the backside of the head.
First Top String Hole Knot 4
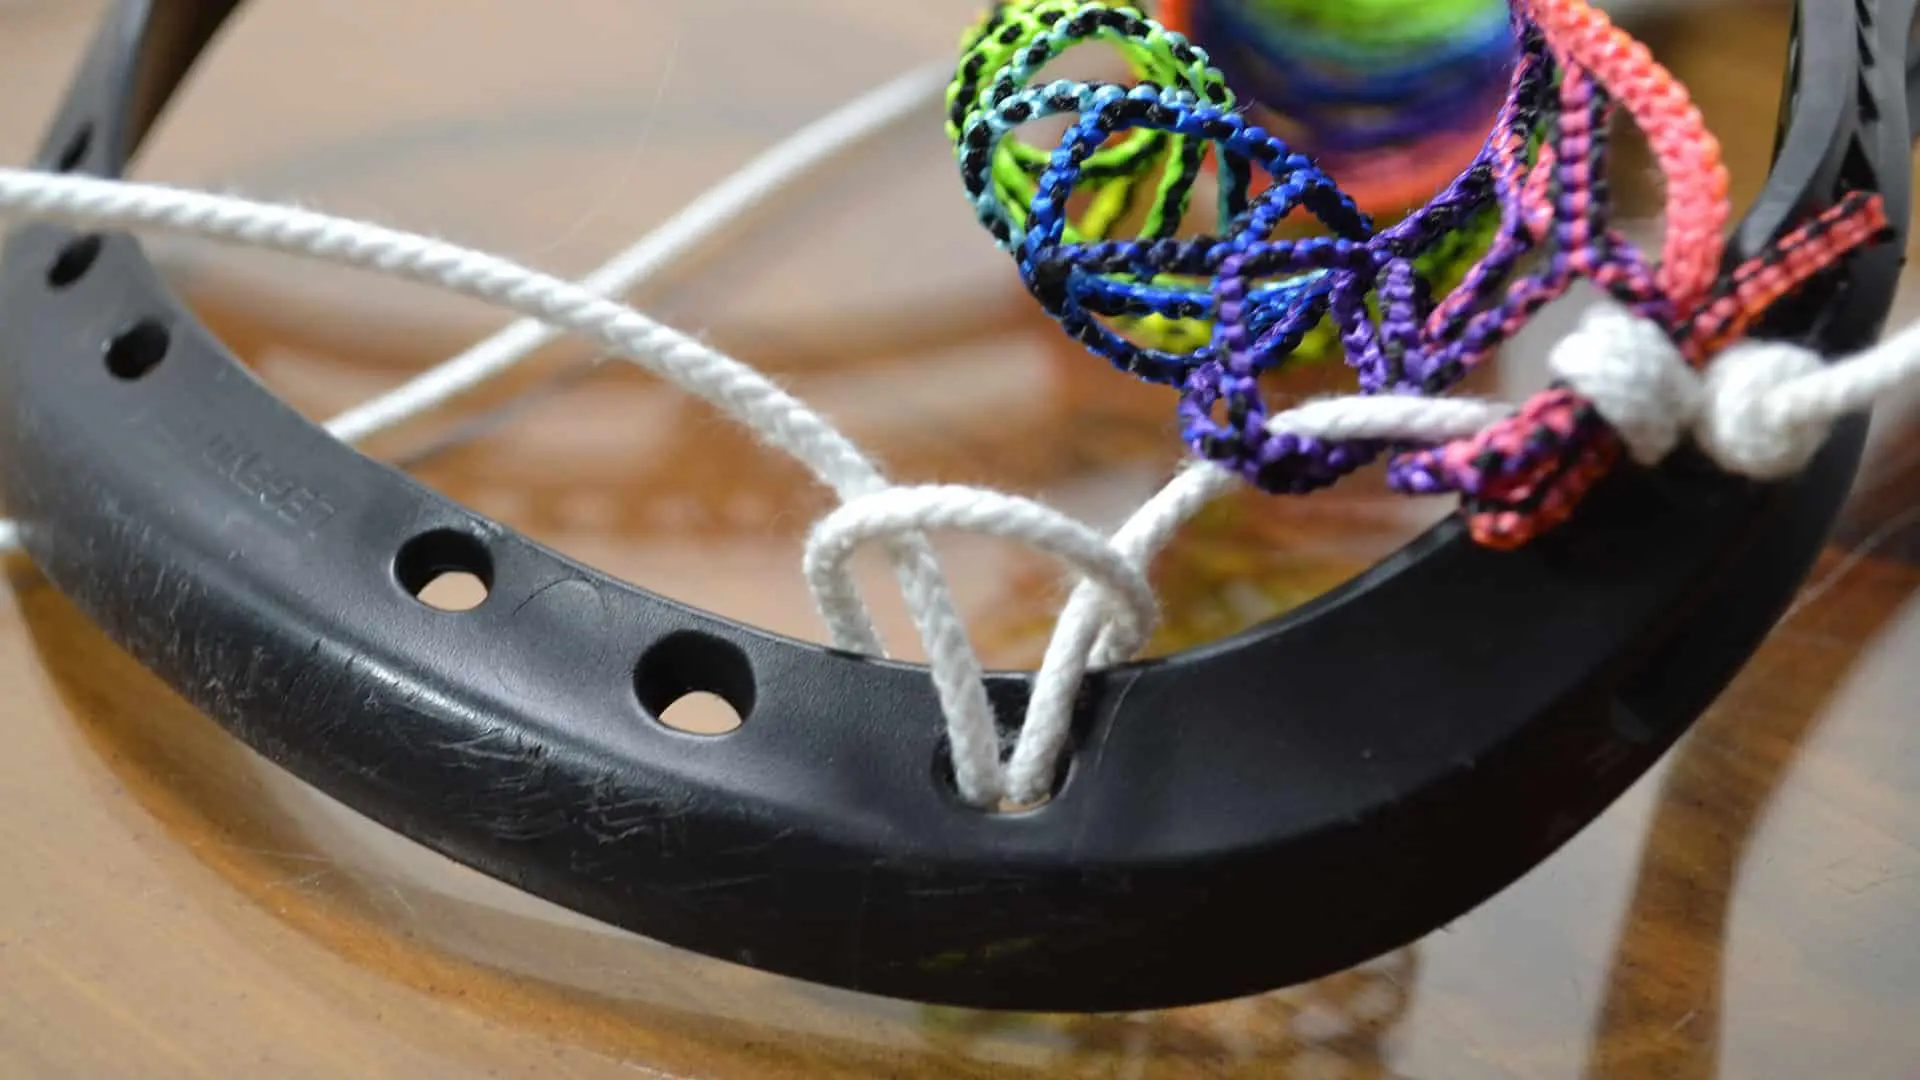
Then, take your string back through the same mesh hole to create a big loop. Next, you go through the front of the lacrosse head and then back through the loop you created.
First Top String Hole Knot 5
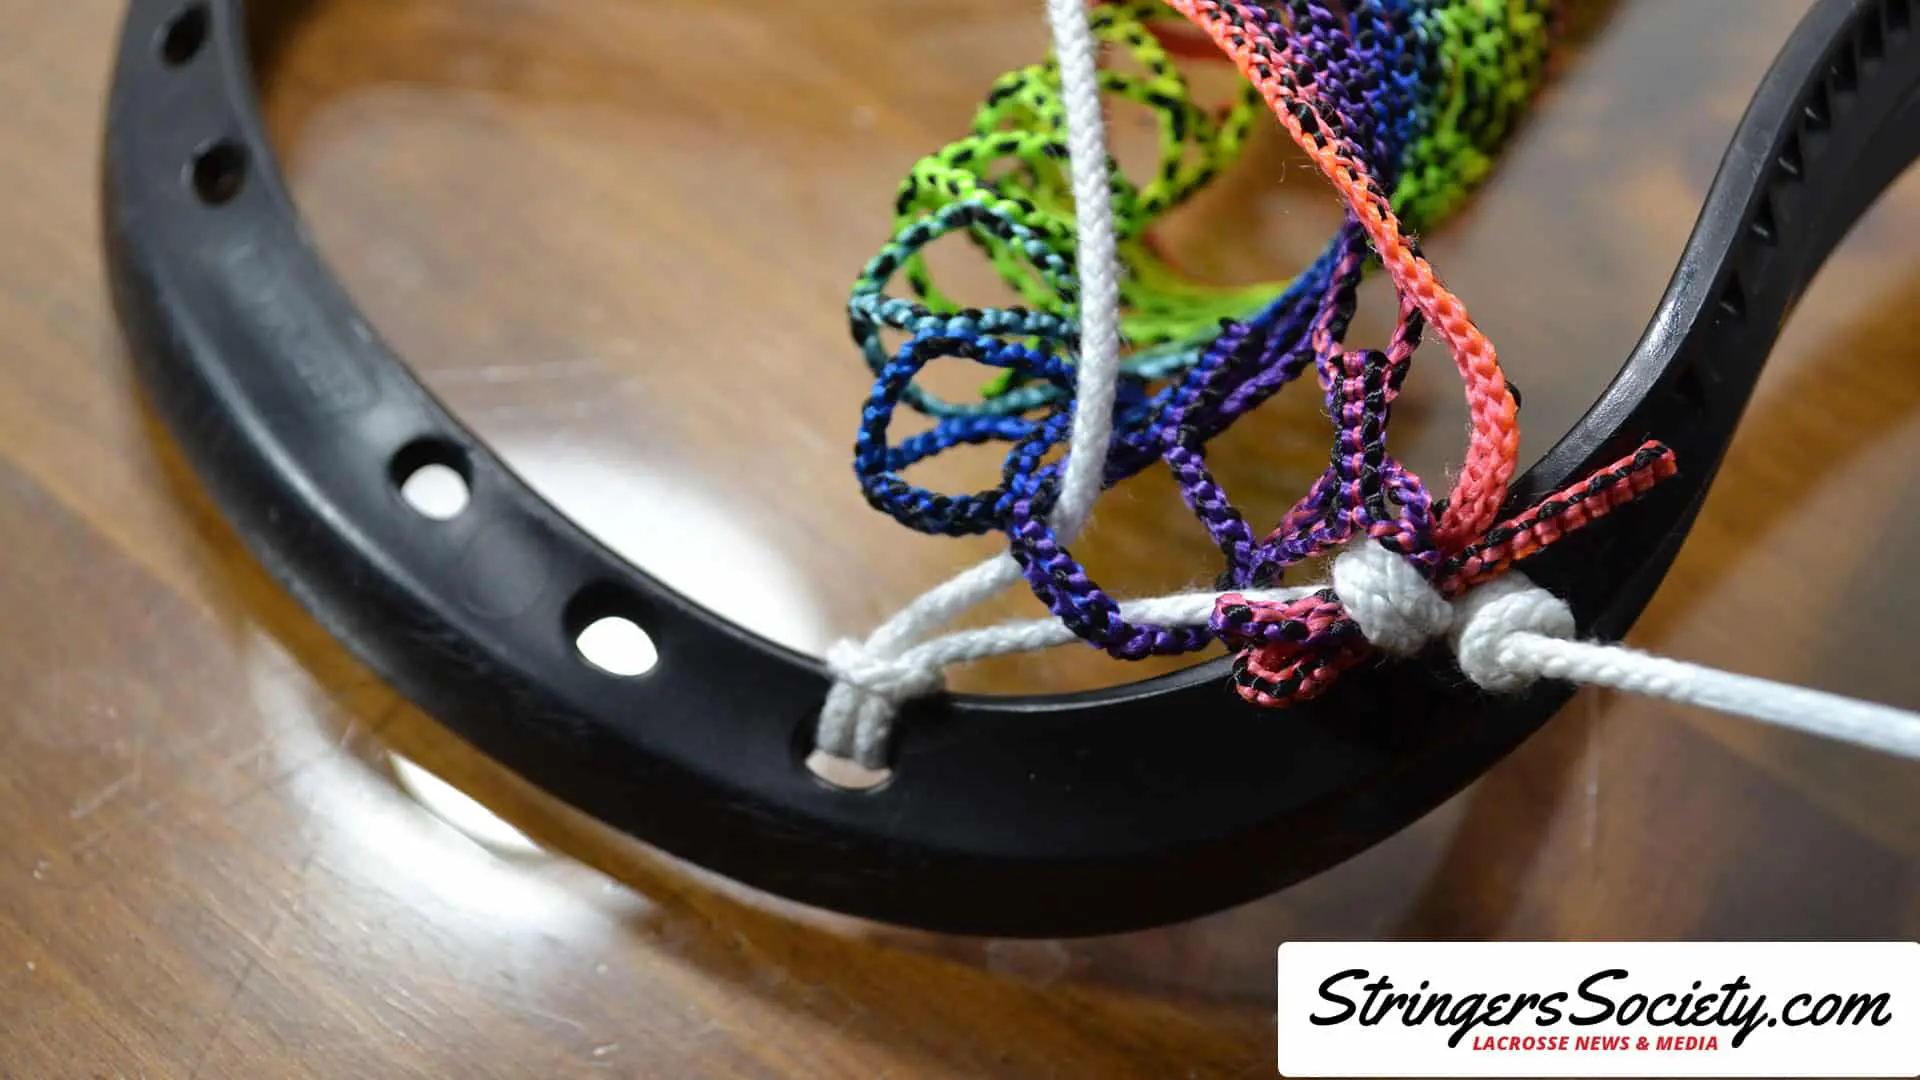
The key here is to make sure your top string knot is as tight as you can get it, to ensure your lacrosse mesh is adequately attached to your lacrosse head. The easiest way to provide a taut top string is to keep the string tight as you string your lacrosse head. This might mean you have to back up and start over, but it will be worth it if your top string is loose.
Finishing your first knot 6
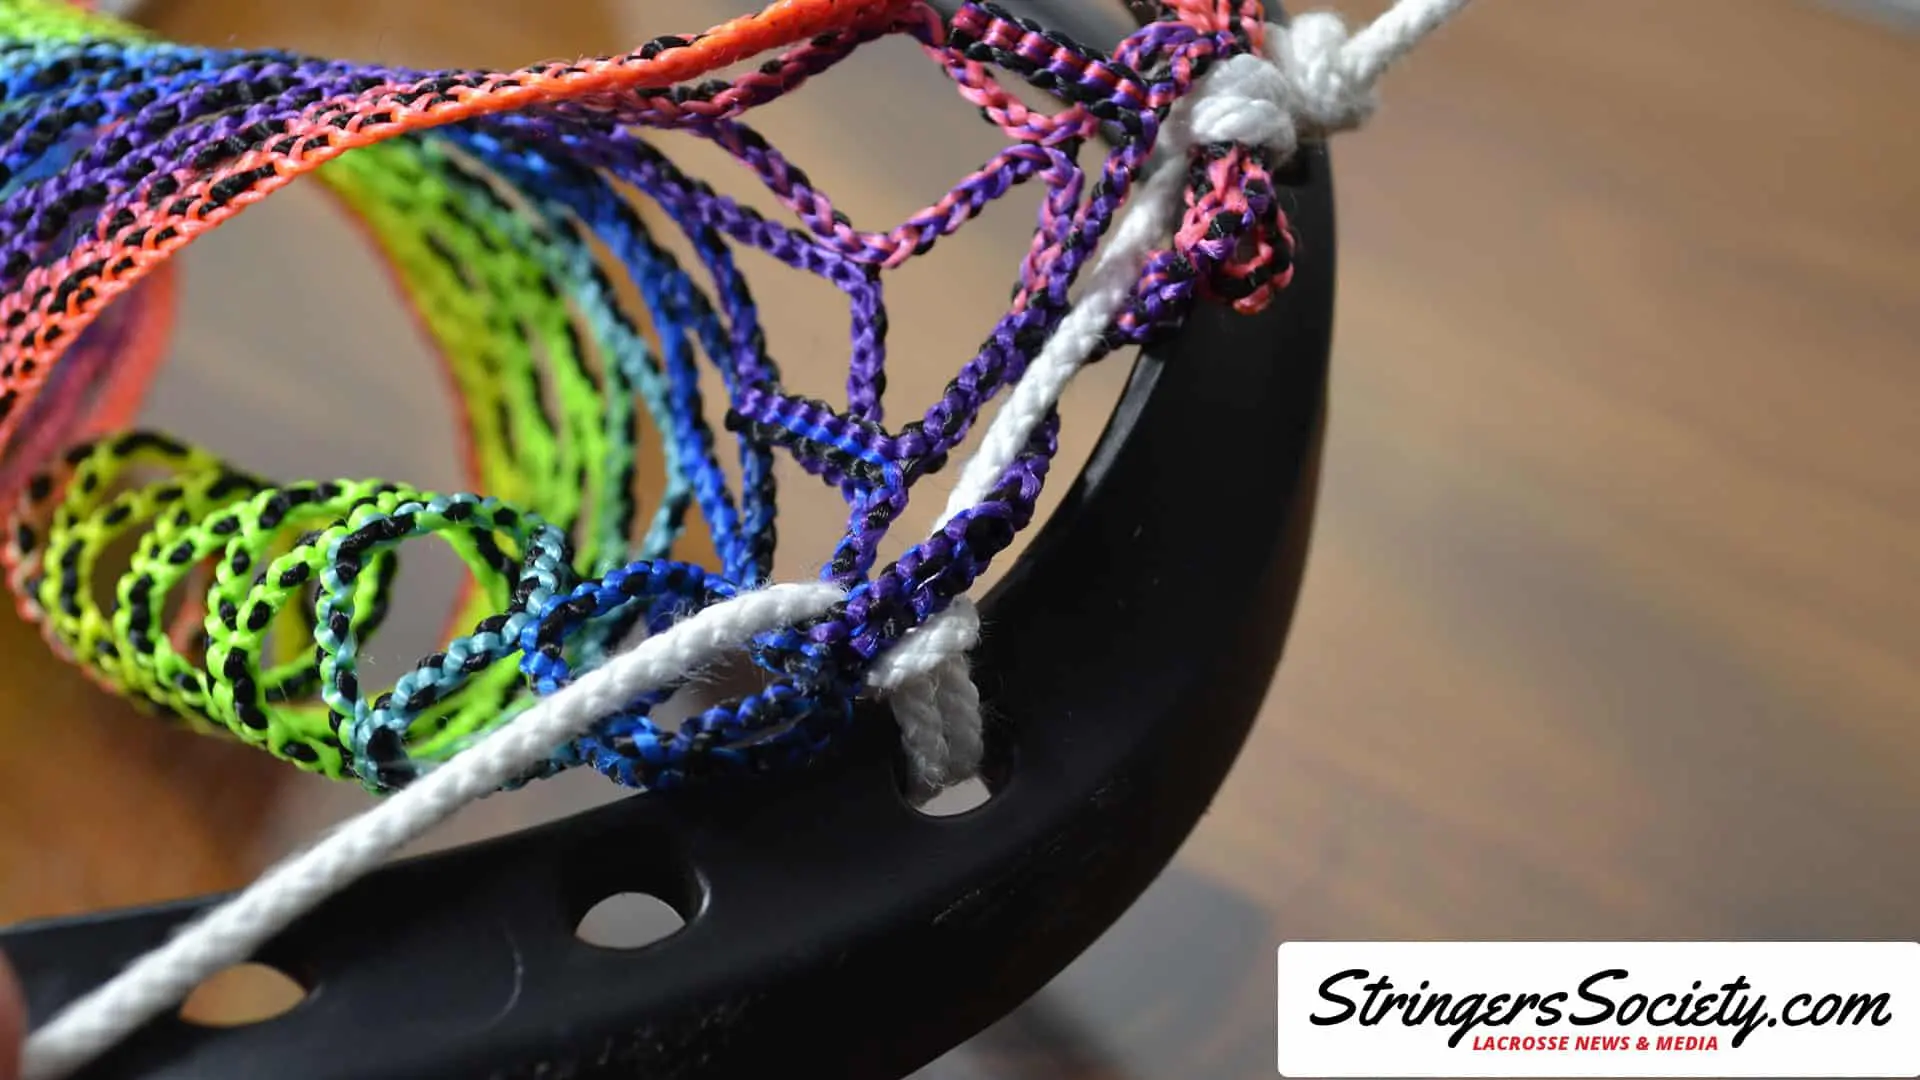
Now that you have strung a tight top string knot take your lacrosse string back through the front of your lacrosse mesh and pull tight.
Continue with another top string knot
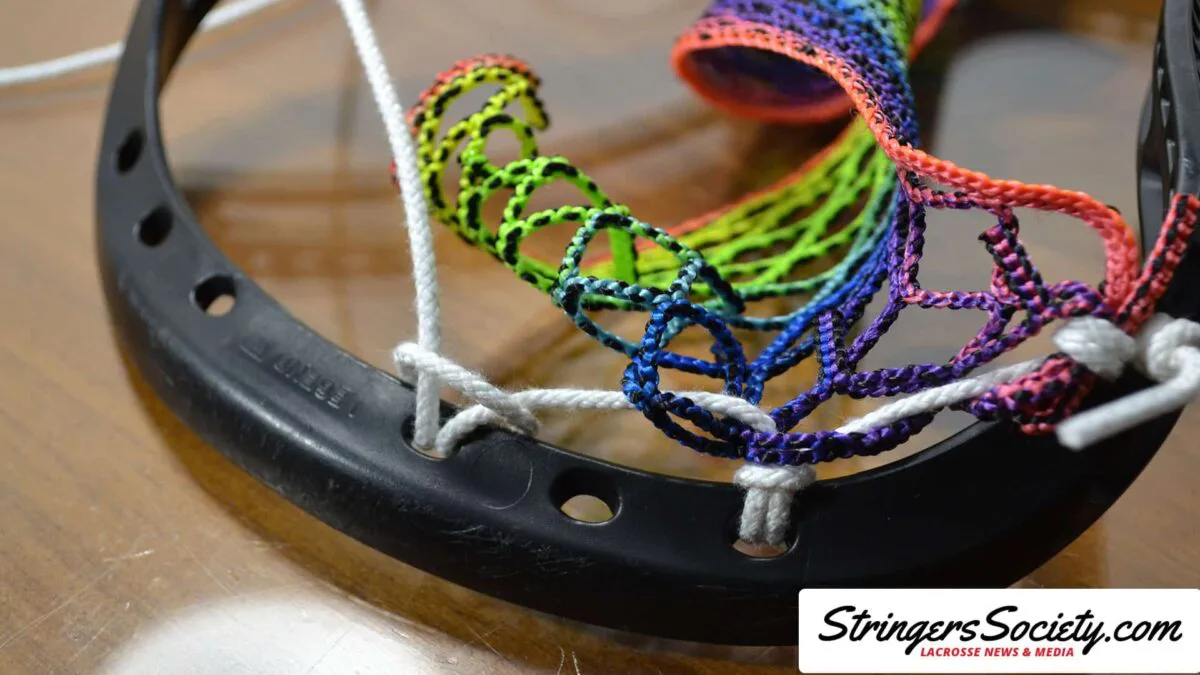
Continue with another top string knot
Bridge the middle diamond to prevent slack
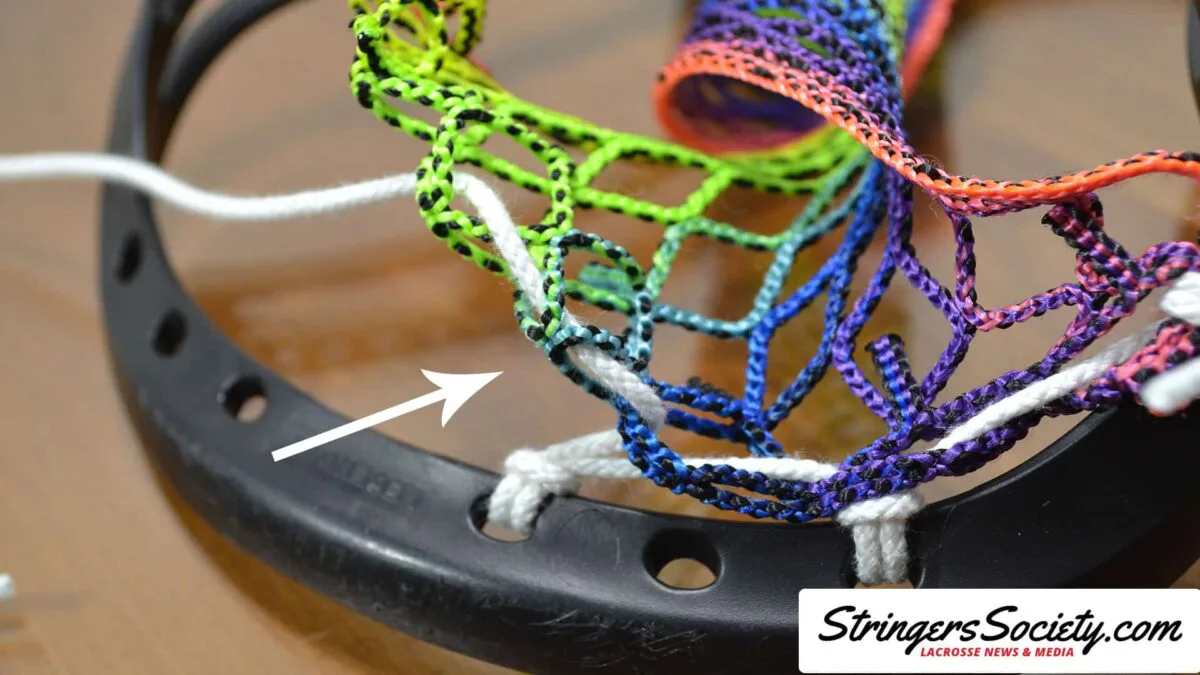
Bridge the middle diamond to prevent slack
Use another top string knot
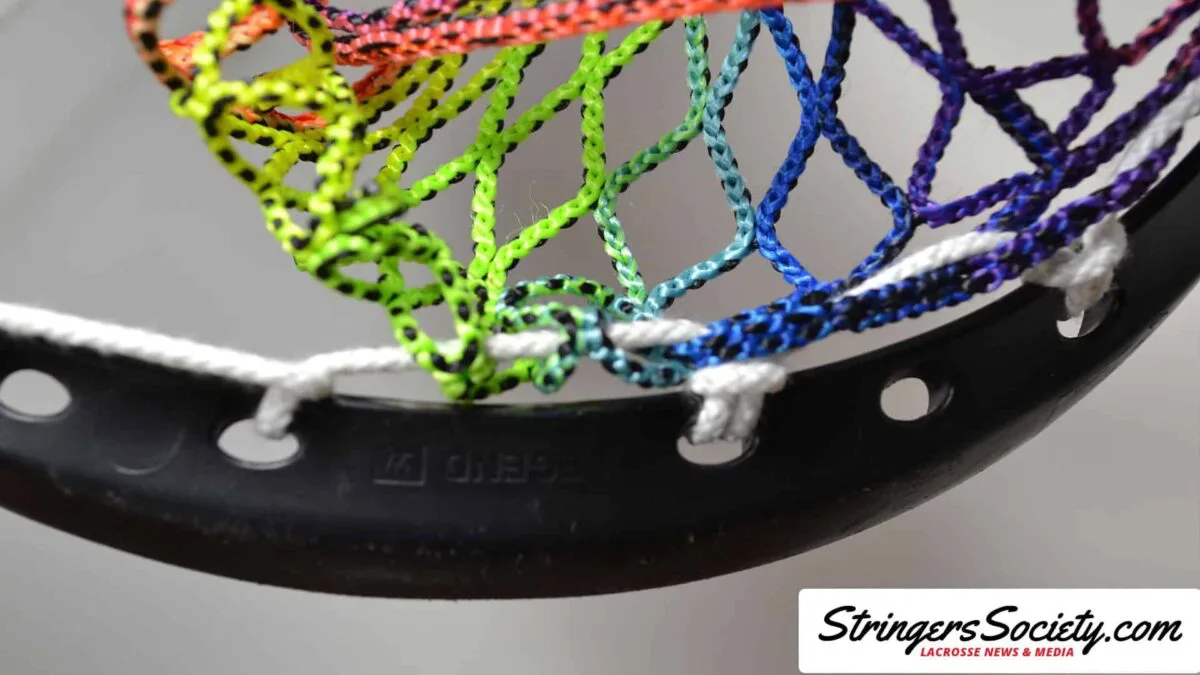
Use another top string knot
Continue with the second loop
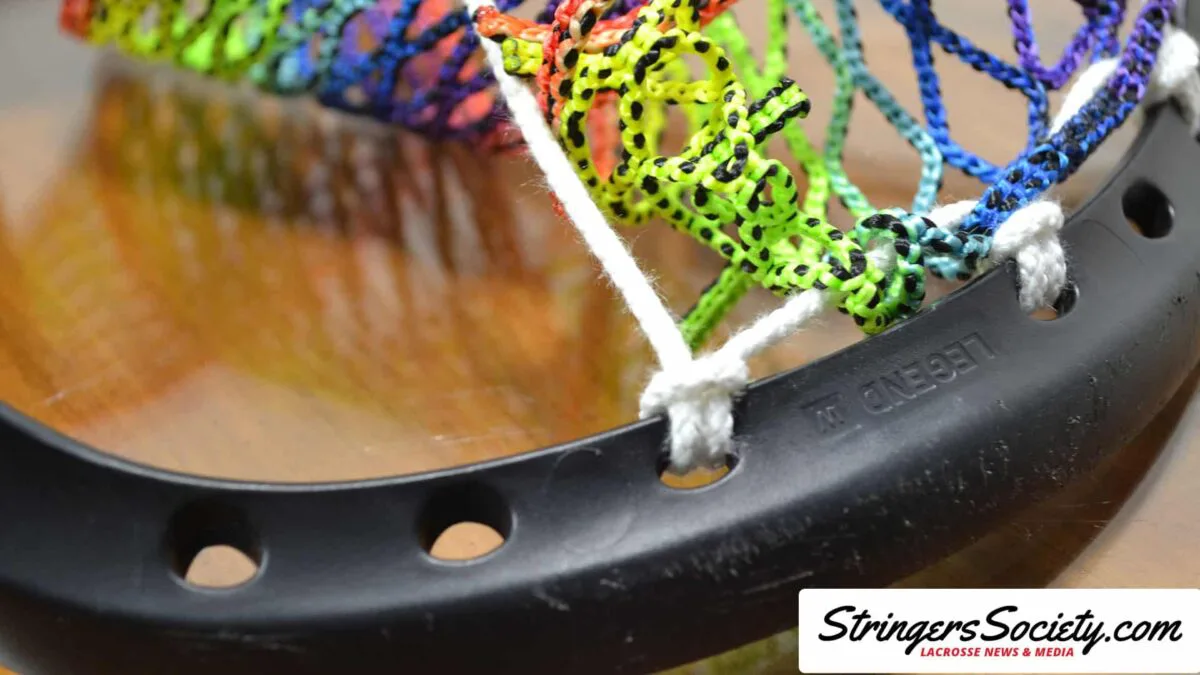
Continue with the second loop
Skip a hole, repeat with another knot
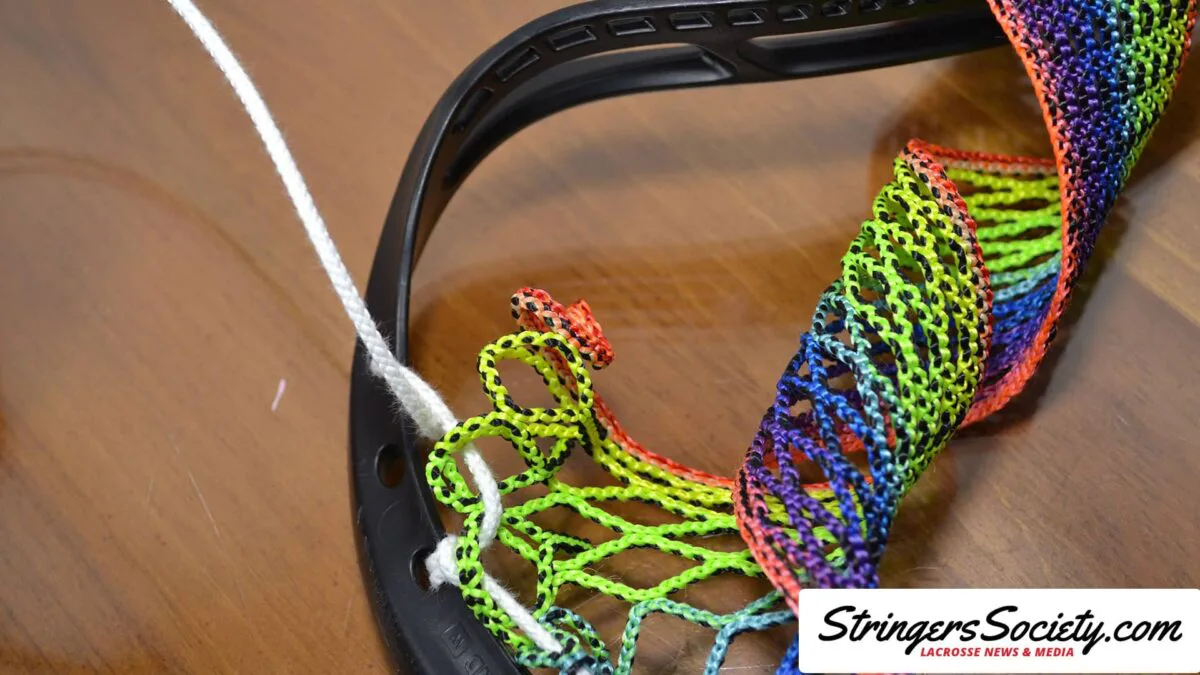
Skip a hole, repeat with another knot
Finishing the last top string hole
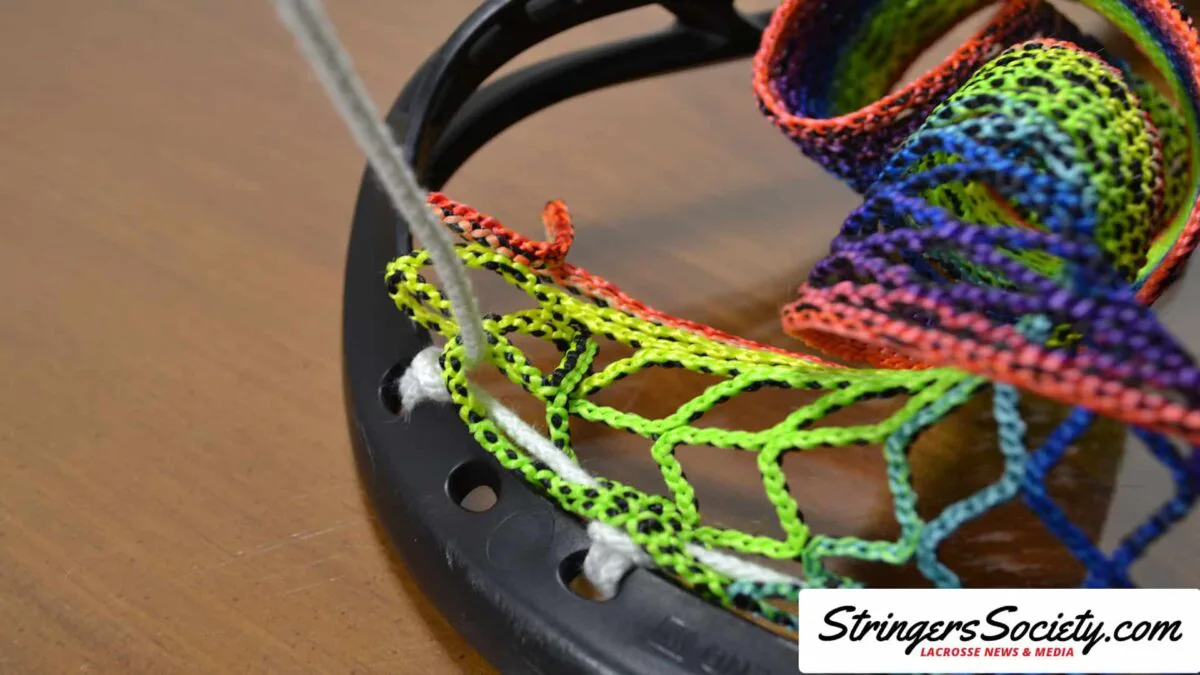
example
Finishing Up Your Lacrosse Top String
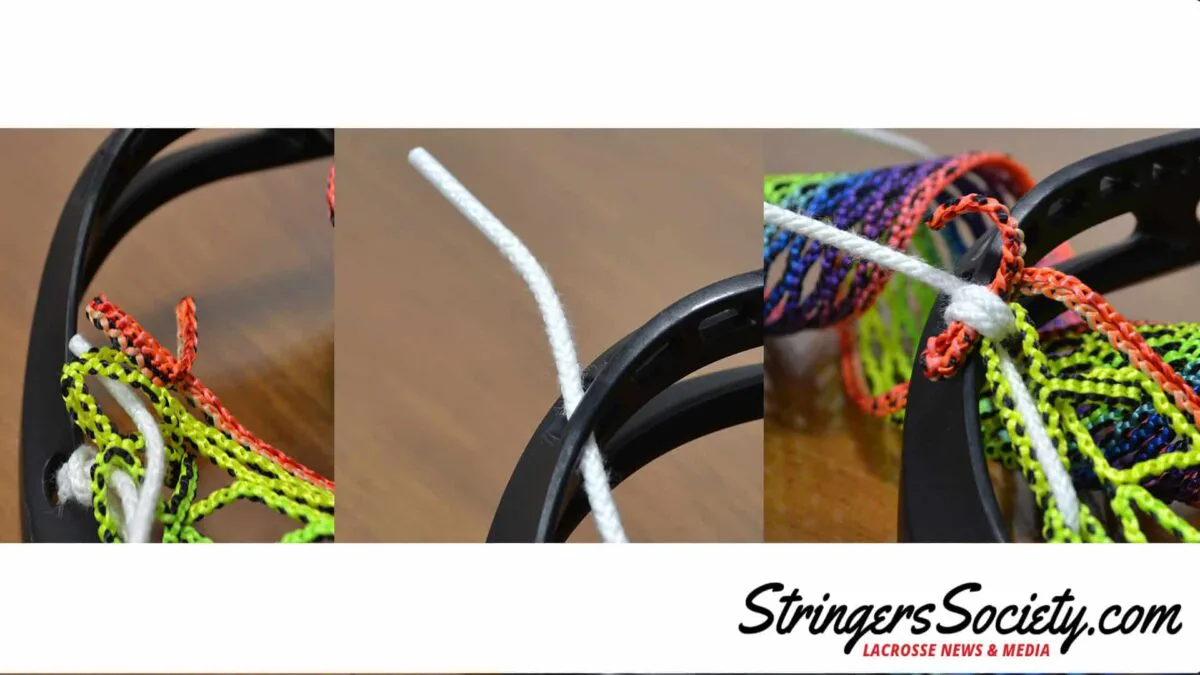
The last step in stringing a girl’s lacrosse top string is to attach the last diamond in the mesh row to the first hole on your sidewall. From your previous top string knot, take your lacrosse string through the back of the lacrosse mesh and through the inside of the lacrosse head. Loop it around the sidewall back through the lacrosse mesh and through the inside of the lacrosse head. Repeat once to create a double loop and tie off with a double overhand lacrosse knot. Remember, we double up for a tight and secure piece of mesh to prevent shifting. Space between the mesh and the head is normally not a good sign when stringing.
How to String Women’s Lacrosse Head Sidewall
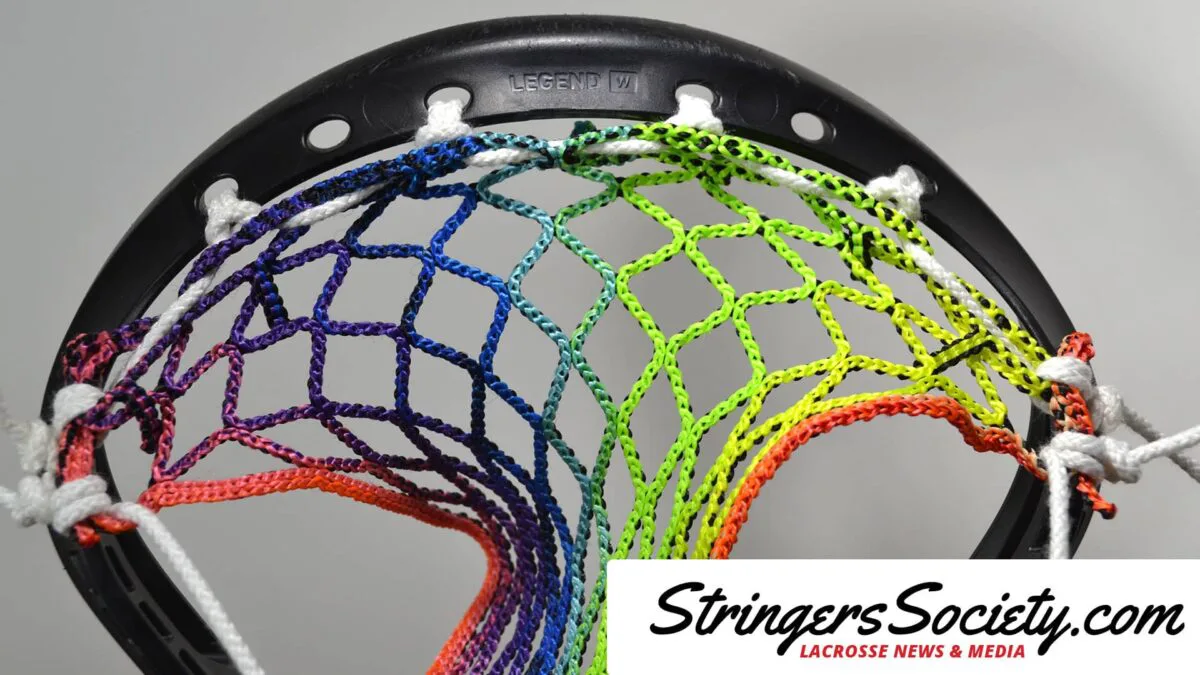
Now that we have strung the top string, it’s time to move on to the sidewall of the lacrosse head. I personally like to string both sides of my lacrosse head at the same time to ensure a straight and even channel on my pocket. Stringing both sides at one can really let you focus on making the tension of both sidewalls the same. This will give you the most consistent pocket. Throughout the sidewall portion of this tutorial, there are two knots that we will utilize to string a lacrosse head, the Knotted Special Interlock Lacrosse Knot, and the Stacked Special Interlock Knot. If you aren’t familiar with how to string those lacrosse knots, follow the links above in a new window and review them for when we reference them. Start by tying double overhand knots on your sidewall strings and attaching them to the second sidewall hole on your lacrosse head. Again, we do the double for a more secure piece of mesh. If you got a mesh kit, like ours from The Mesh Dynasty, then you should have plenty of room to double in the places we show you.
Use the Knotted Standard Interlock Lacrosse Stringing Knot
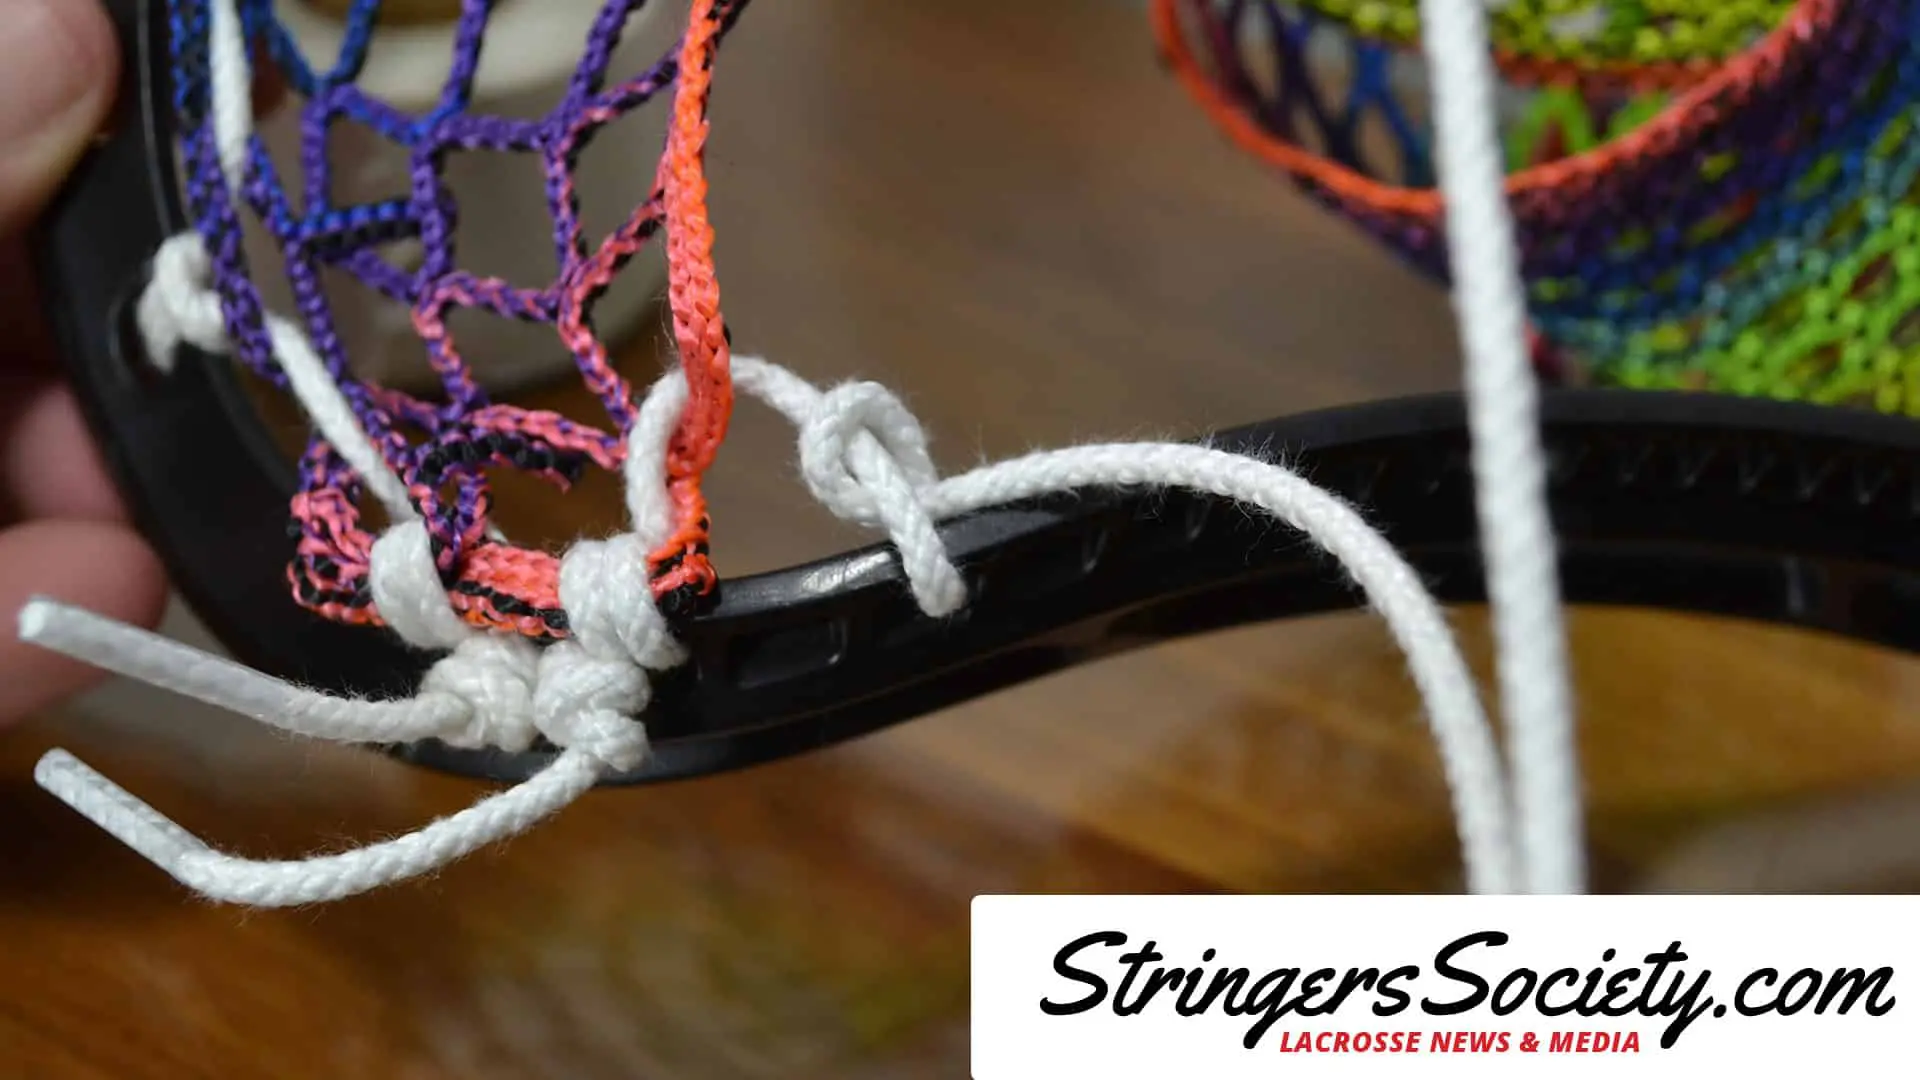
After attaching your mesh to the sidewall of your lacrosse stick, continue through the back of the next diamond. Then take your lacrosse string through the outside of your lacrosse head and loop it back around itself to create a knot. Unlike the photo below, you will want to prevent slack in the string. When you pull the knot tight there isn’t excessive string left behind, and this is the best thing to do for a consistent pocket. The second photo in the slideshow below illustrates what a tight Knotted Standard Interlock (KSI) should look like. The last step in stringing your first KSI is to take your lacrosse string back through the front of the lacrosse mesh and pull tight. If you have been following along with both side walls on your lacrosse head at once, the fourth photo will illustrate where you should be before moving forward.
Womens Lacrosse Head Sidewall
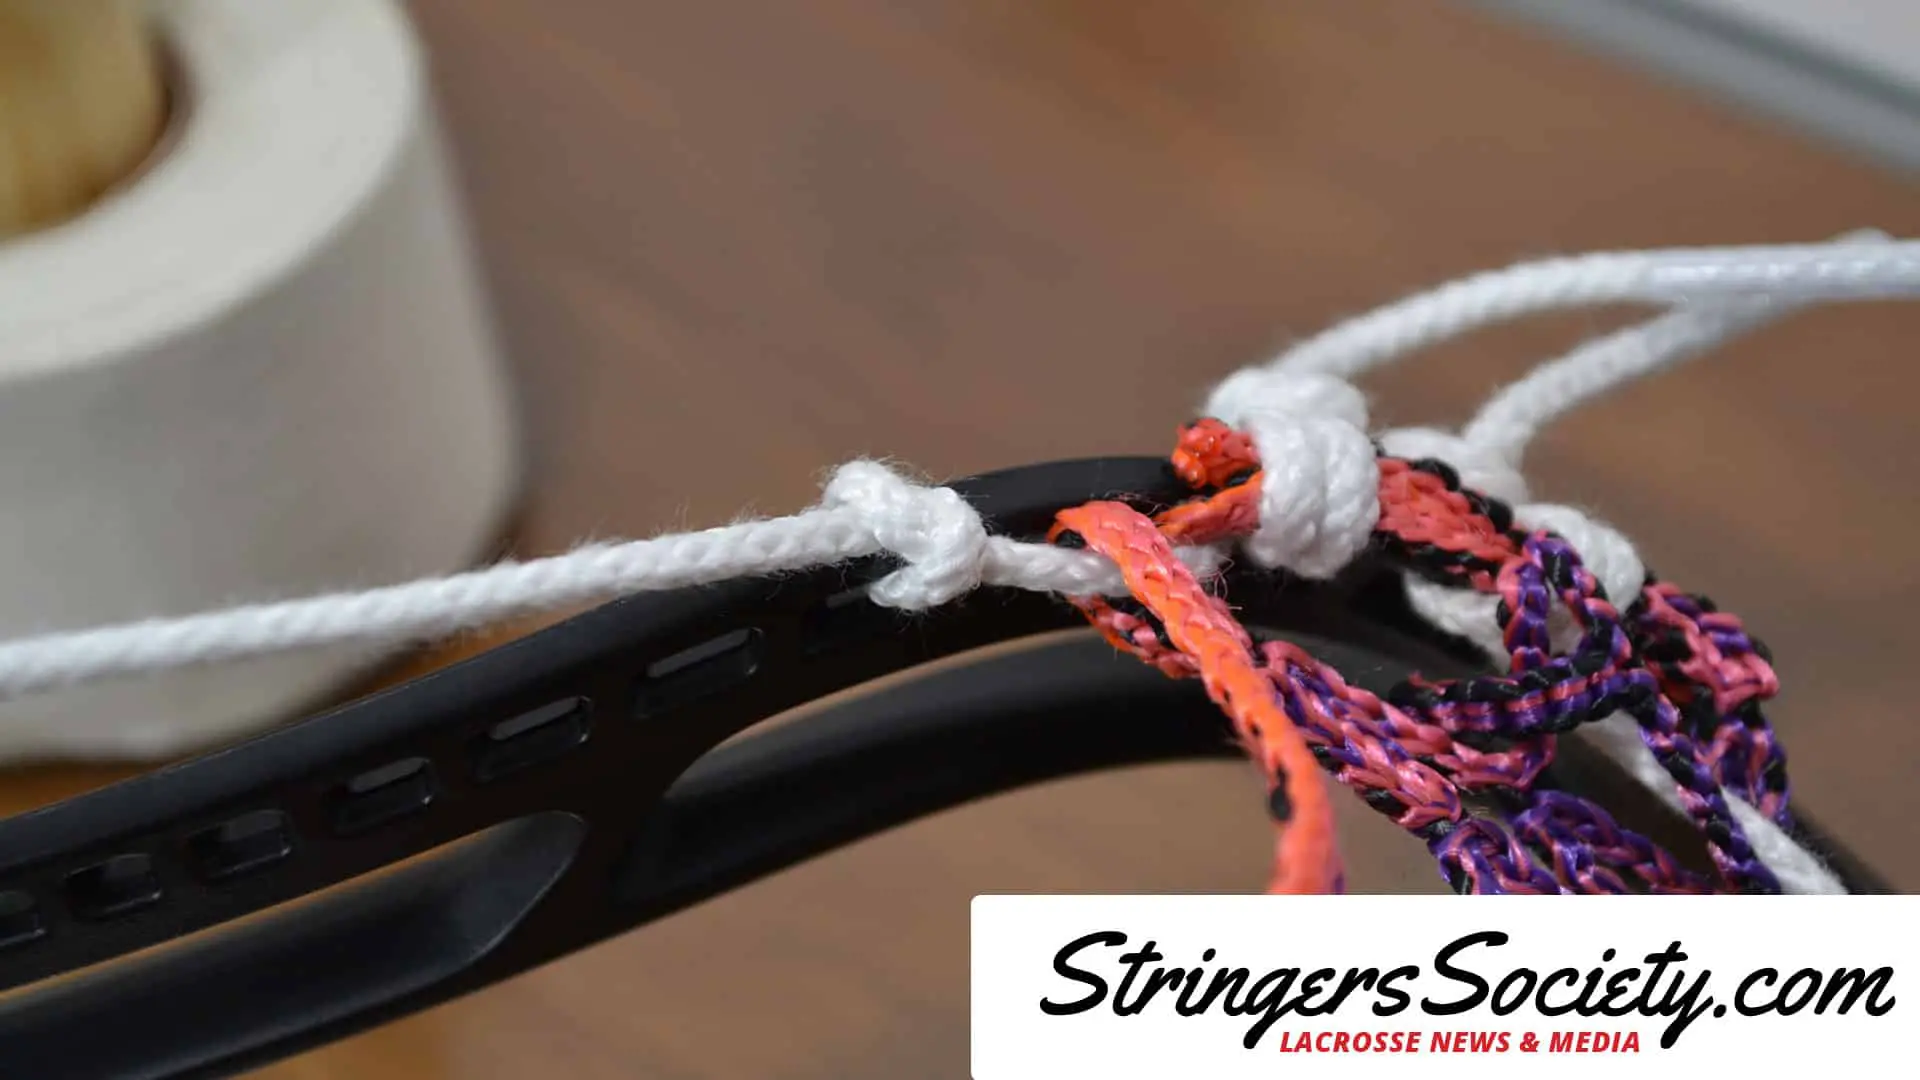
Womens Lacrosse Head Sidewall
Womens Lacrosse Head Sidewall 2
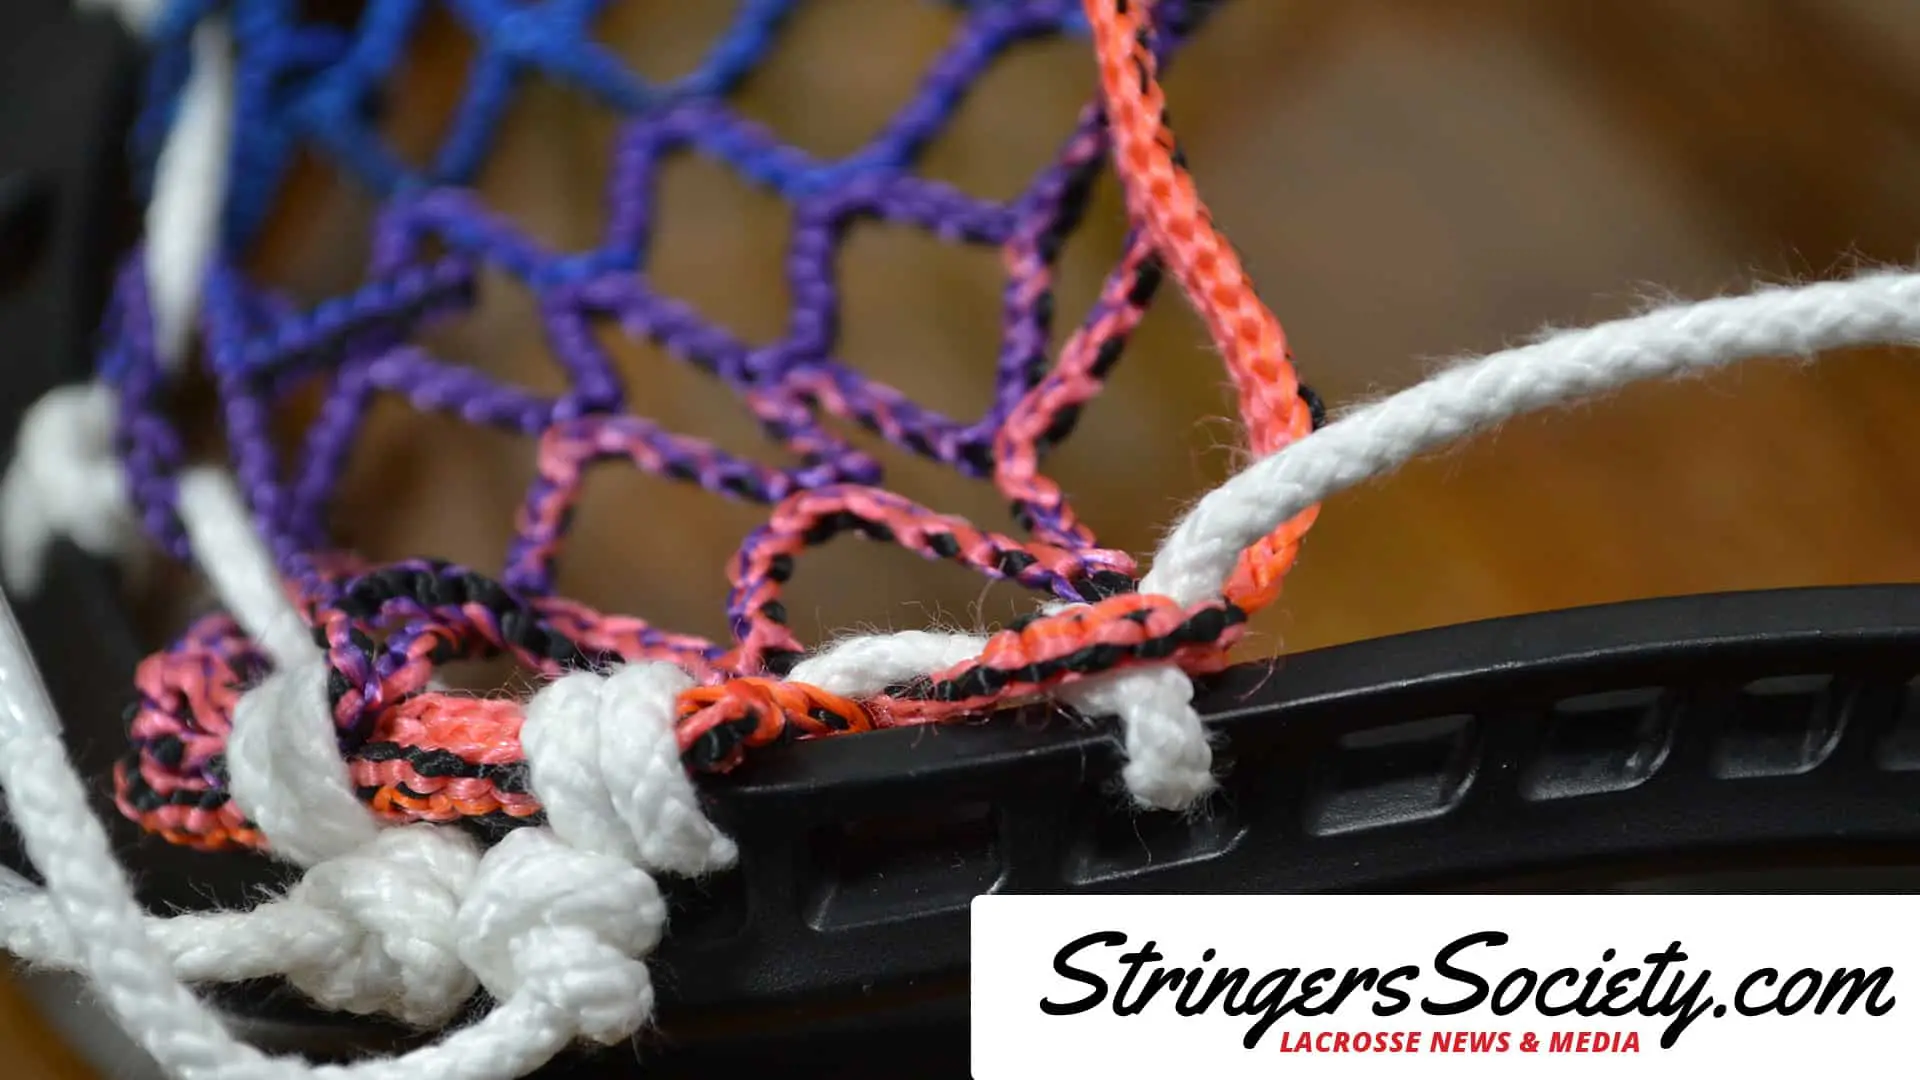
Continuing down the side of your lacrosse head, you should have your Knotted Standard Interlock with 1 Skip between it and the attaching knot.
Checkpoint
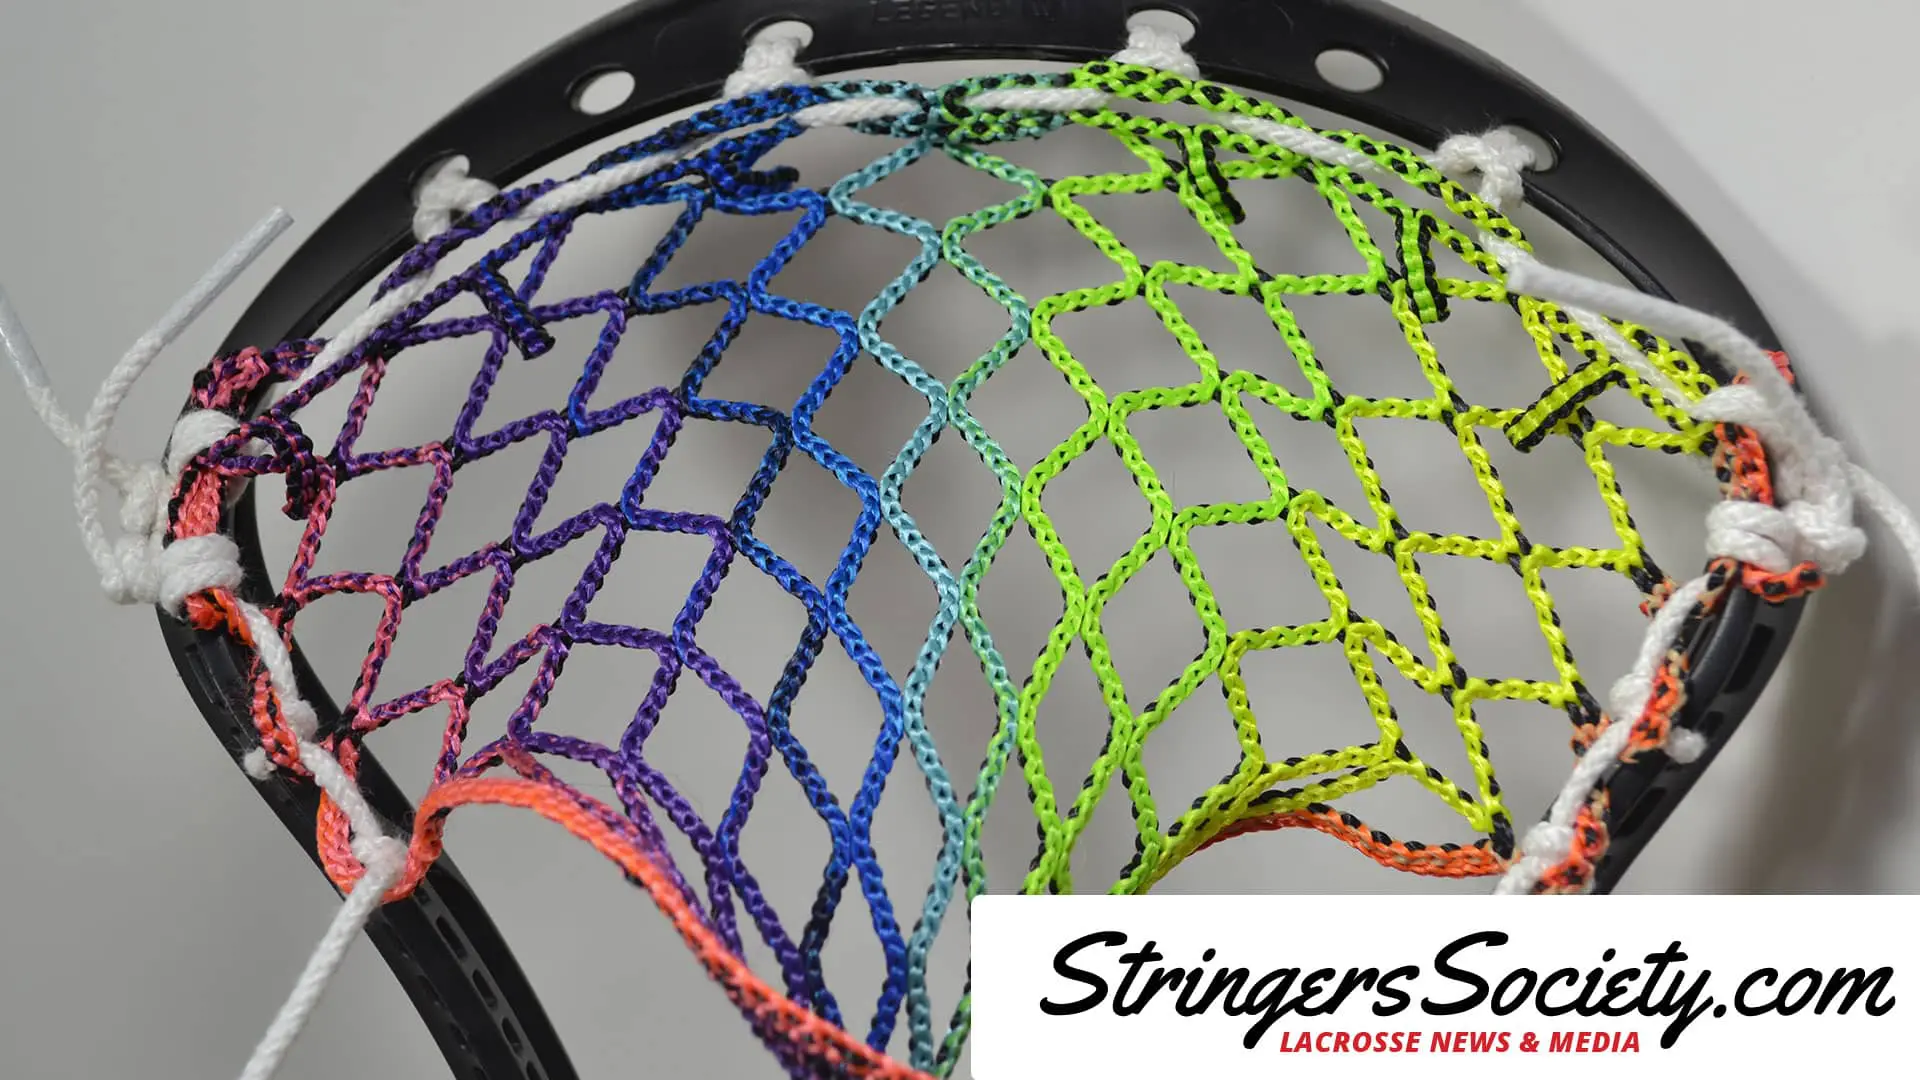
For the third lacrosse knot, you will want to skip two sidewall holes after your KSI. This will stretch your mesh and help form a mild channel in your stick. A channel in a girls lacrosse pocket will help with ball security, along with ensuring that the ball comes out straight and accurate.
Womens Lacrosse Head Sidewall 3
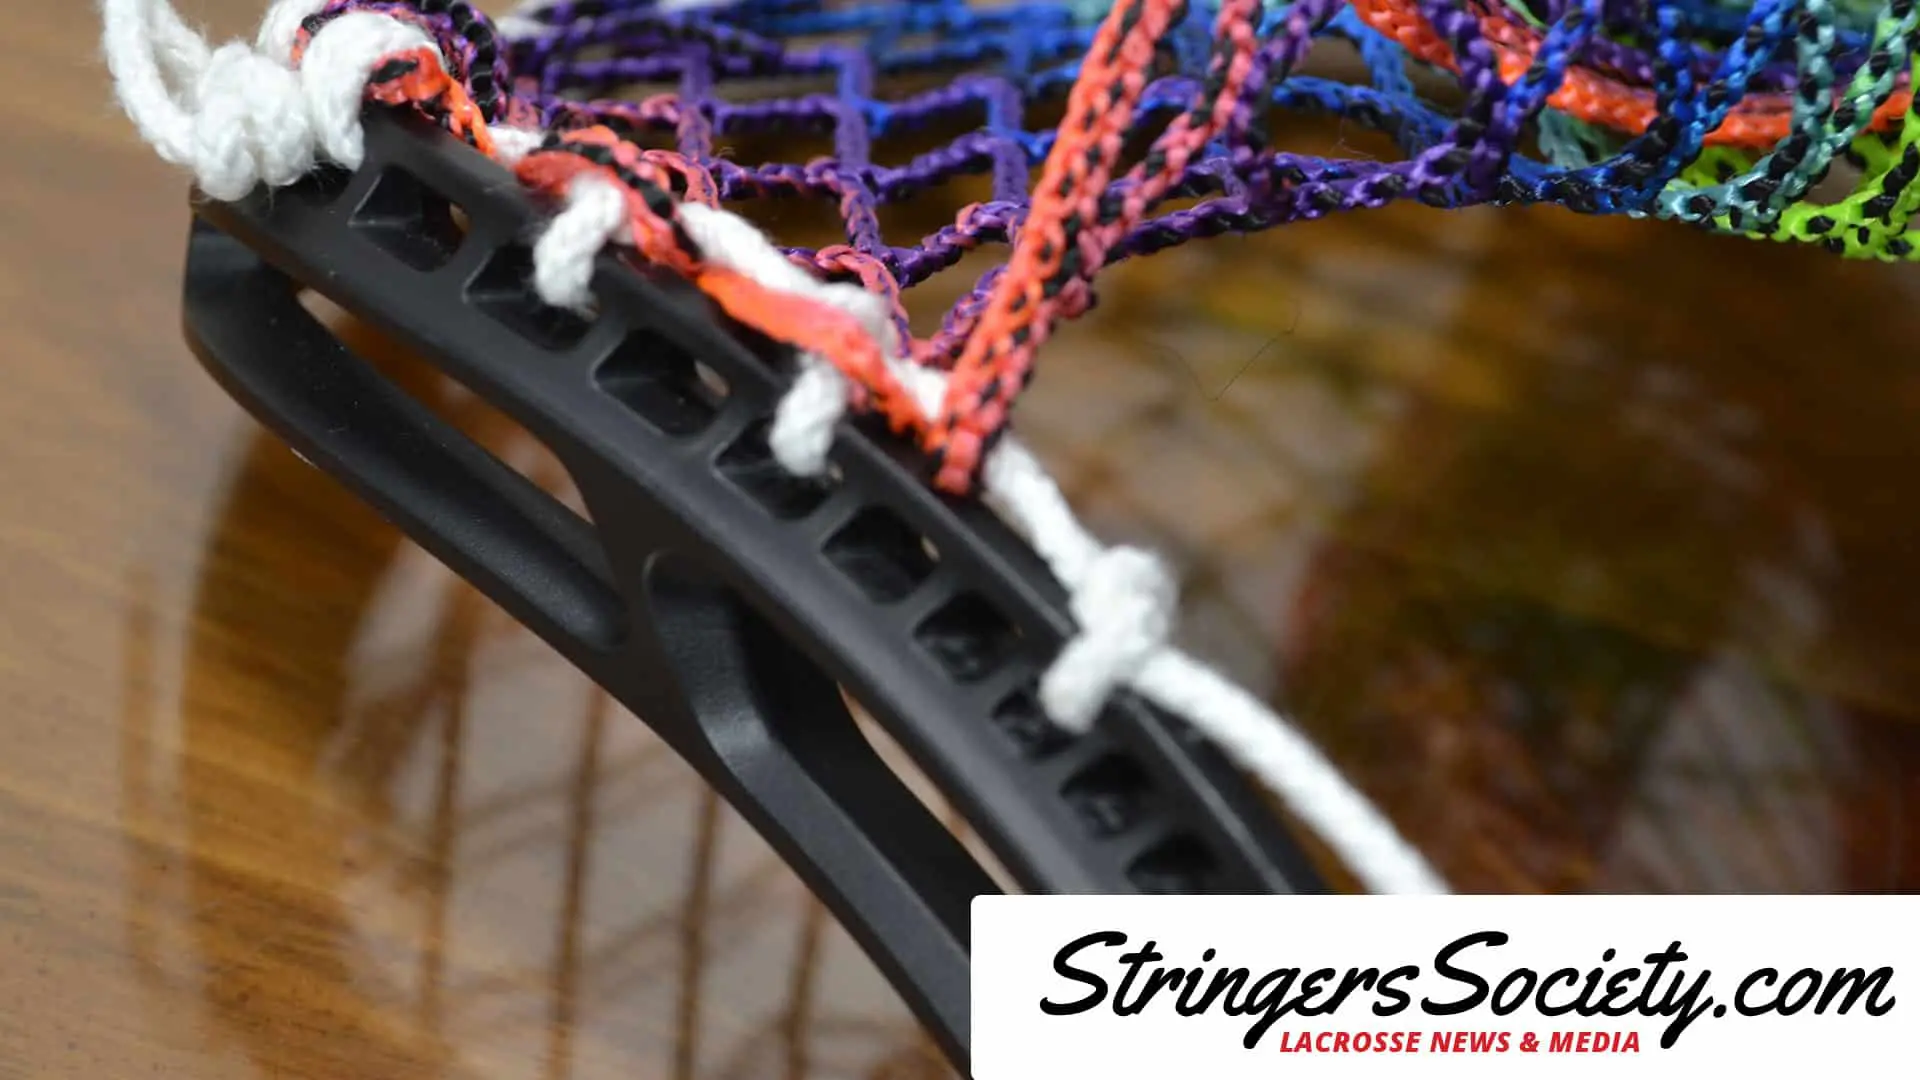
The third photo in the slideshow below illustrates the final step in the KSI. Take your lacrosse string back through the front of the lacrosse mesh after you have tied and anchored the knot in place.
Womens Lacrosse Head Sidewall 3

Now that we have pulled the mesh down enough and are near the midpoint of the lacrosse head we will want to transition our lacrosse pocket and create depth. To do this, we will use the Stacked Special Interlock Lacrosse Knot mentioned above. This knot is the same as a KSI though prior to making the knot you will want to loop your sidewall string through the lacrosse head twice instead of once.
Womens Lacrosse Head Sidewall 3 Final
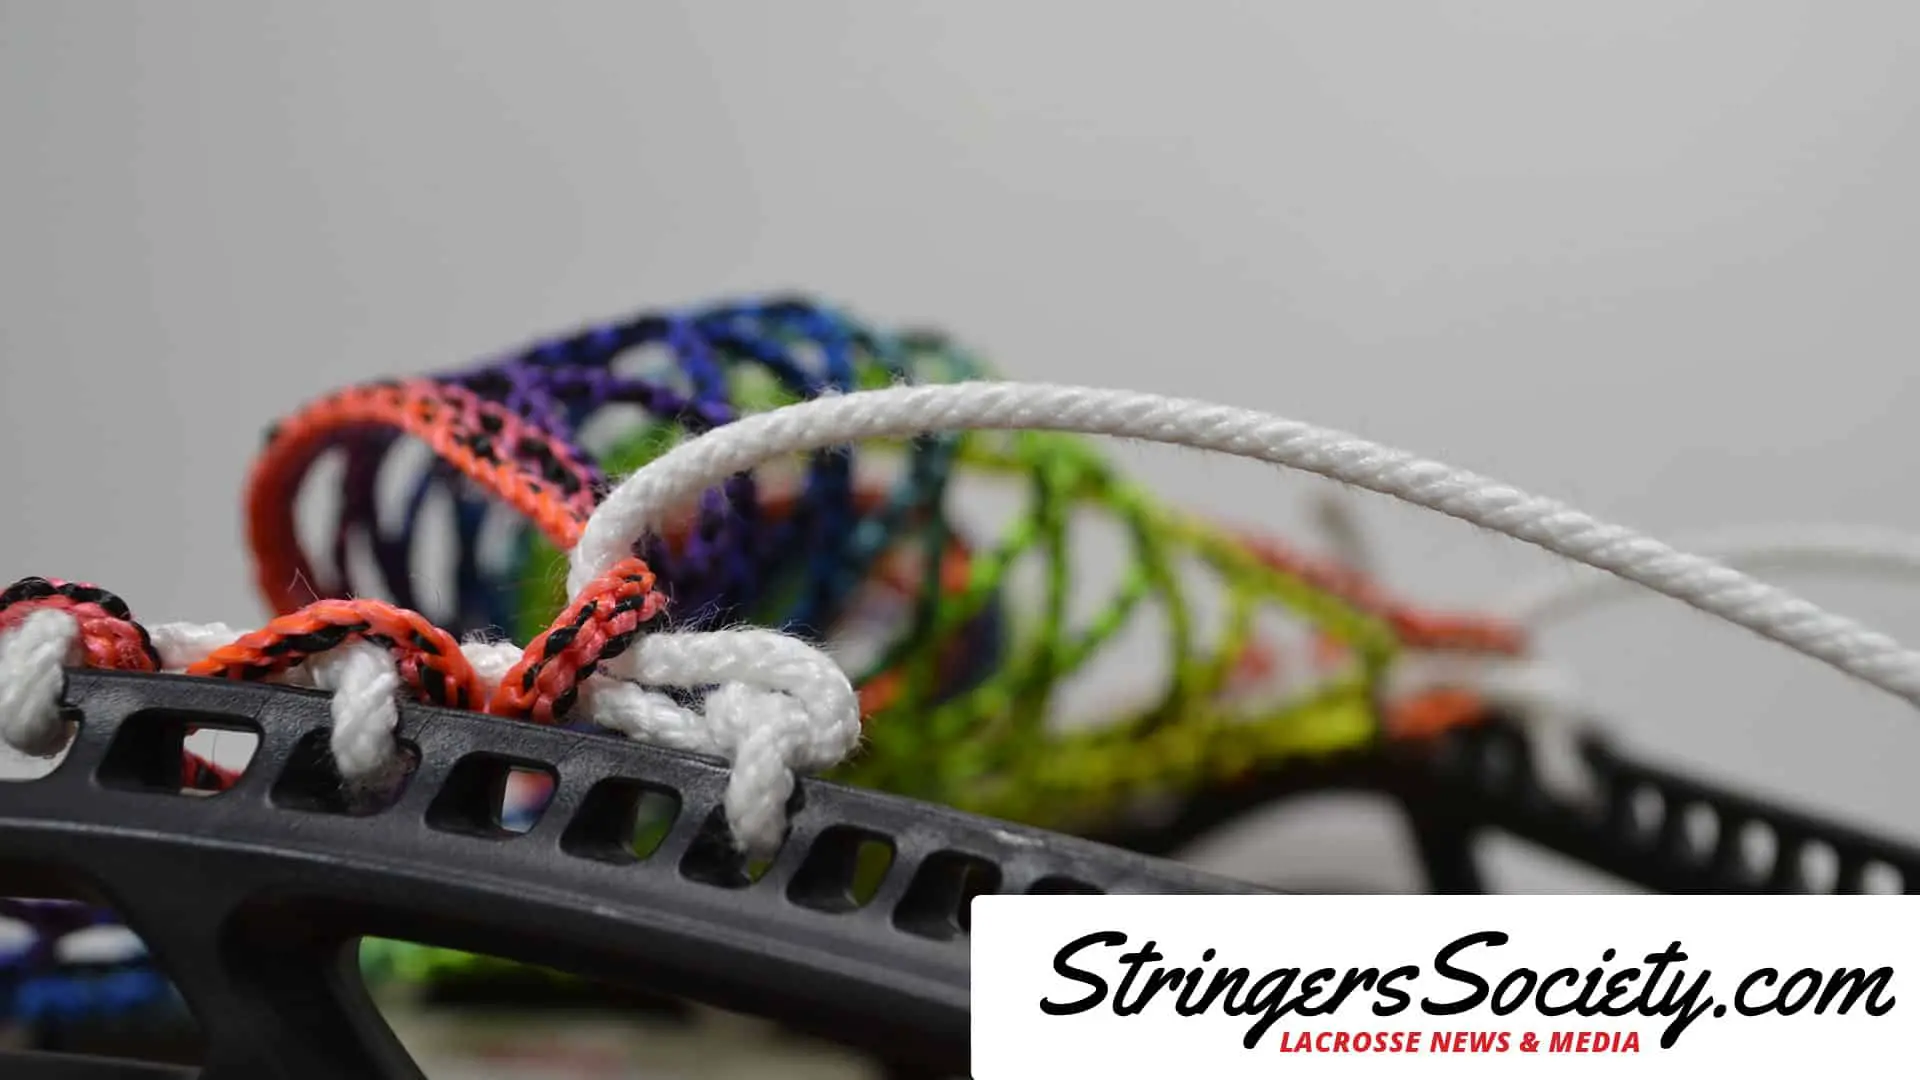
Loop back through
Knotted Standard Interlock Lacrosse Knot
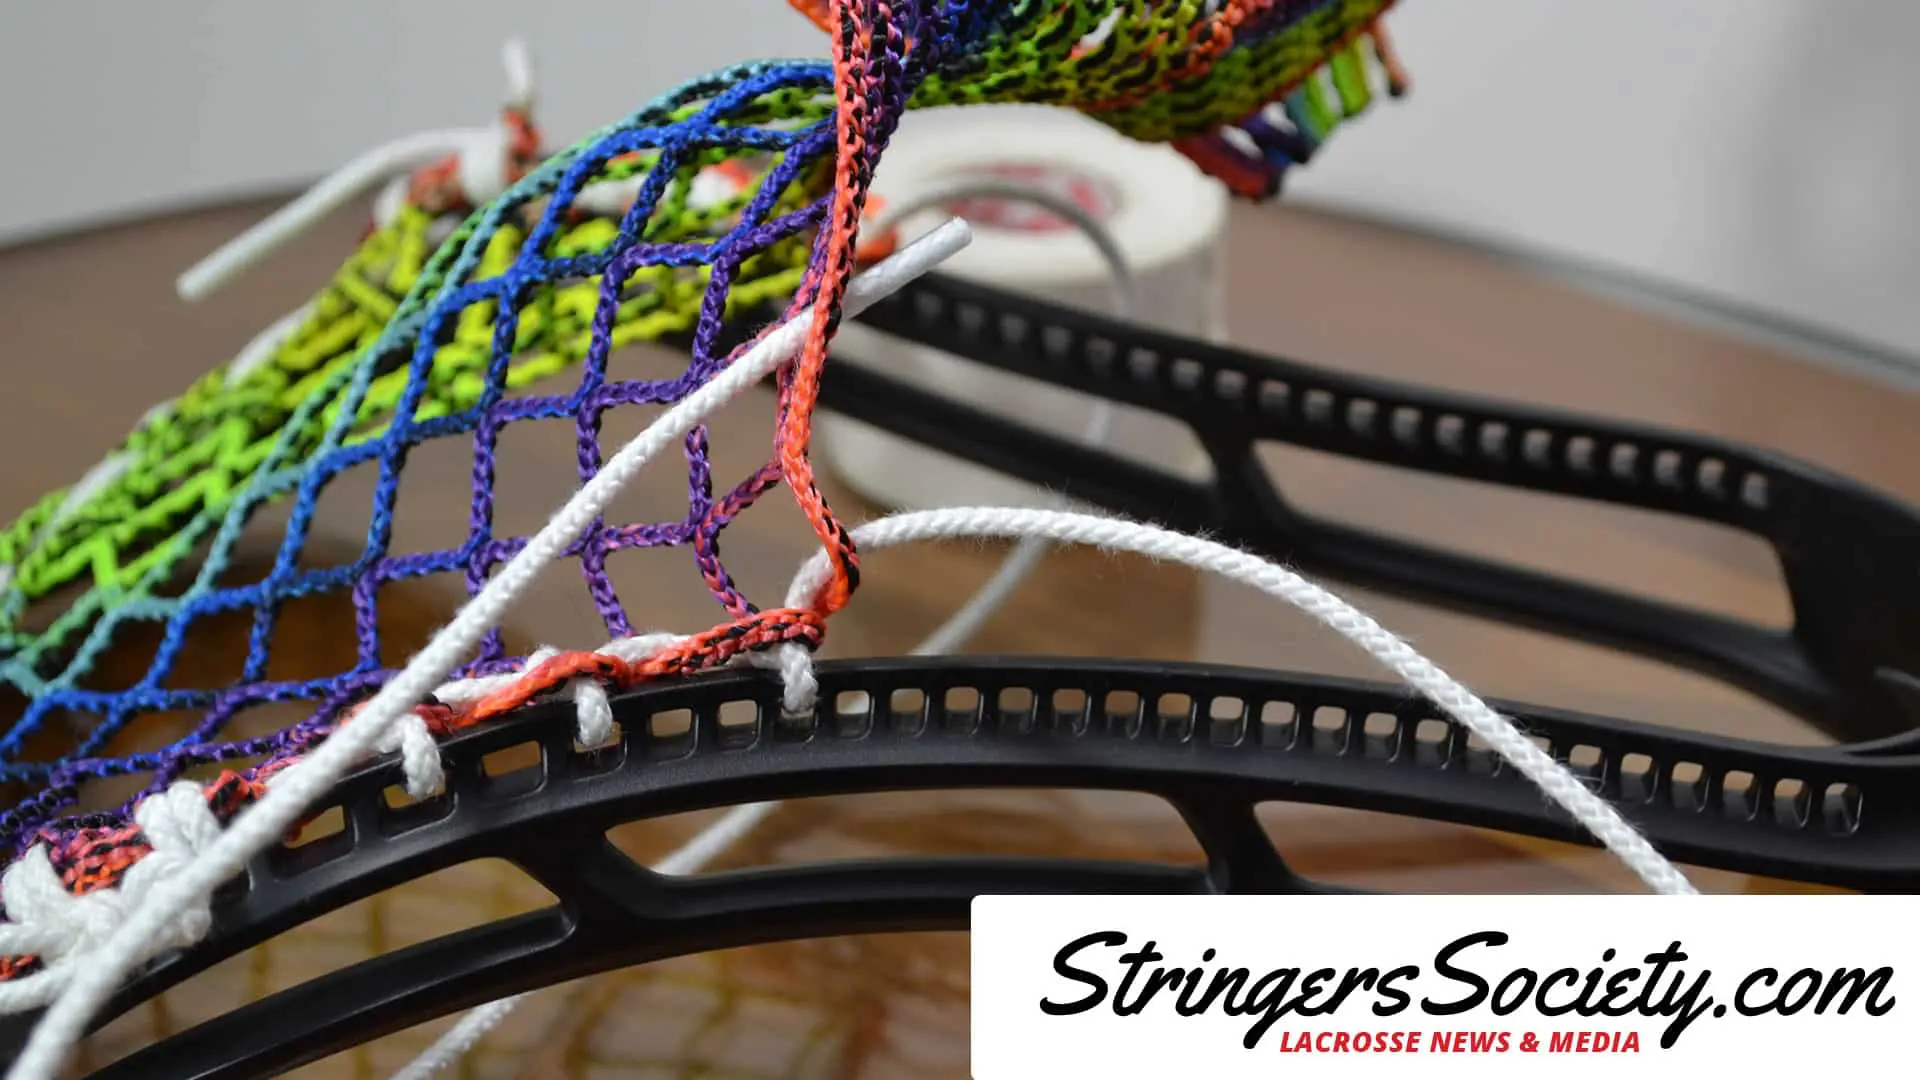
Loop twice not once
The two loops
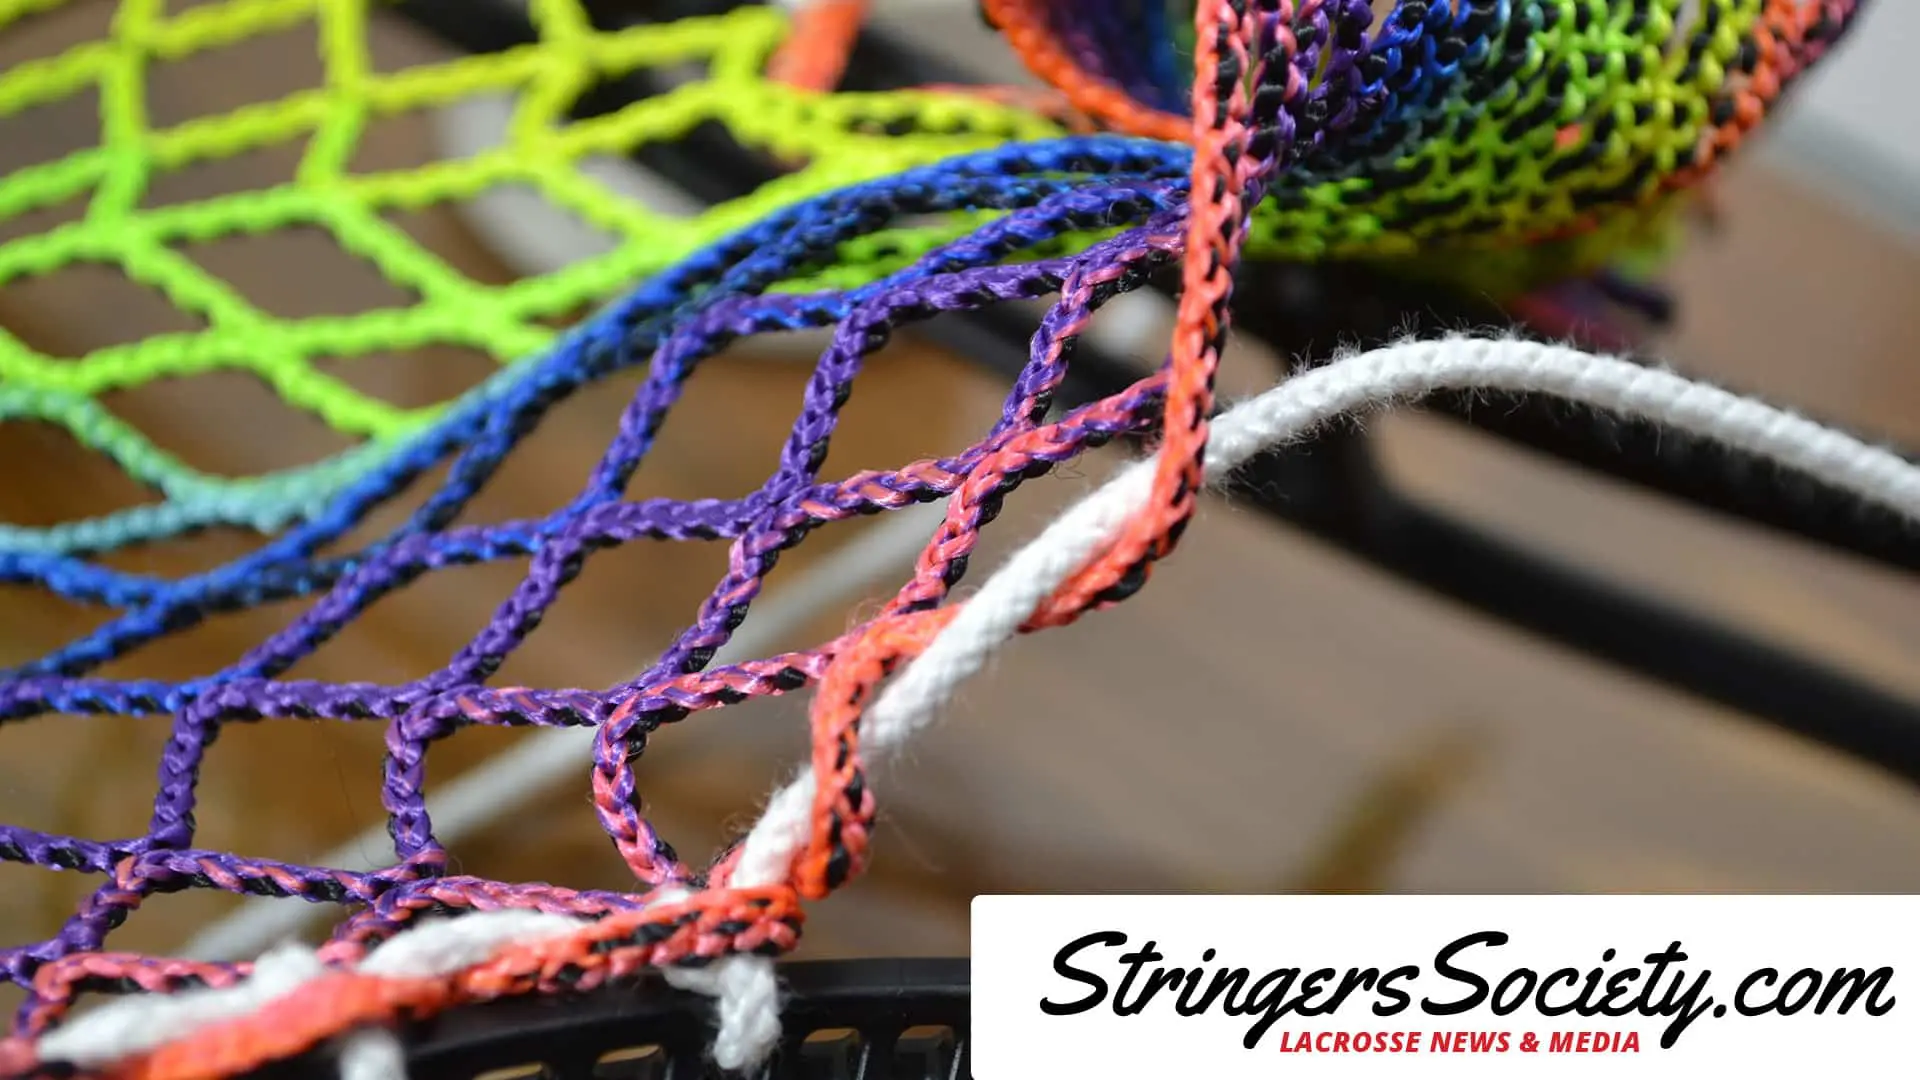
The fifth step below illustrates what looping your string through your lacrosse mesh should look like. A common issue new stringers have when stringing this knot is going through the wrong side of the mesh. You will want to make sure you take your string through the back of the lacrosse mesh, not the front.
Tying the knot
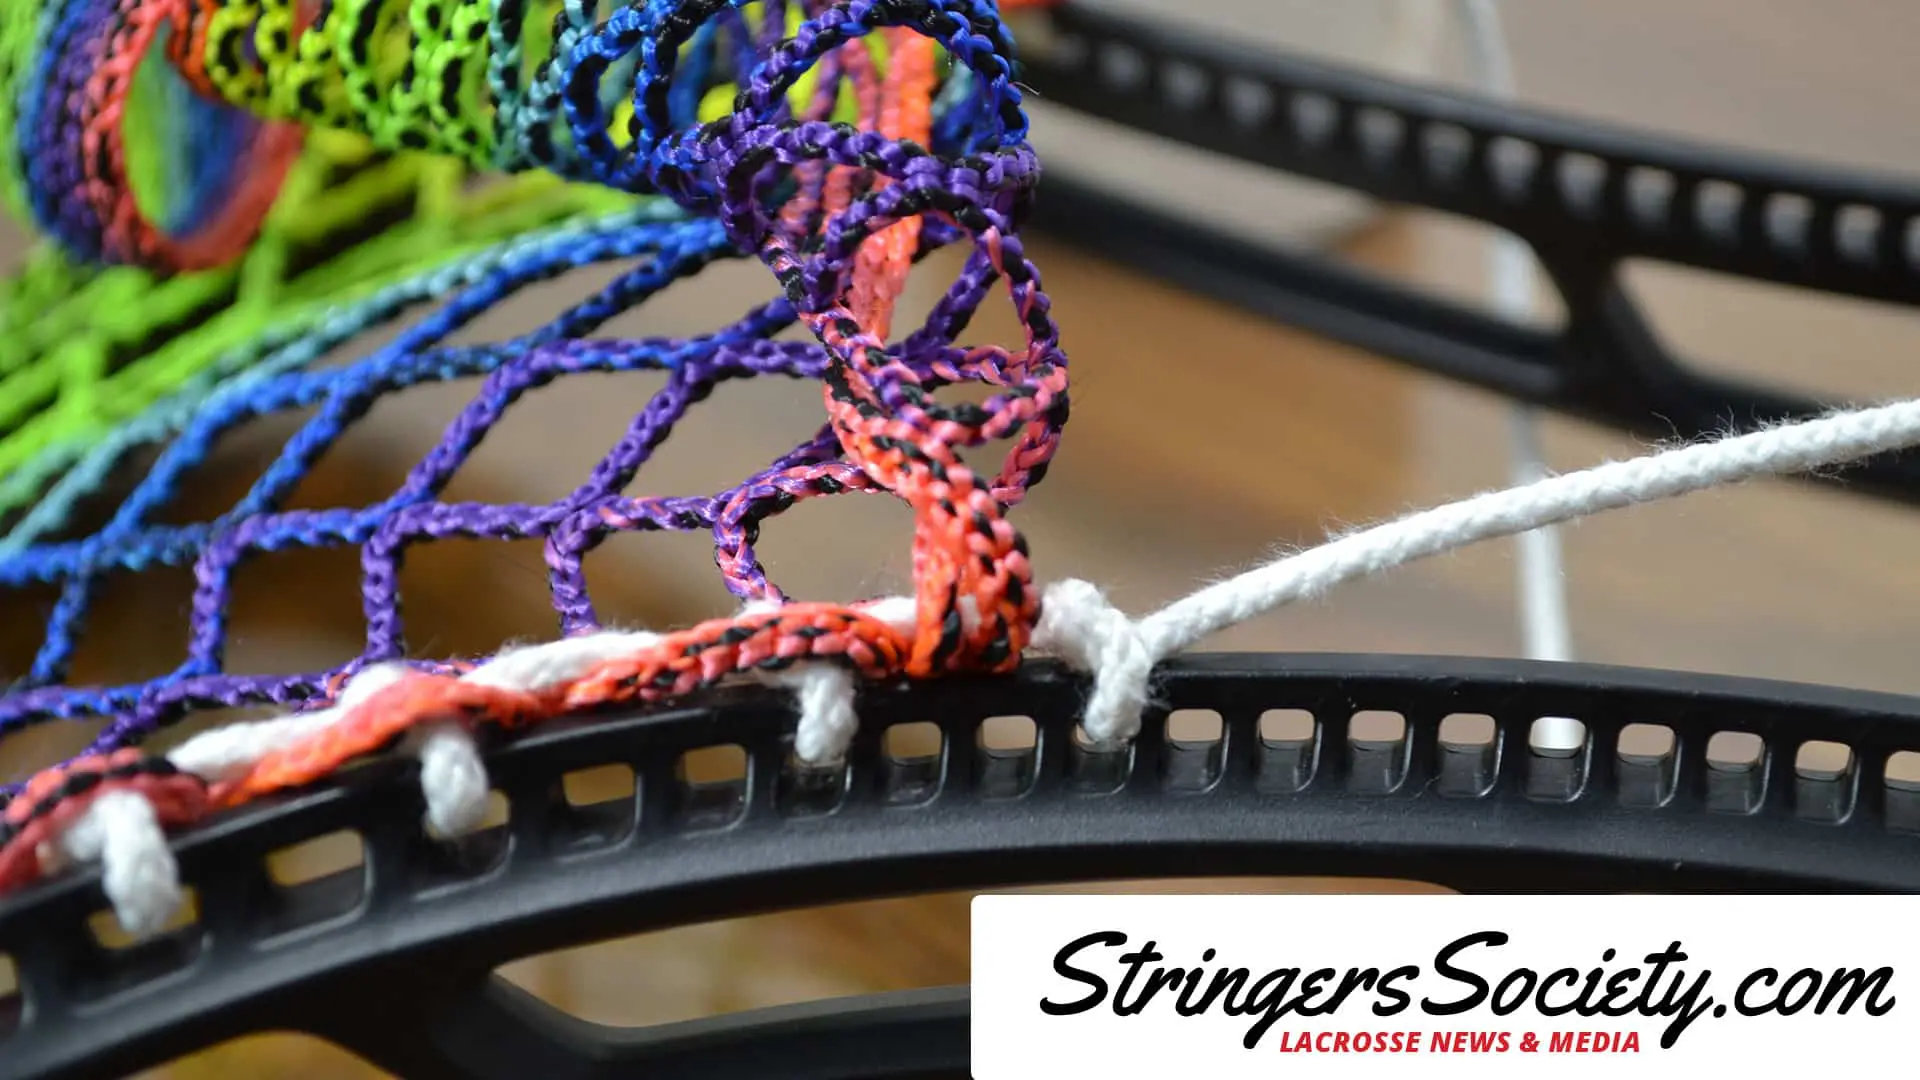
Continue your sidewall by tying a knot just like you had previously done in the KSI.
Feed the string
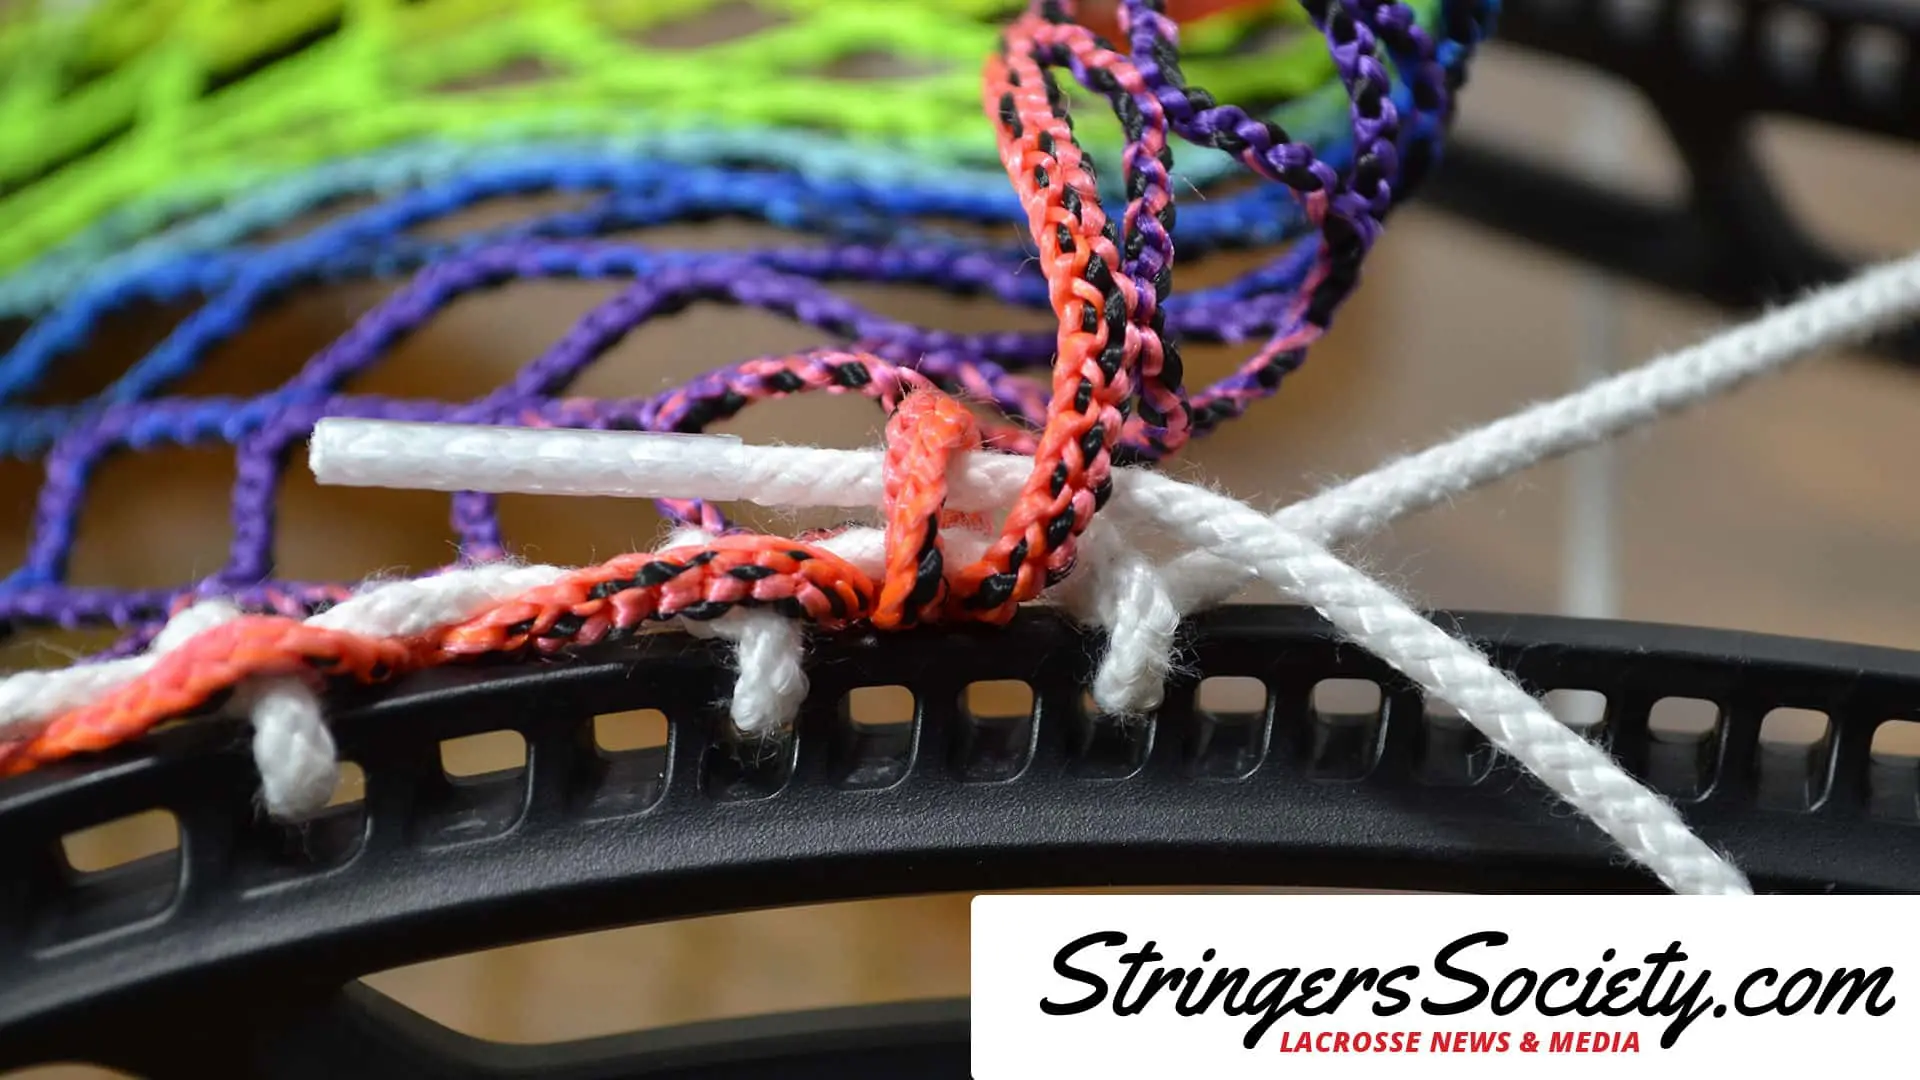
Now you will want to follow your lacrosse string back through the two loops to form your Stacked Knotted Standard Interlock Lacrosse Knot.
Pull!
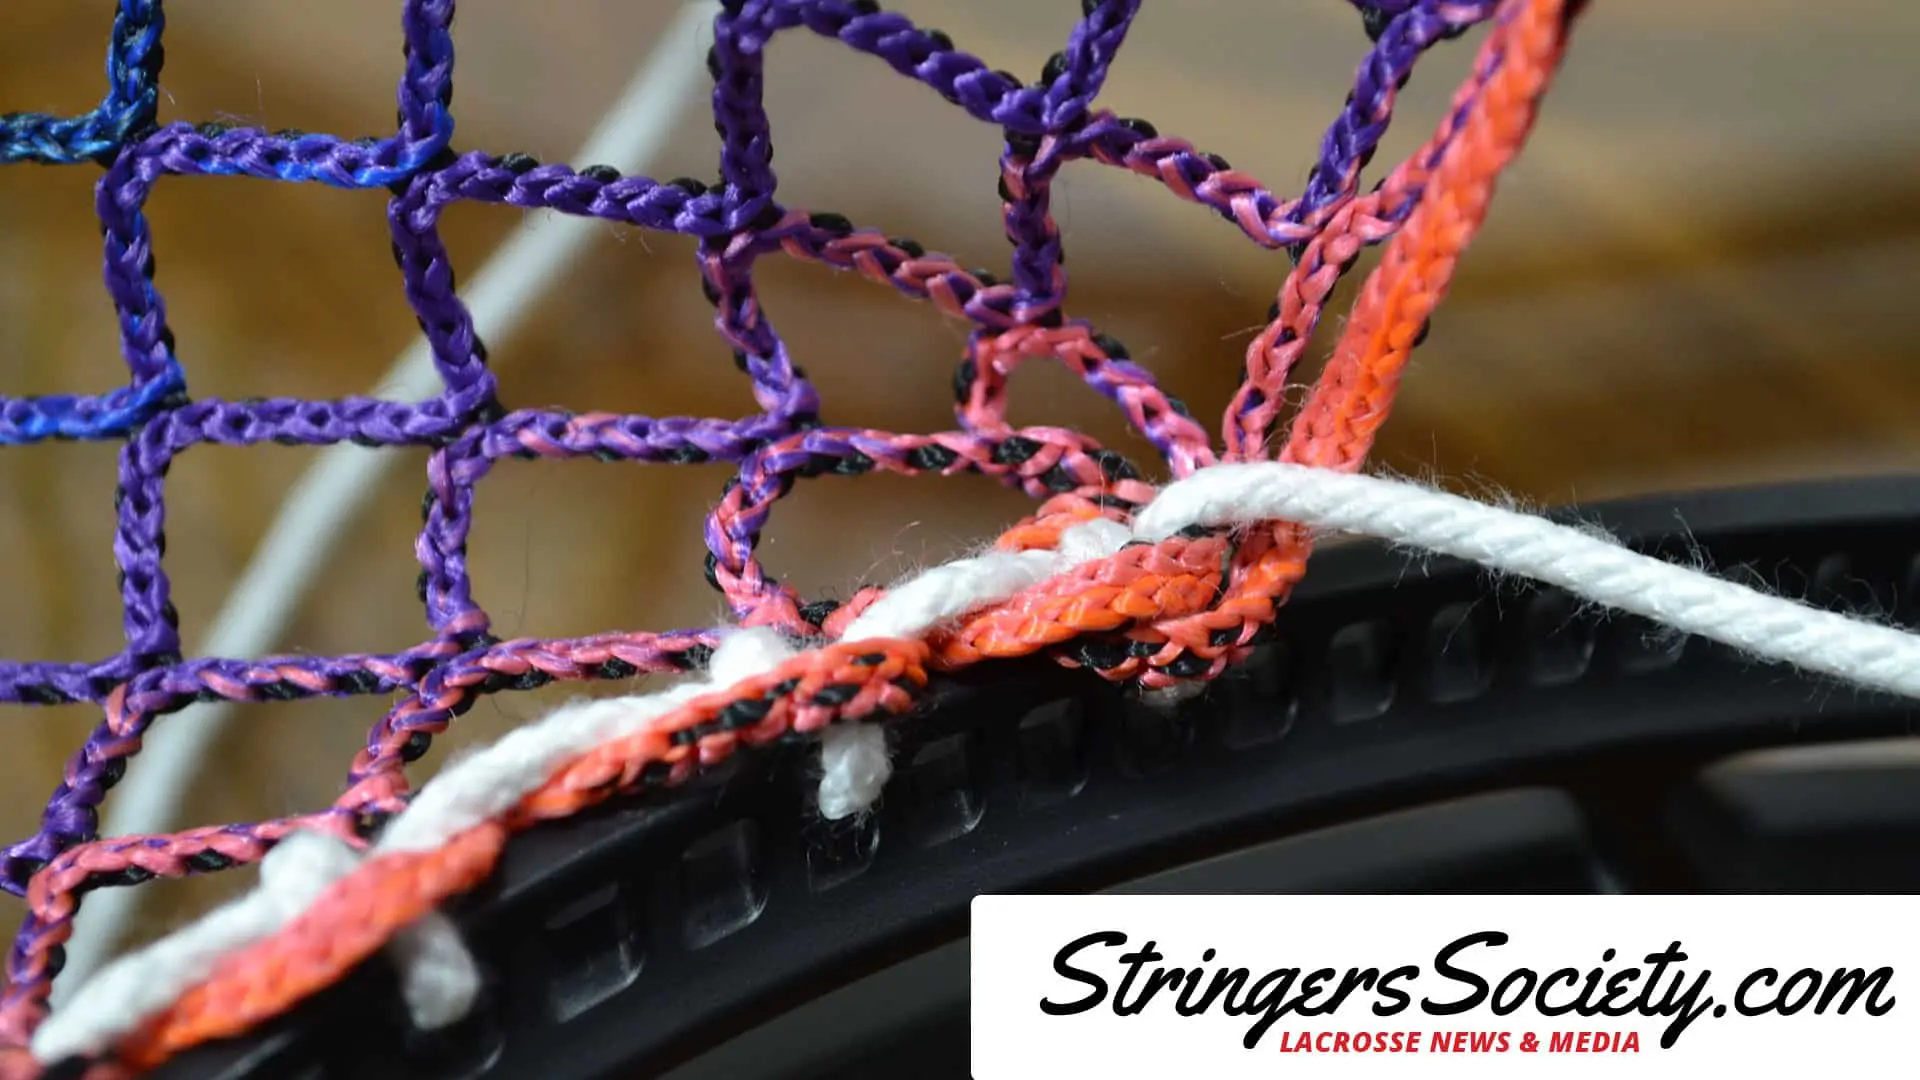
The last step in stringing a girl’s Stacked Knotted Interlock Lacrosse Knot is to pull tightly. After you string your next lacrosse knot, it will be pretty hard to change the placement of the Stacked KSI. So make sure it’s even, tight, and aligns with the other side of the lacrosse head.
Finishing A Girls Lacrosse Sidewall and Pocket
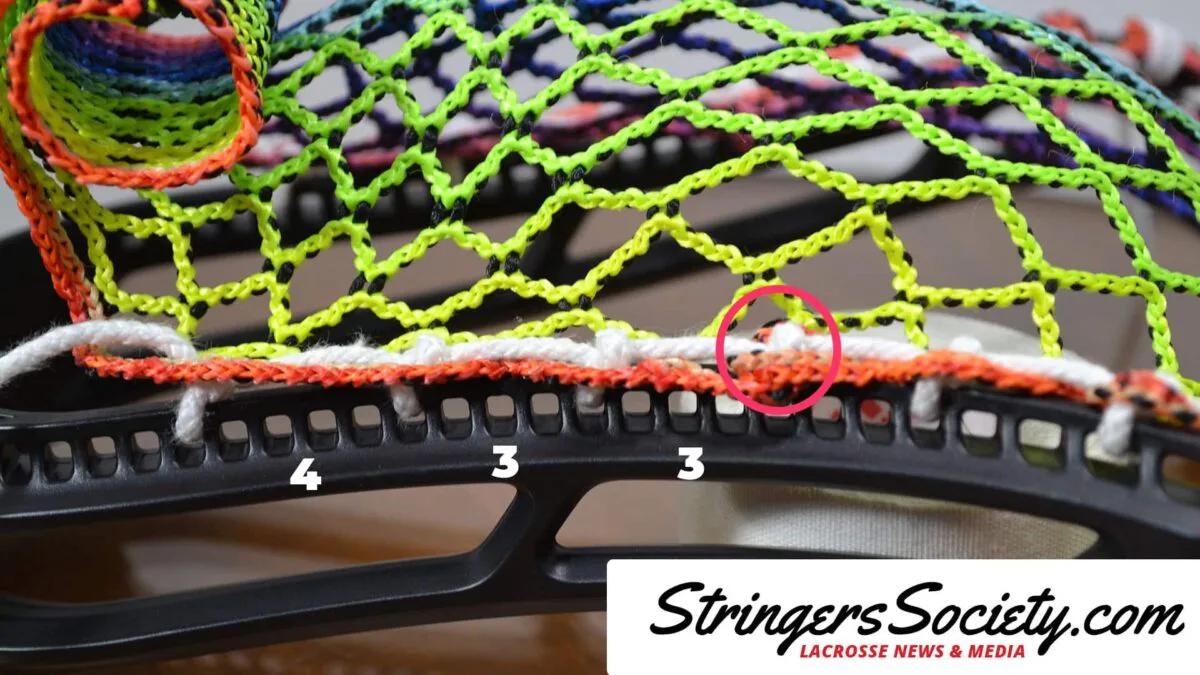
The red circle in the photo below illustrates where you should be on your sidewall after following the stringing steps above. The numbers in between the lacrosse head sidewall knots indicate how many holes you should skip when stringing the rest of your sidewall. When stringing a girls lacrosse head, you have to be careful not to create too deep of a pocket. This is why lacrosse mesh-like The Mesh Dynasty’s Ignite Mesh and StringKing’s Womens Type 4 Lacrosse Mesh have two sizes of diamonds in the mesh. The big diamonds are positioned for a good pocket, while the smaller diamonds are positioned for the stringing.
Tying off your Lacrosse Sidewall
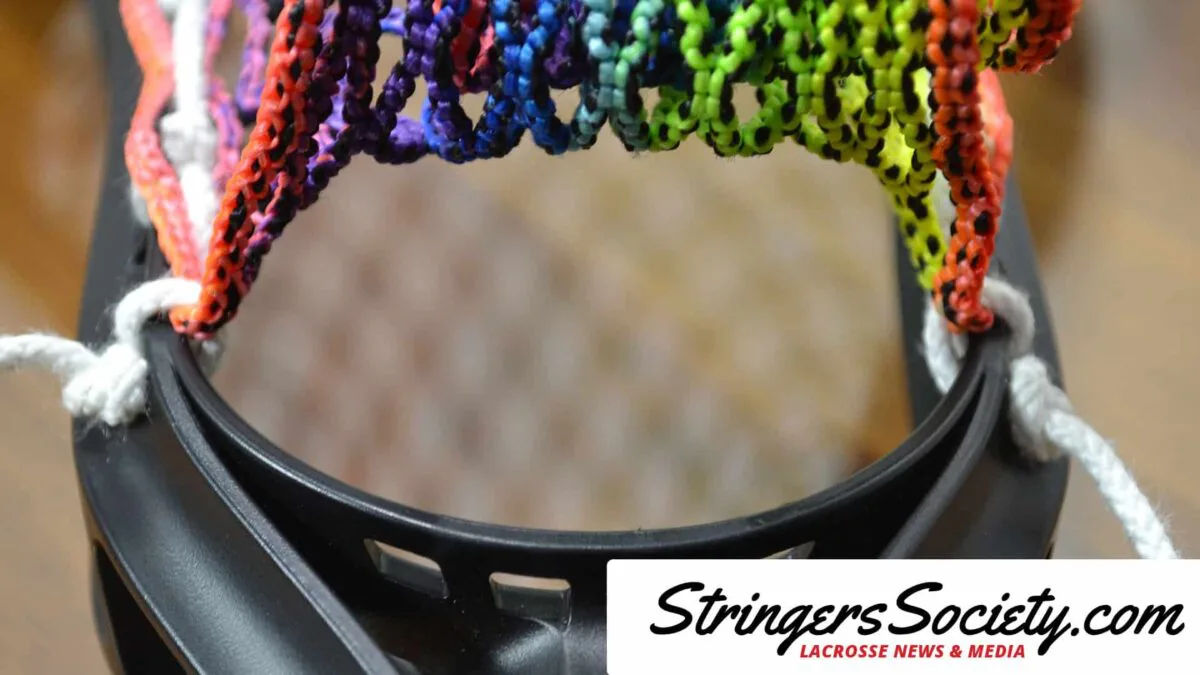
Example finish
How to String a Women’s Lacrosse Head Bottom String
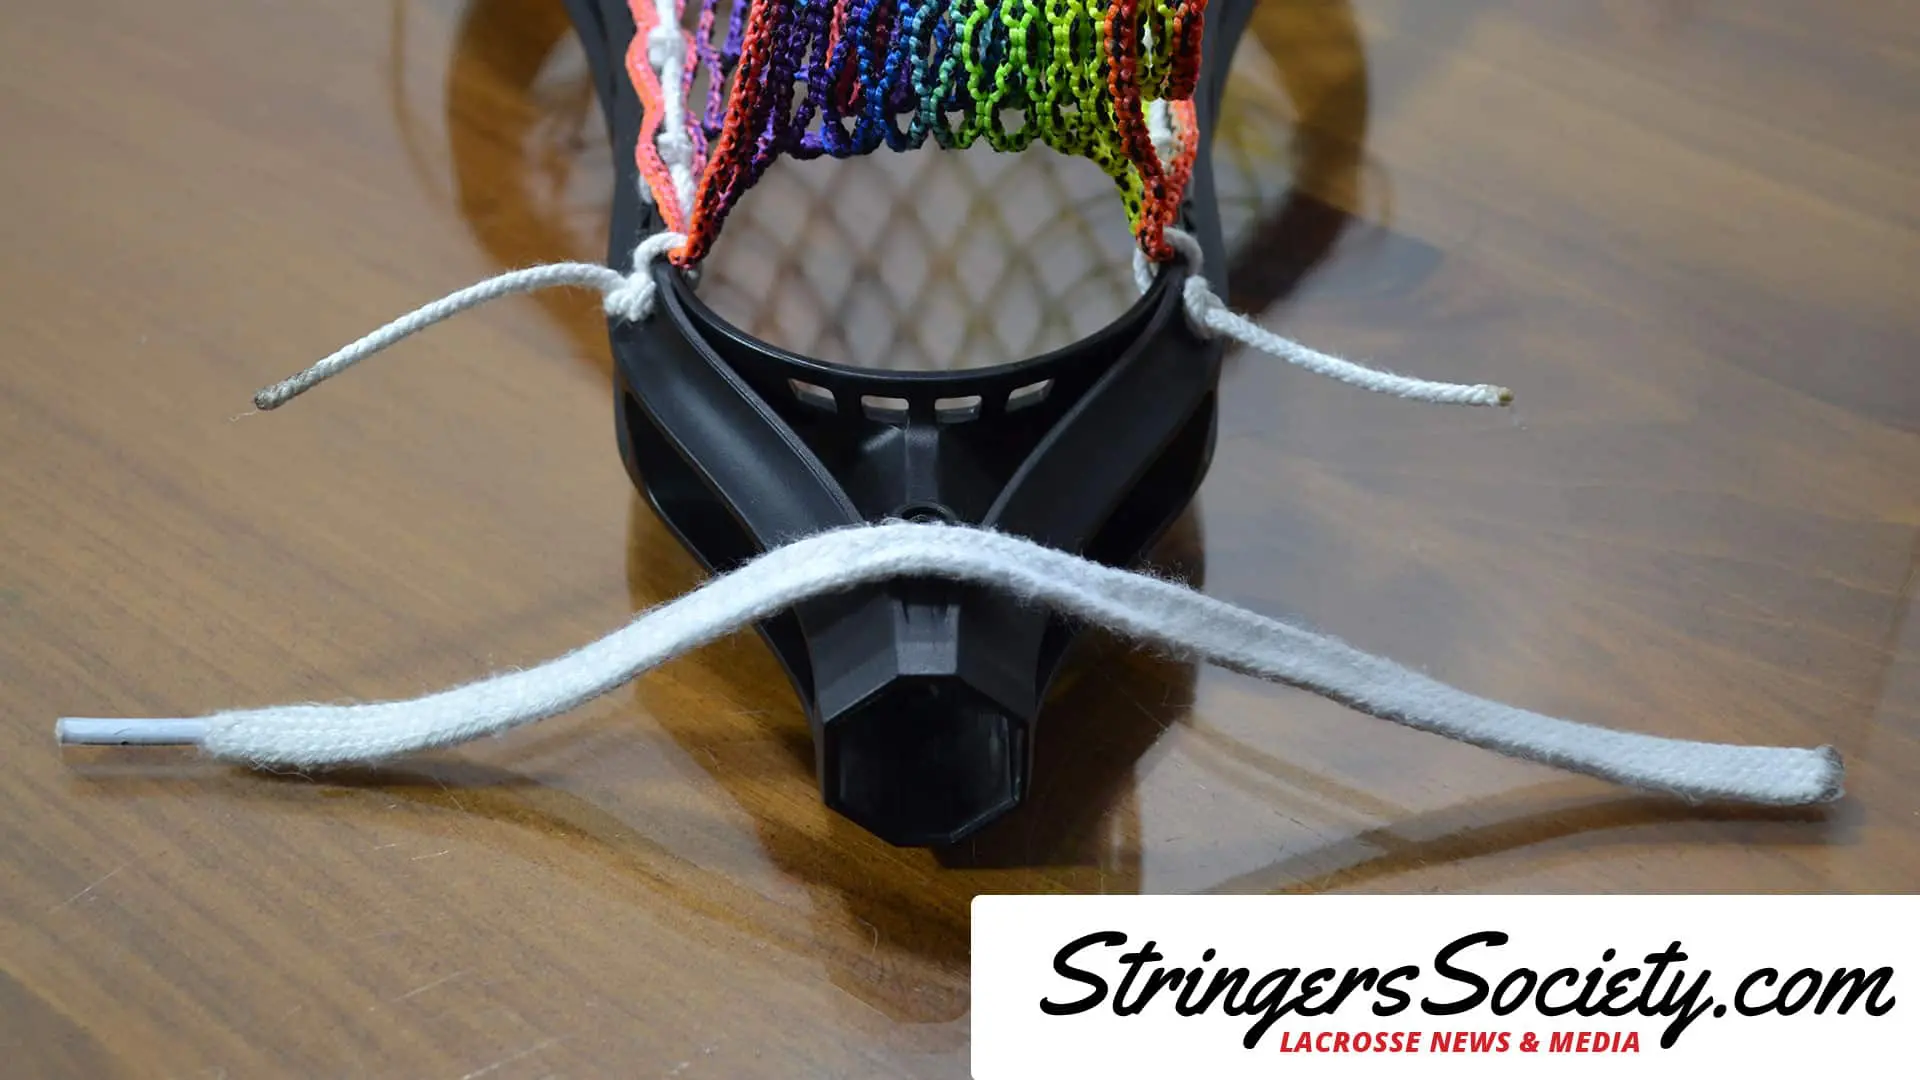
The last step in stringing a Girl’s Lacrosse Stick is to tie off the women’s lacrosse pocket with a bottom string. Find an old cotton shooter, if you didn’t buy a stringing kit, and tie a thick double knot on one side. Preferably, use the side without a tip so you can use the tip for going through the holes. You will want to use the seven diamond row and just weave the shooter up through the front of your mesh and out through the back in the next hole or two over. Then go through the middle bottom string hole on that side. Now repeat for the other side of the mesh going through the same diamonds you did on the other side. It’s imperative that your bottom string is a mirror image of itself from one side to the other. Imperative also means very important. An uneven bottom string means an uneven pocket with many problems.
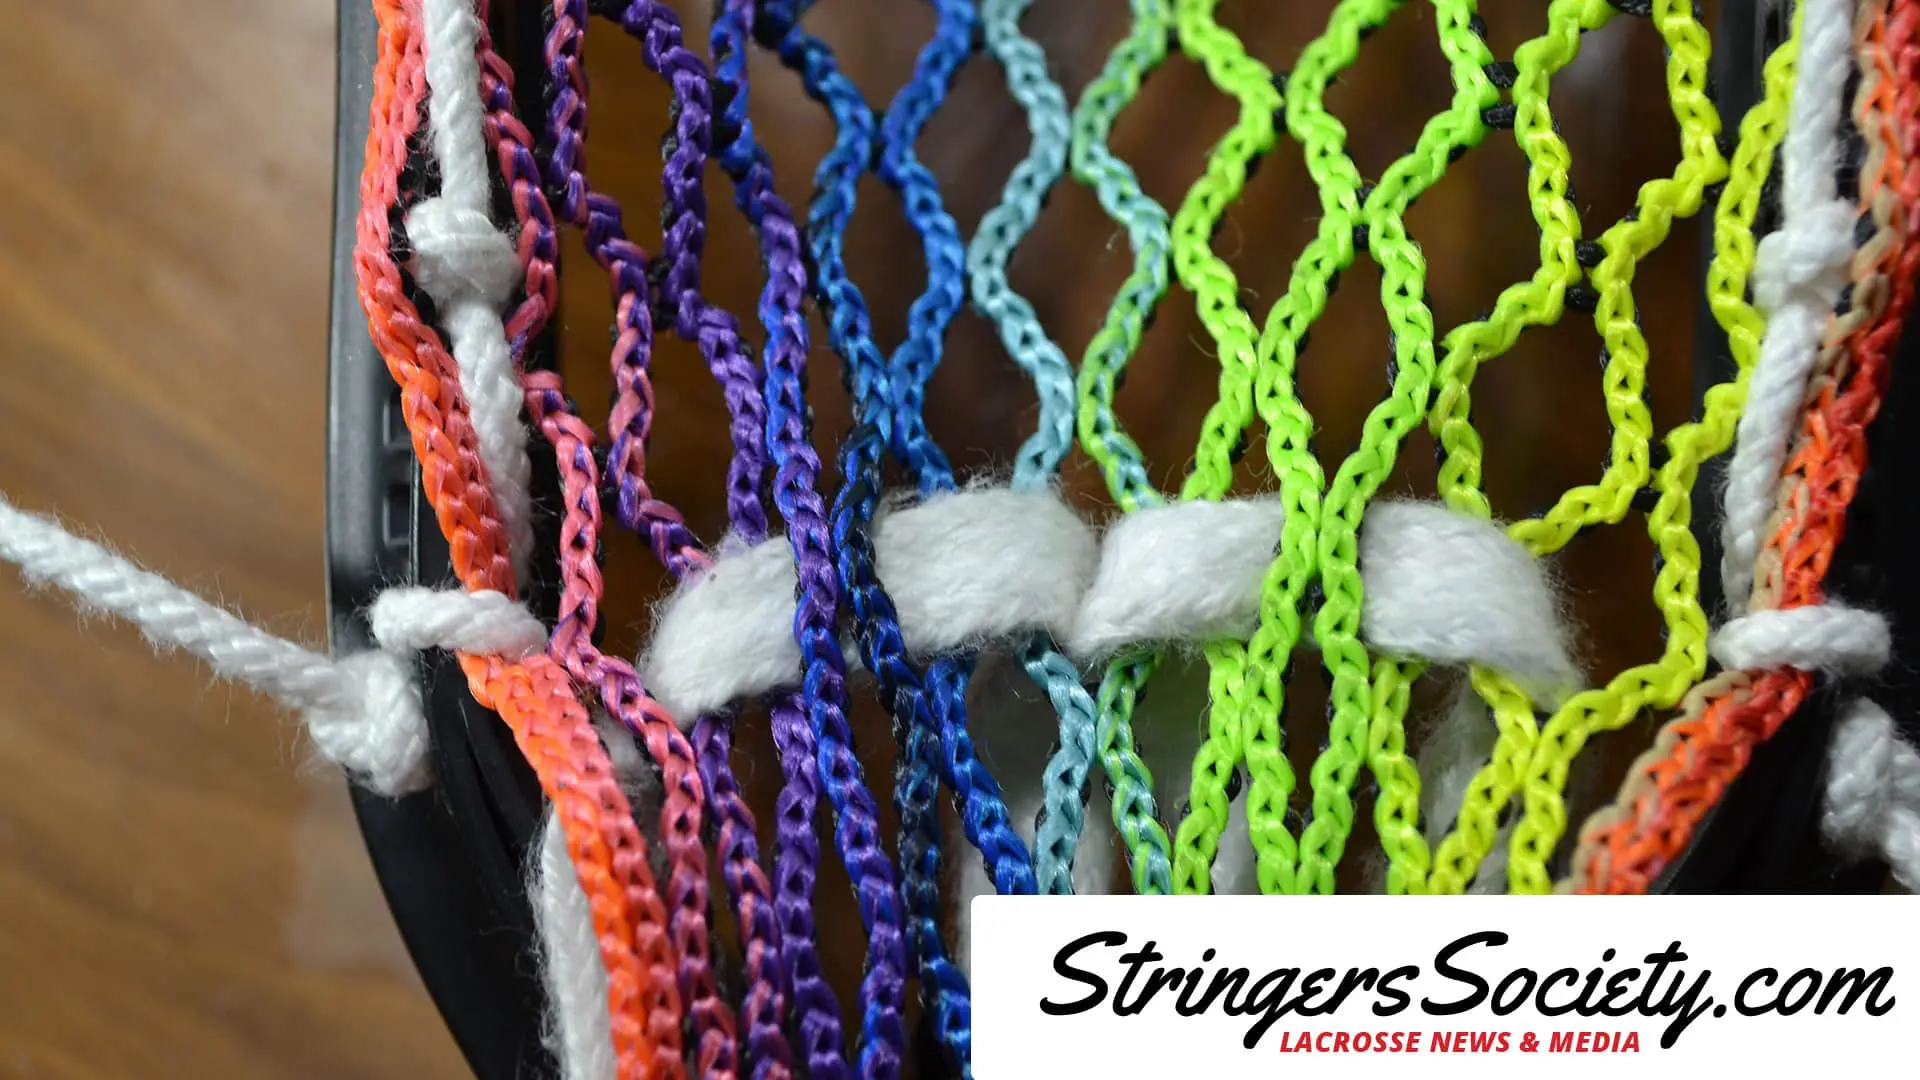
Check the pocket depth

After you have strung your women’s lacrosse pocket, make sure to place a ball in the pocket to check the legality. I will usually pound my pockets with a wooden baseball bat to stretch out the mesh before checking the pocket depth. This will allow you to get an idea of where the pocket will rest and how far it will stretch. Stretching the lacrosse pocket out right after you string also prevents further stretching because most meshes can only stretch so far. Once you reach a full stretch, you’ll see exactly what the pocket will always look like.
If you can’t, see the top of the lacrosse ball when its sitting parallel to the floor then its too deep. You can normally adjust the depth of a girls pocket without changing the sidewall by merely making the bottom string tighter. If that doesn’t help, you may need to make the pocket more shallow by not using a Stacked Single Interlock. You can also skip more holes on the head between attaching mesh holes for a more shallow lacrosse pocket.
Supply:
- 1 – 28" Sidewall For The Top String
- 2 – 26" Sidewall Strings
- 1 – 30" U Shooting Cord
- 1 – 14" Bottom Tie Off Sidewall
Materials: 1 Lacrosse Head (We used the SK Legend W)
String like the pros!
Master stringing with our tutorials and get pro-grade supplies at Stringer’s Lacrosse Shop.

