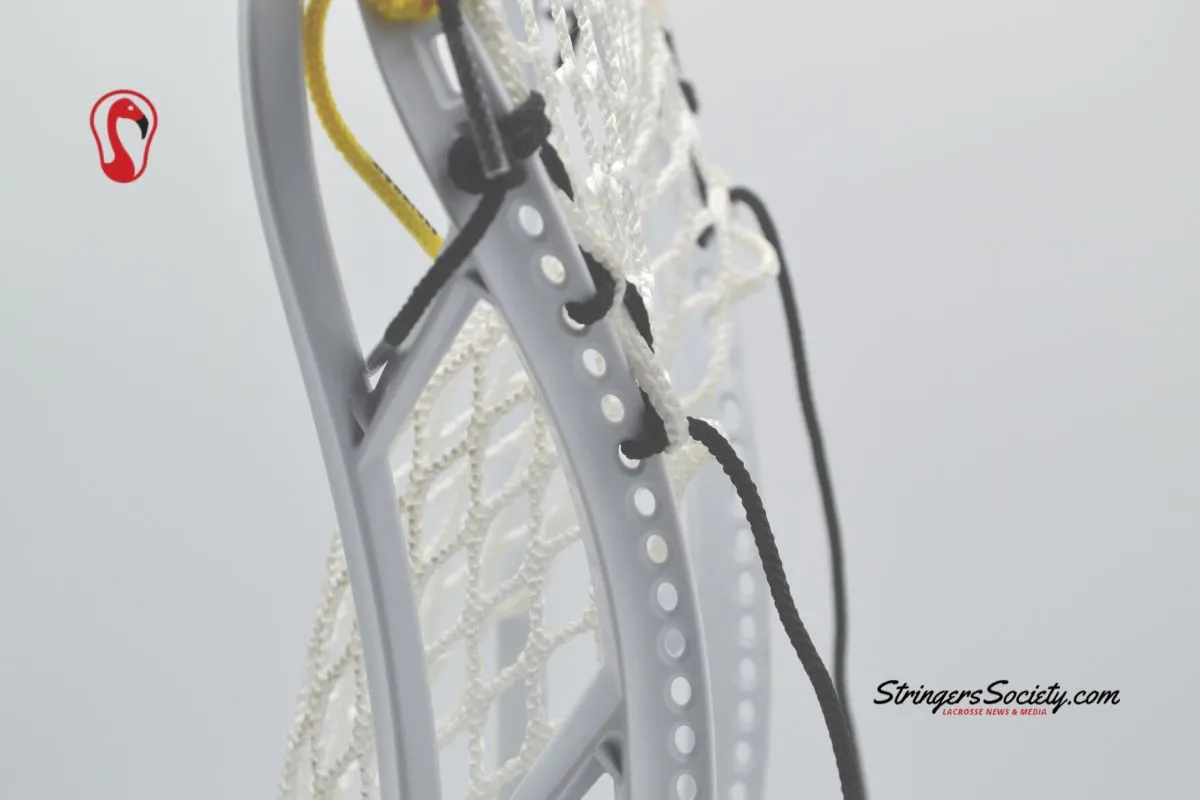
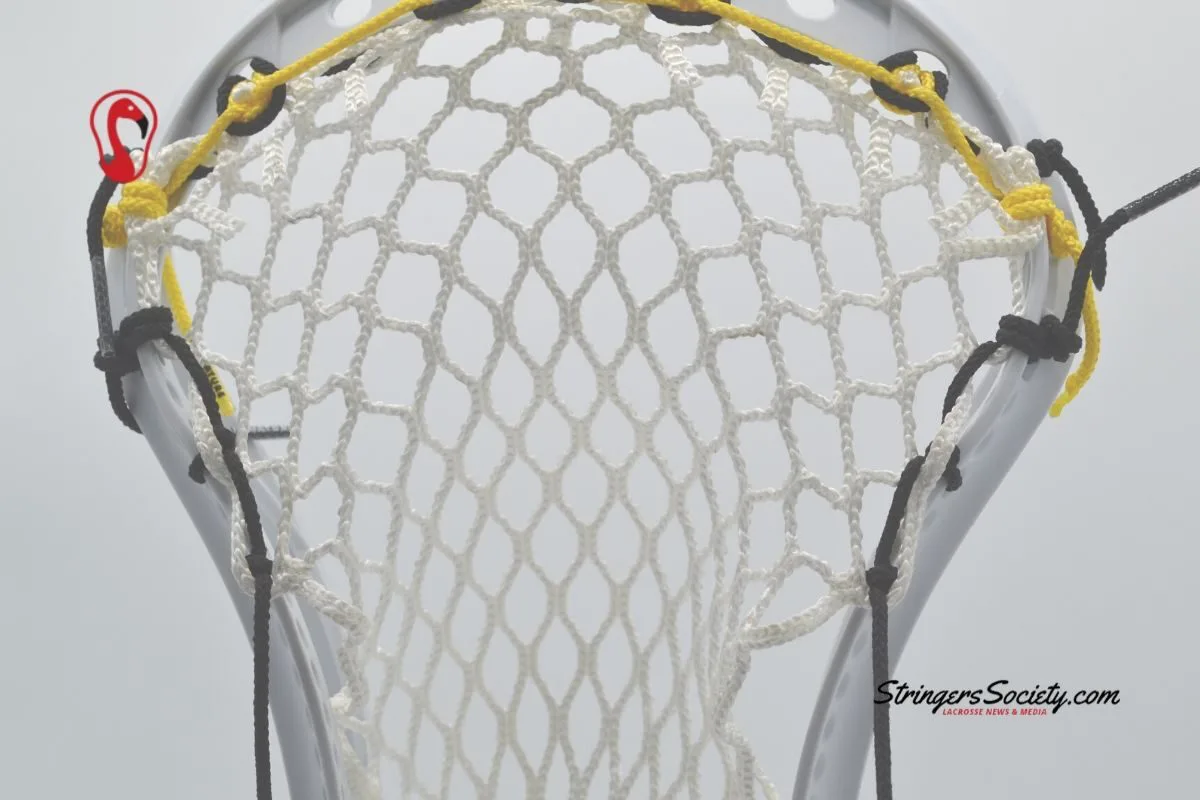
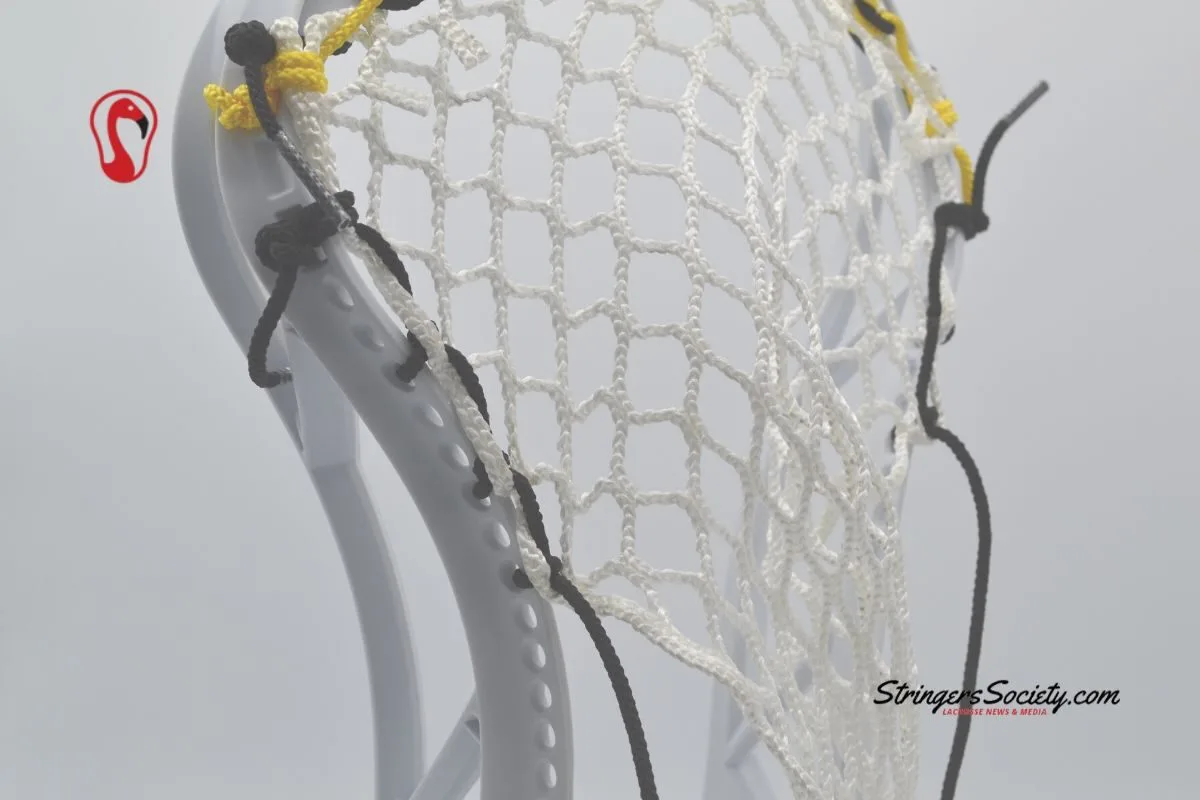
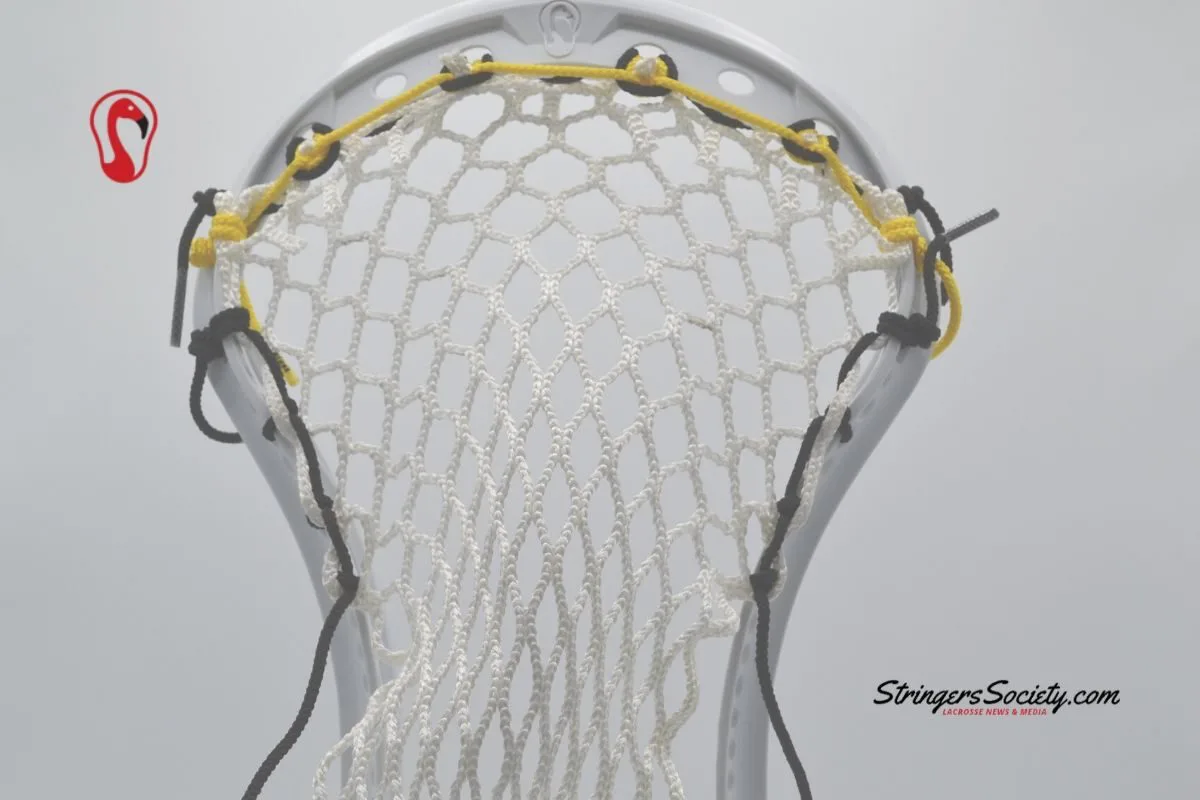
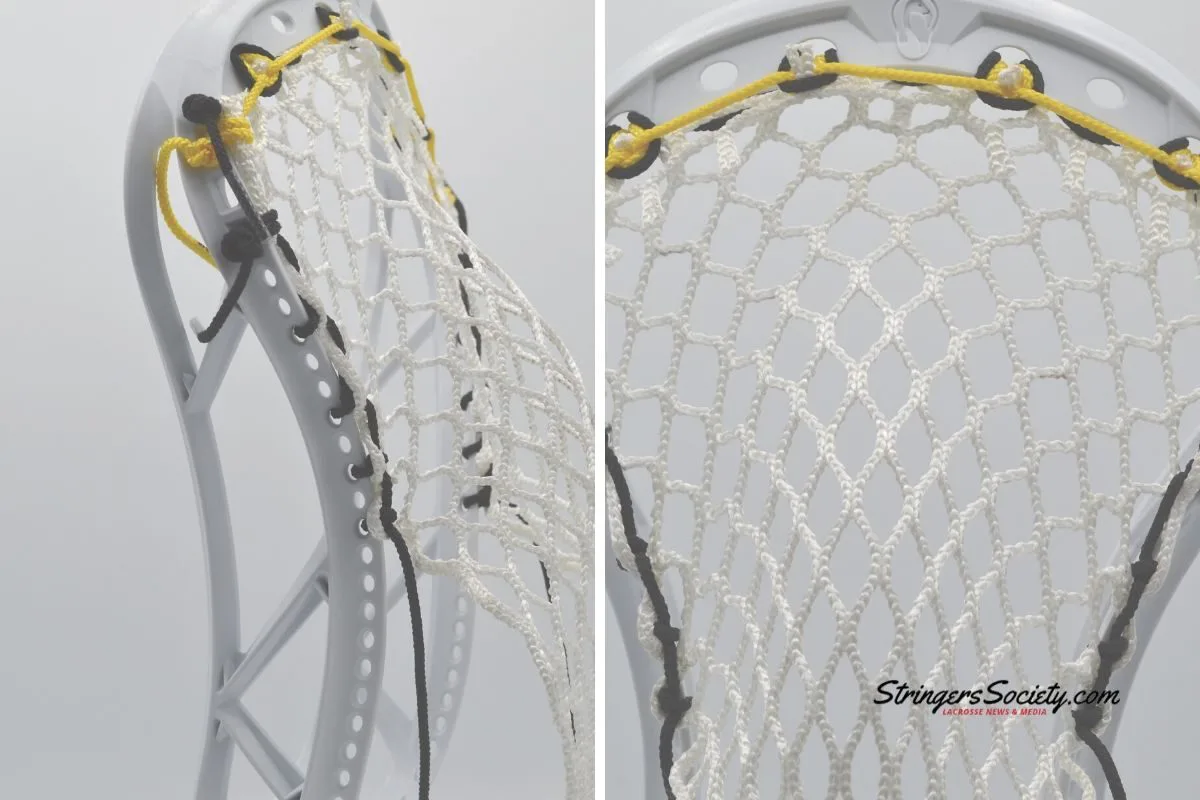
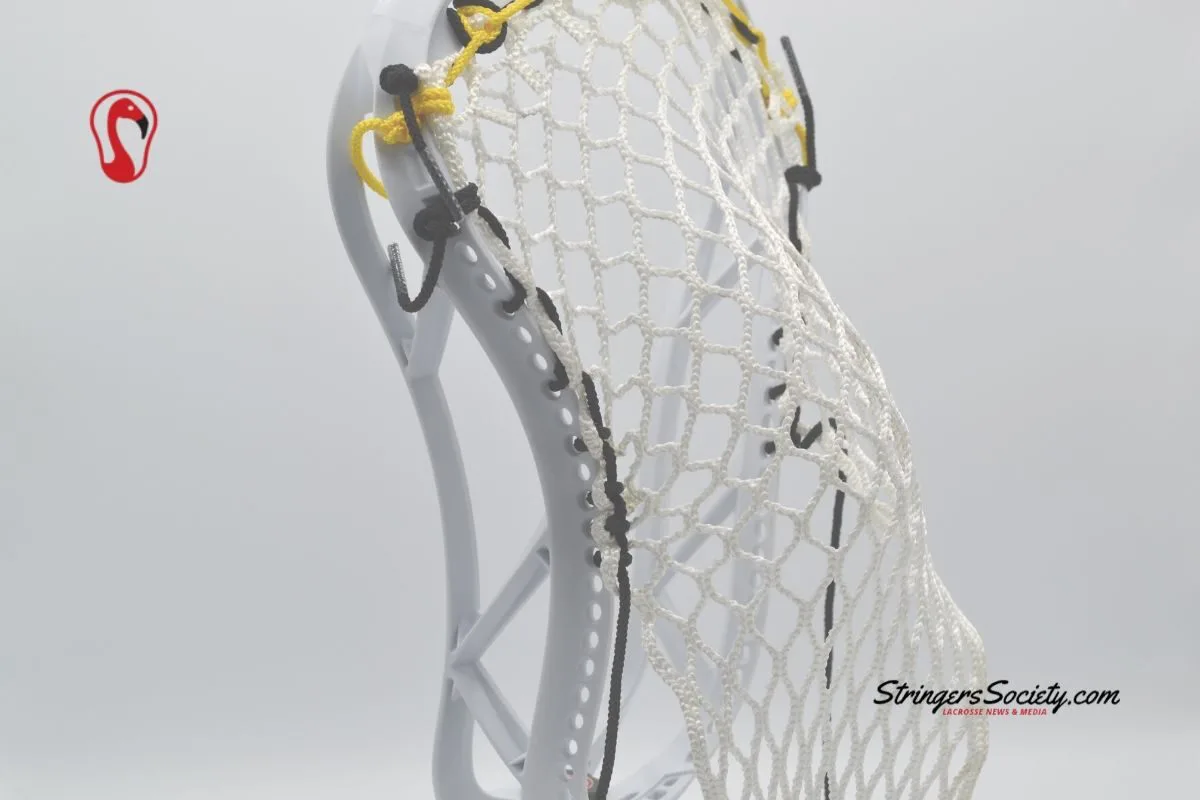
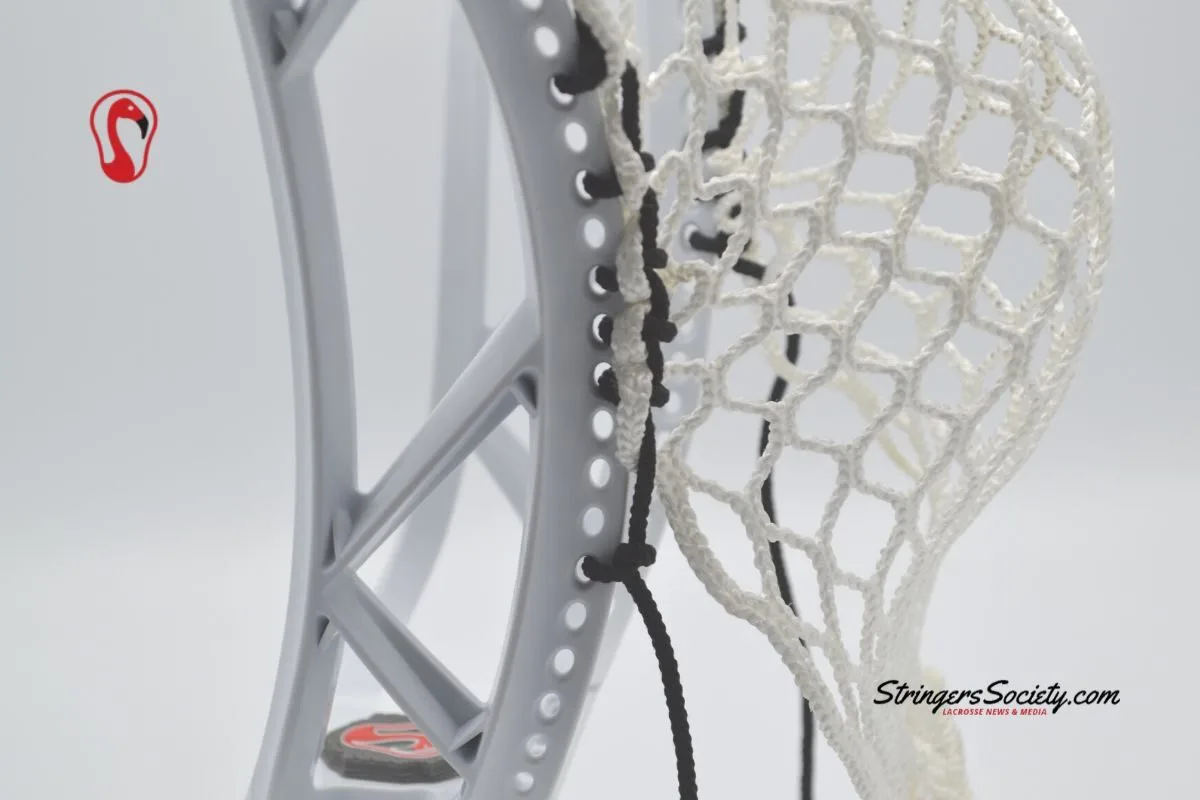
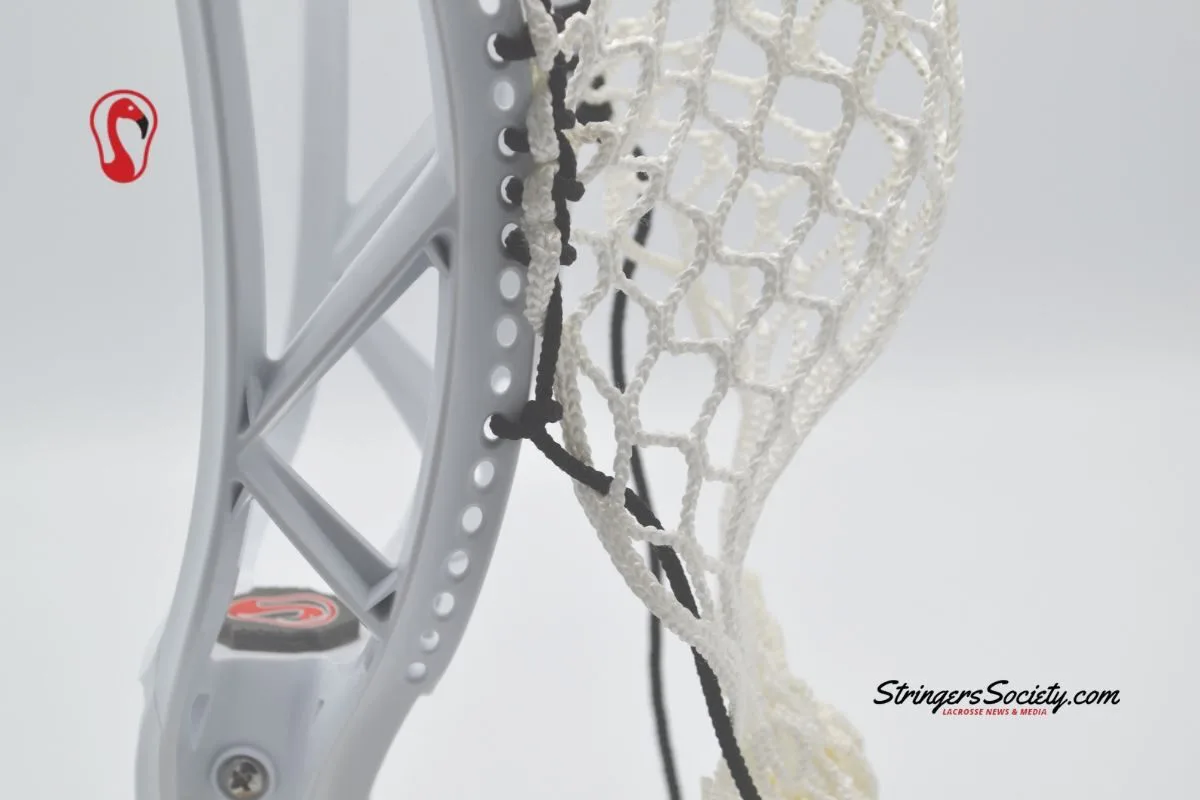
Lacrosse stringing is also one of the oldest art forms that can be traced to North America. The ingenuity, creativity, and dedication to stringing have been passed down for centuries. There are more ways to string and materials in our current game than ever. It can be difficult to find what is quality and what isn’t in the sea of products, but we have your back.
Materials Needed
To string your lacrosse stick, you’ll need the following materials:
- Lacrosse Top String: These strings secure the top of the mesh to the head.
- Lacrosse Sidewalls: These run along the side of the head and determine the pocket’s depth and shape.
- Lacrosse Bottom Strings: These connect the bottom of the mesh to the head.
- Lacrosse Shooting Strings: These are crucial for ball control and release.
- Nylon Lacrosse Strings: Optional, but they add durability to shooting strings.
Not sure where to get these materials? Stringers Lacrosse Shop has got you covered! We offer complete String Kits that include all of the materials listed above, as well as lacrosse stringing kits with mesh and string for your convenience. Check them out and get stringing!
Lacrosse Stringing tends to be hard to grasp for beginners who are stringing a lacrosse head for the first time. To simplify lacrosse stringing for players or coaches without experience, we broke down the process into a few quick articles outlined below. We highly suggest any player who is new to stringing reads these articles before continuing with the following lacrosse stringing tutorial. Although it may seem overwhelming at first, lacrosse stringing will only get easier as you practice, and eventually, you will become an expert on the subject.
Total Time: 1 hour
-
Stretch Your Lacrosse Mesh Out

Stretching your lacrosse mesh before you start stringing a lacrosse head gives you a better idea of the shape of pocket you’re stringing. If you don’t stretch your lacrosse mesh before you start stringing, you’ll have a harder time stringing and likely have to redo your pocket later too. Unstretched mesh will eventually stretch out and look different than what you strung in the first place. So stretch your lacrosse mesh out to the maximum size, and you’ll be able to move along much quicker.
-
Prepare Sidewall Strings and Top String

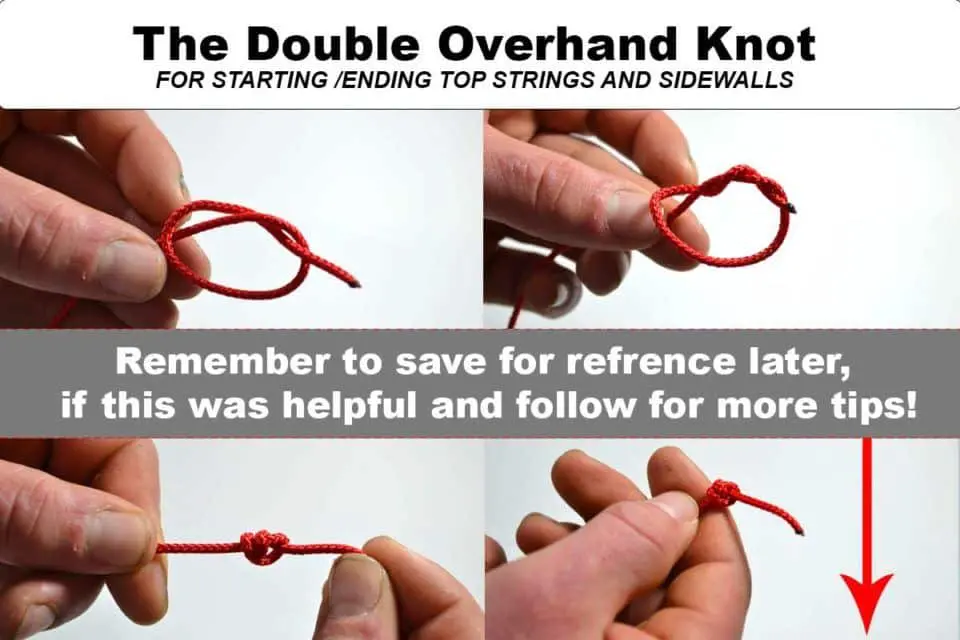
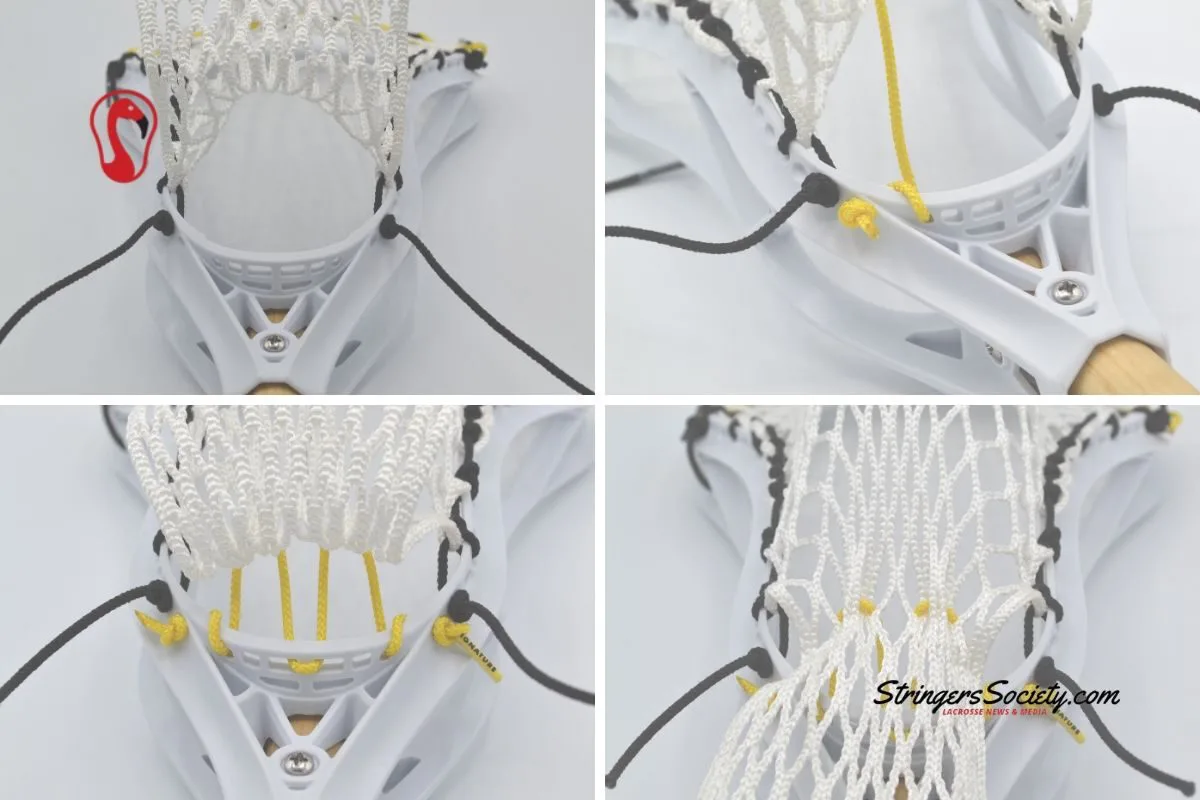
When stringing a lacrosse head, you will need a sidewall string for each side of your lacrosse head. Instead of using a standard overhand knot, a double overhand knot prevents the sidewall string from pulling through the sidewall hole of your lacrosse head. This helps your pocket stay more consistent in the long run by preventing the problem before it starts. An ounce of prevention is worth a pound of cure.
-
Lacrosse Head Top Strings

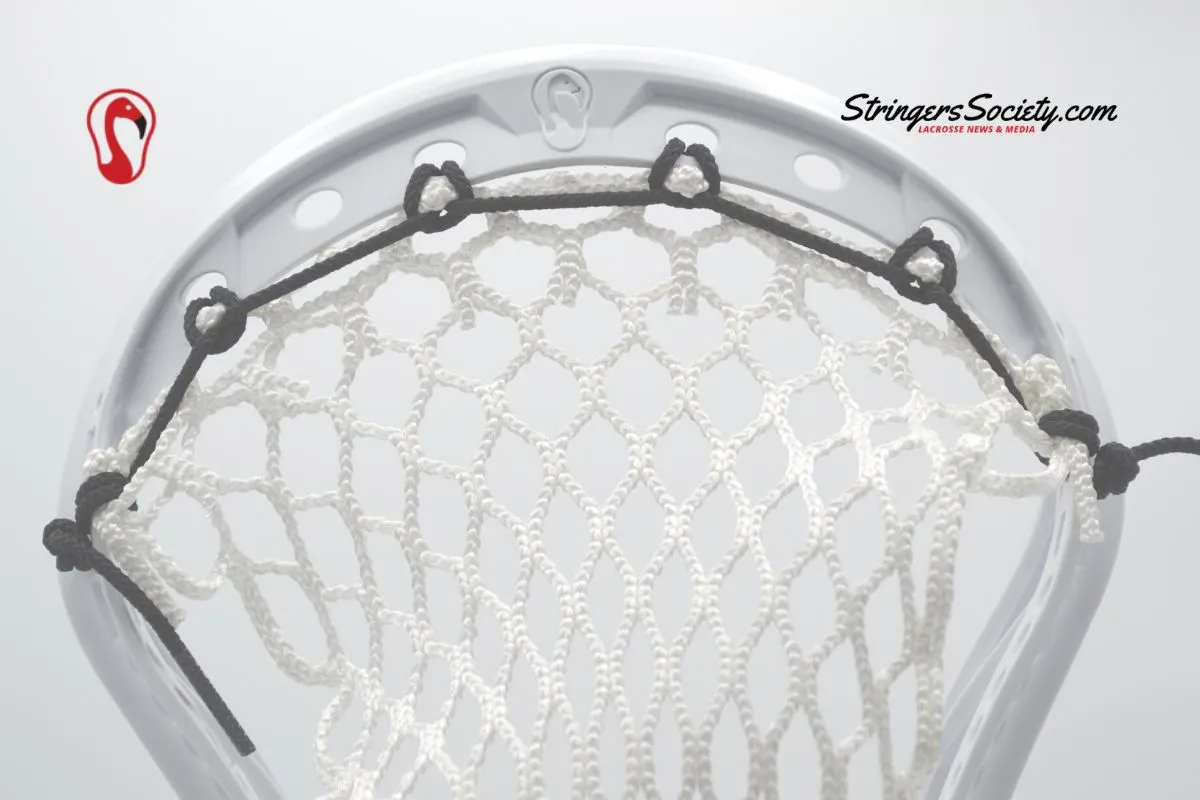
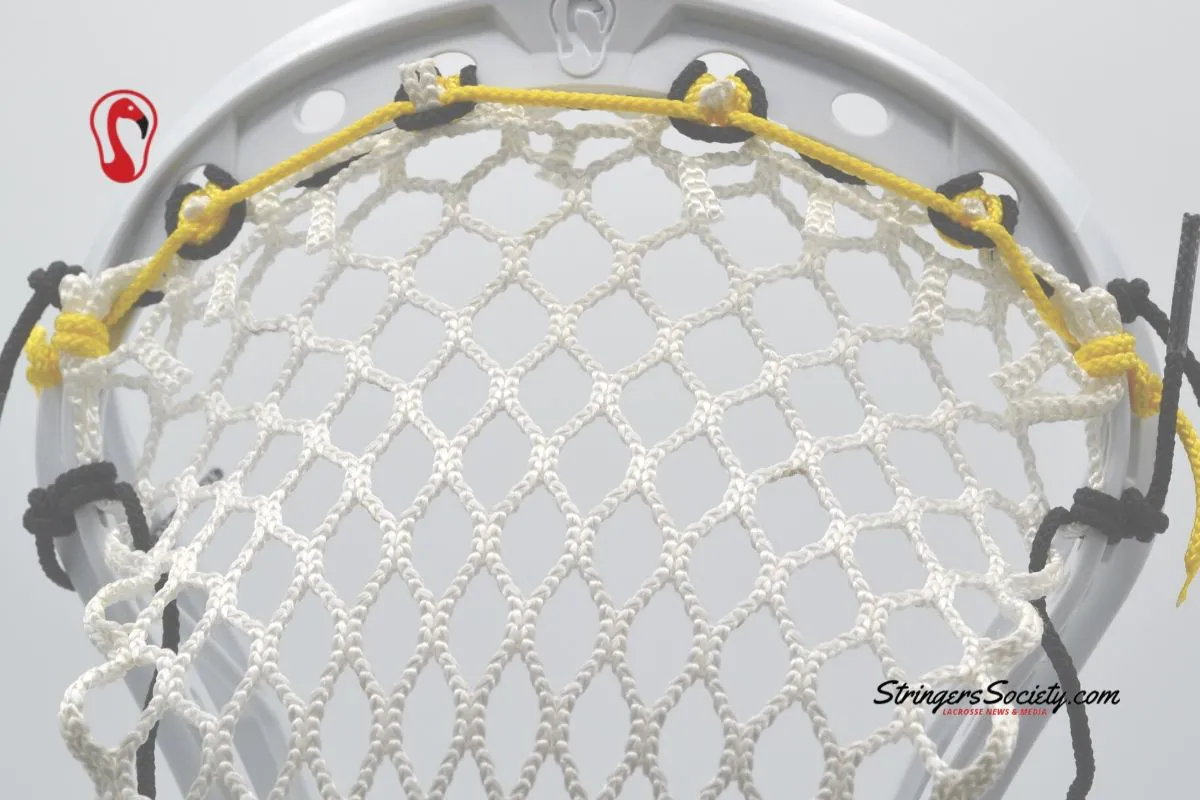
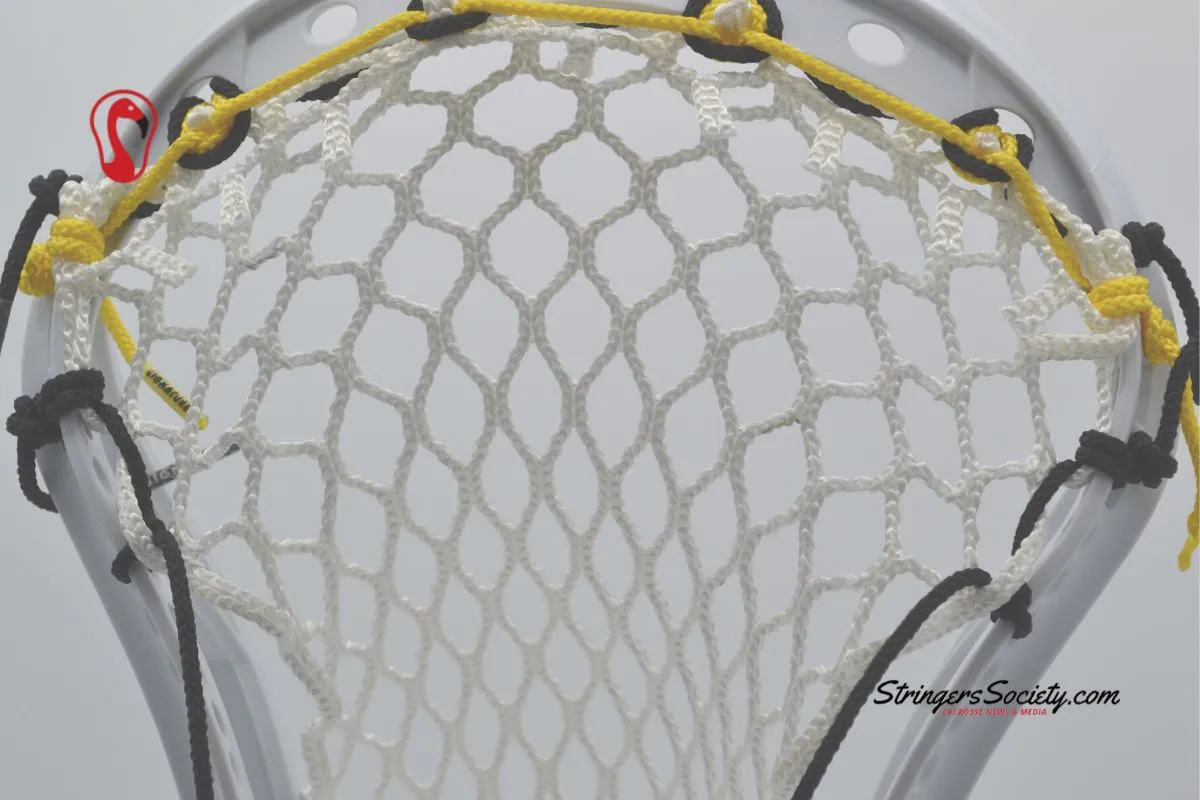
The top string on your lacrosse head is arguably the most important part of stringing your lacrosse stick. This is because the top string of your lacrosse head is the foundation of stringing a consistent lacrosse pocket. If your top string is loose, then your pocket will gradually become more inconsistent as the mesh breaks in. Loose top strings don’t provide structure for your pocket, and the ball will hit off the plastic lip of your lacrosse head if the top string isn’t tight.
If your top string is crooked, then your lacrosse pocket won’t be symmetrical and the ball will come out wrong.The top string provides the alignment of your channel, and you want a nice symmetrical top string to make an aligned channel.
Stringing a lacrosse head top string can be difficult for starters who have never attempted to string. Luckily for our readers, we made this process simple and easy to follow. The two lacrosse top strings we recommend for new stringers are the 9 Diamond Top String and the Hidden 9 Diamond Top String.
If you would like to explore other options, you can find all of our top string articles here: lacrosse top strings. So, pick a top string from below and follow the tutorial in a new window to start off your lacrosse stick. When you’re finished, move on to the next part of stringing a lacrosse head: lacrosse stick sidewalls.
-
9 Diamond Top String

The regular 9 Diamond Top String will be good for any players who are looking for a medium/low lacrosse pocket. This is a rather simple top string that always gets the job done.
-
Lacrosse Top String Styles

The 9 Diamond Hidden Top String allows the mesh to float at the top, widening the channel and allowing the ball to sit higher. Head to this lacrosse stringing tutorial to start off a high pocket or a lacrosse stick with a lot of control.
-
How To String A Lacrosse Head Sidewall

Prior to stringing your lacrosse head, make sure that you have visited our lacrosse stringing knot tutorials to familiarize yourself with the choices of knots you can use.
When stringing a lacrosse head sidewall, start off by preparing your nylon sidewall string by tying a double overhand lacrosse knot. Instead of having to pick a sidewall to begin with, we recommend trying to do them both at the same time. Stringing one knot on one side and then replicating it on the other side of the lacrosse head makes for a more consistent and symmetrical pocket. Advanced lacrosse stringers who already know what to expect from their stringing can do each side individually to save time.
Stringing both sides of your lacrosse head at once can also help you perfect your tensioning. The tension in your sidewall should be the same on each side and rather tight overall. If you notice you did one side different than the other, then you’ll have to correct it and undo that entire side. You’re more prone to making mistakes on one of the sidewalls when you string them separately and can’t make sure that you’re doing exactly the same thing.
-
Attach the Lacrosse Mesh to the Sidewall

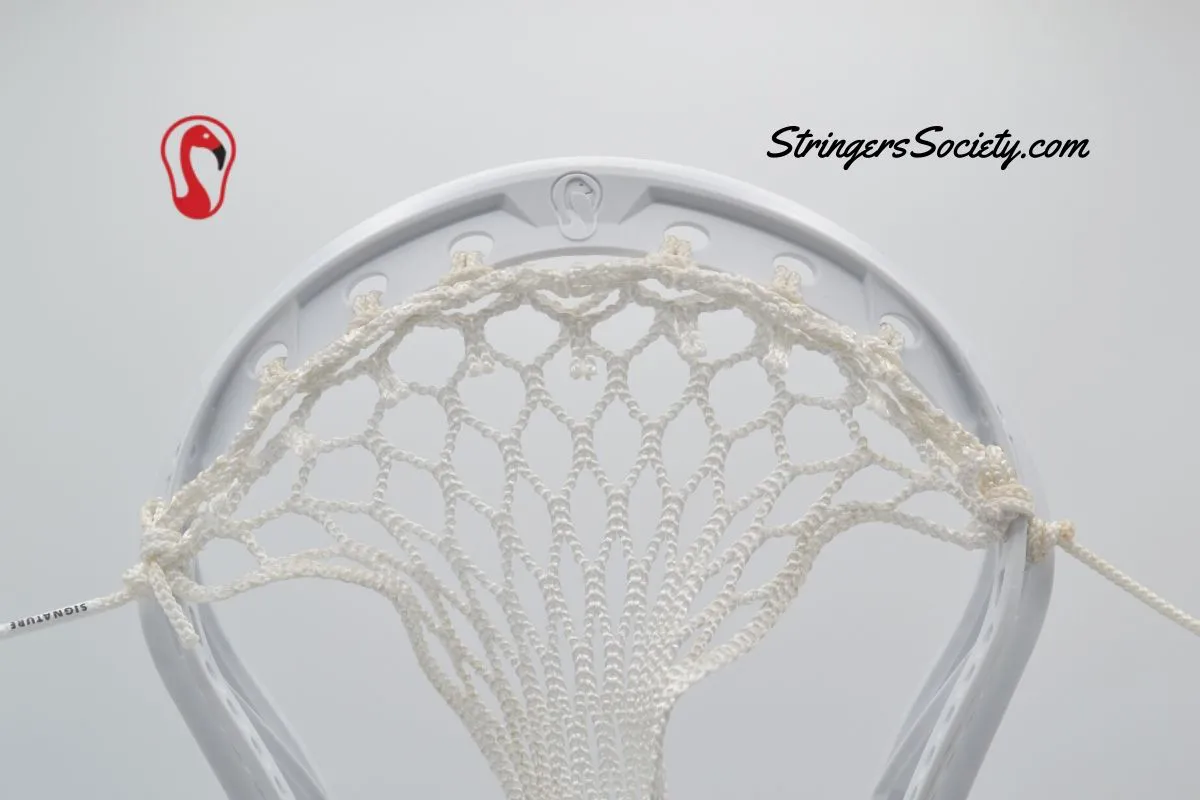
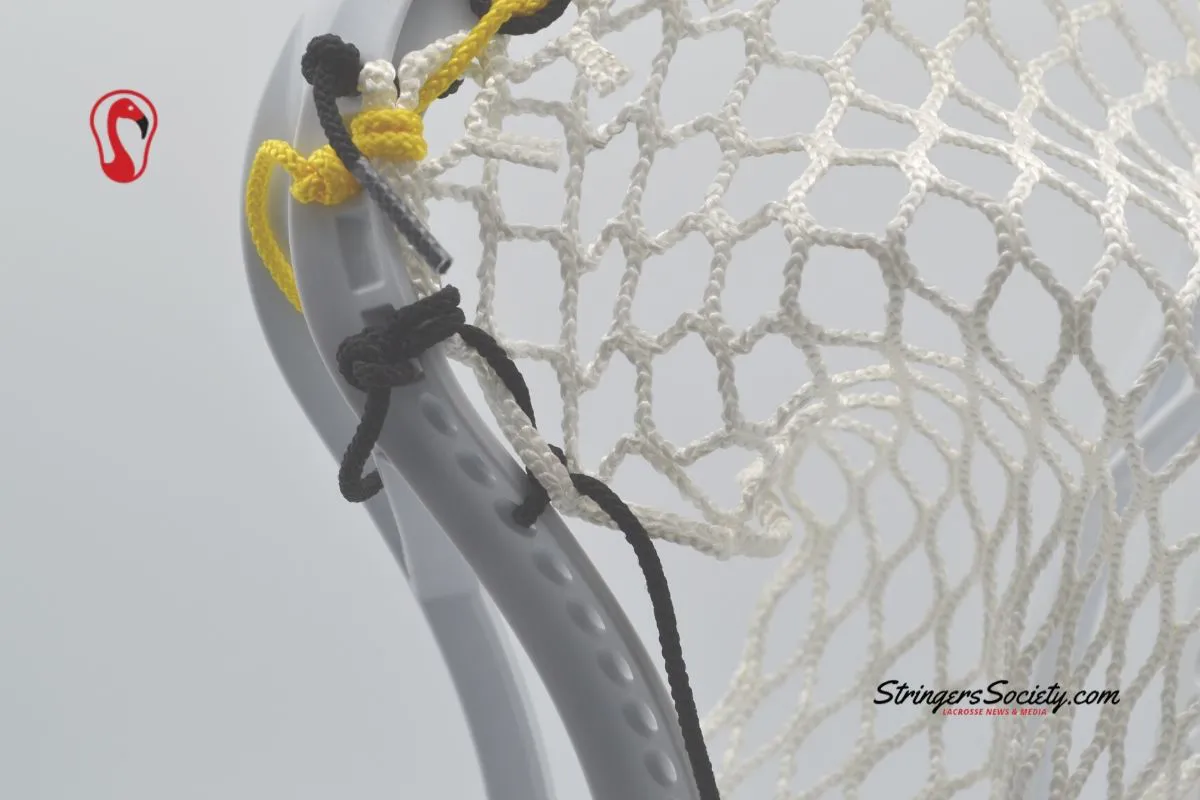
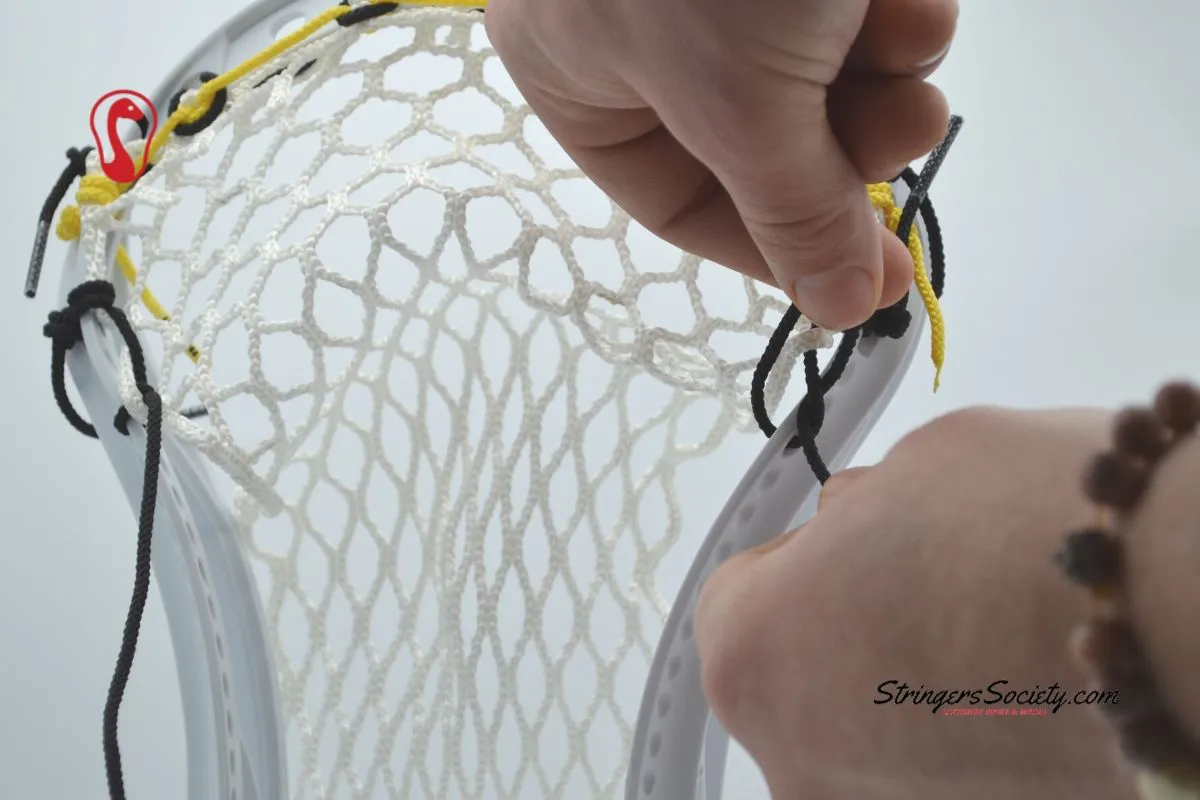
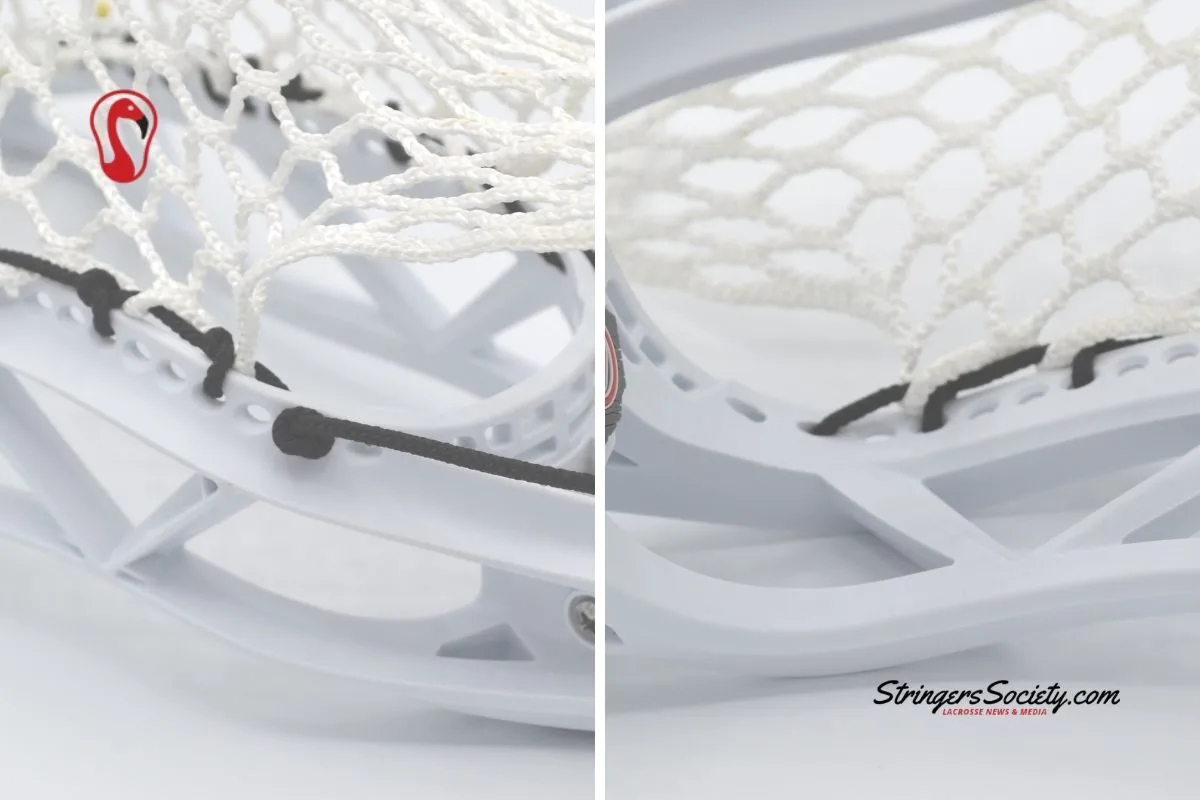
The size of the sidewall hole on the lacrosse head determines how many loops you can do. A really big sidewall hole needs a lot of loops so the knot doesn’t pass through and stays more secure. Two loops on a starting knot ensures that the knot won’t slip through the hole for most lacrosse heads. On this Signature Contract Lacrosse Head, there are two loops utilized and a double overhand knot to make sure the knot will never slip through the hole.
-
Tying Your First Lacrosse Sidewall Knot

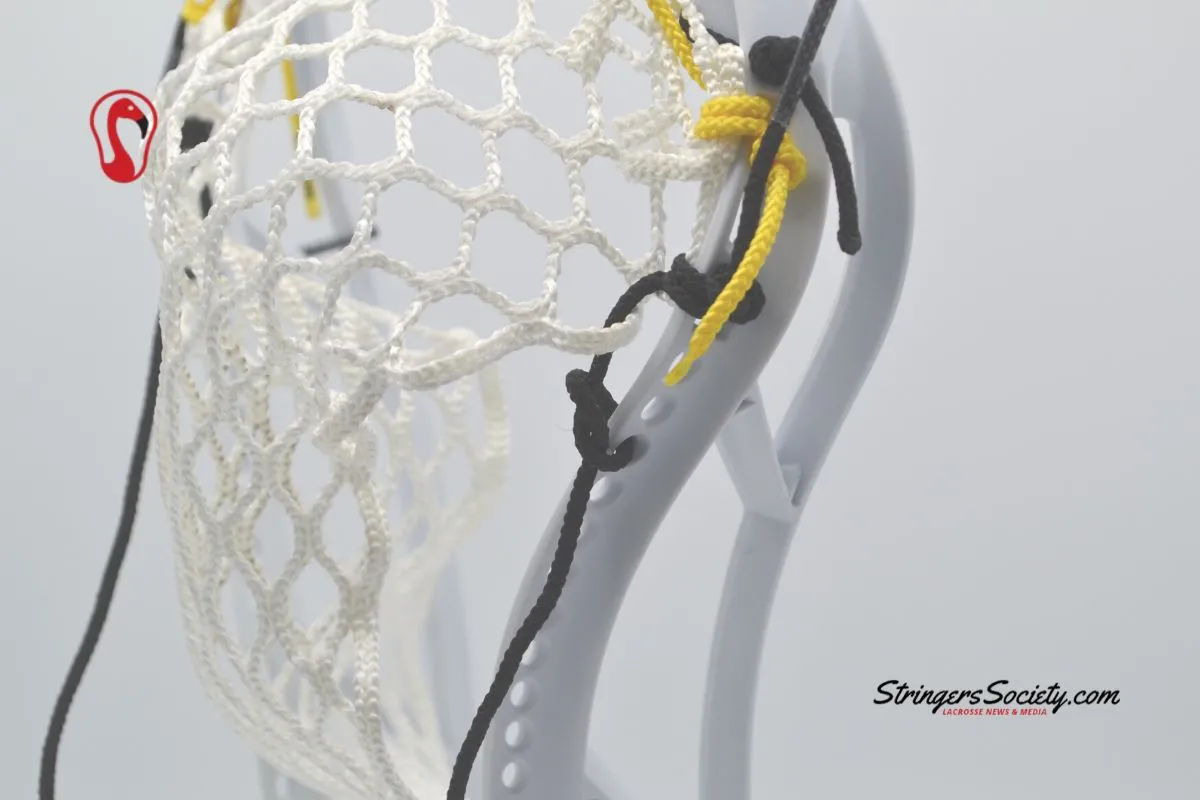
The Knotted Standard Interlock, which is commonly referred to as a KSI, pulls the lacrosse mesh down and locks it in place. This helps set the channel for your lacrosse pocket and ensure your pocket will last a long time.
-
First Sidewall Knot – 1

How to String a Knotted Standard Interlock Step 1
-
First Sidewall Knot – 2

How to String a Knotted Standard Interlock Step 2
-
First Sidewall Knot – 3

How to String a Knotted Standard Interlock Step 3
-
First Sidewall Knot – 4

How to String a Knotted Standard Interlock Step 4
-
First Sidewall Knot – 5

How to String a Knotted Standard Interlock Step 5
-
Checkpoint

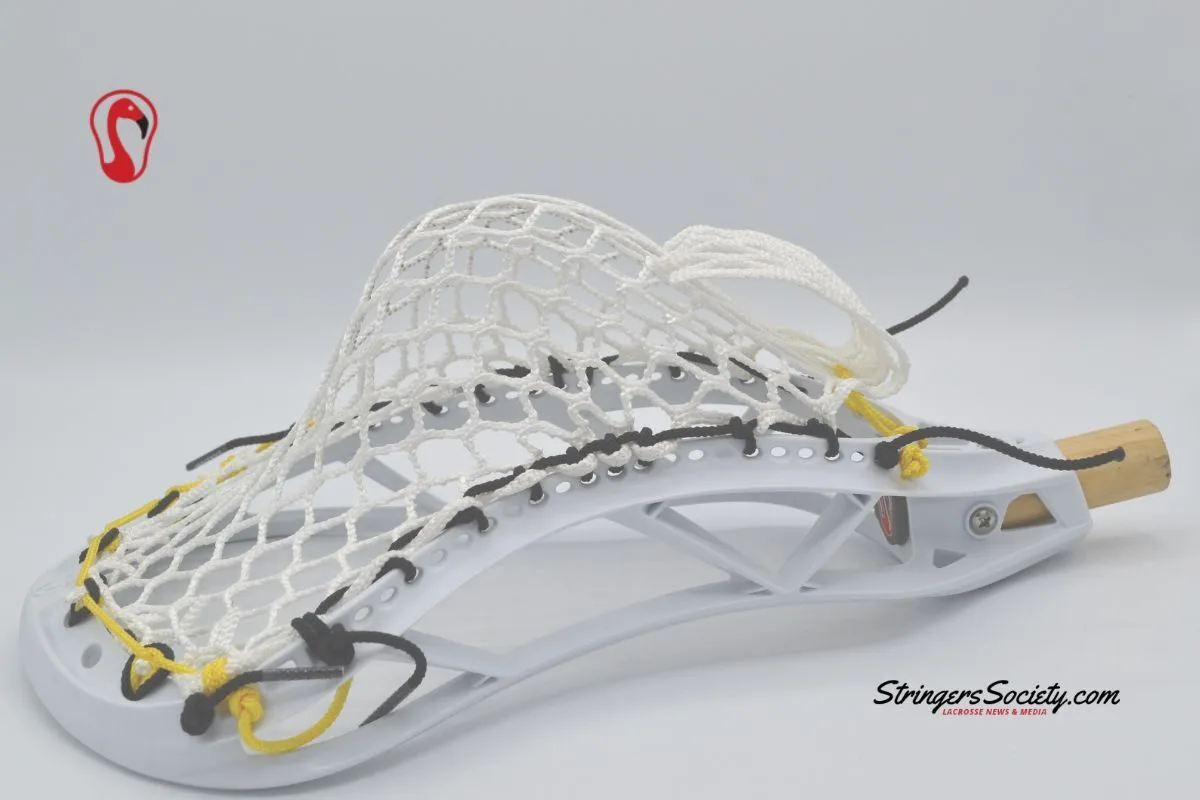
At this point in stringing your Signature Contract Lacrosse Head, you should have both sides of your lacrosse mesh fastened to your head and the first sidewall knot in place. See below for what your lacrosse head should look like.
-
Skip two holes and tie another Knotted Standard Interlock

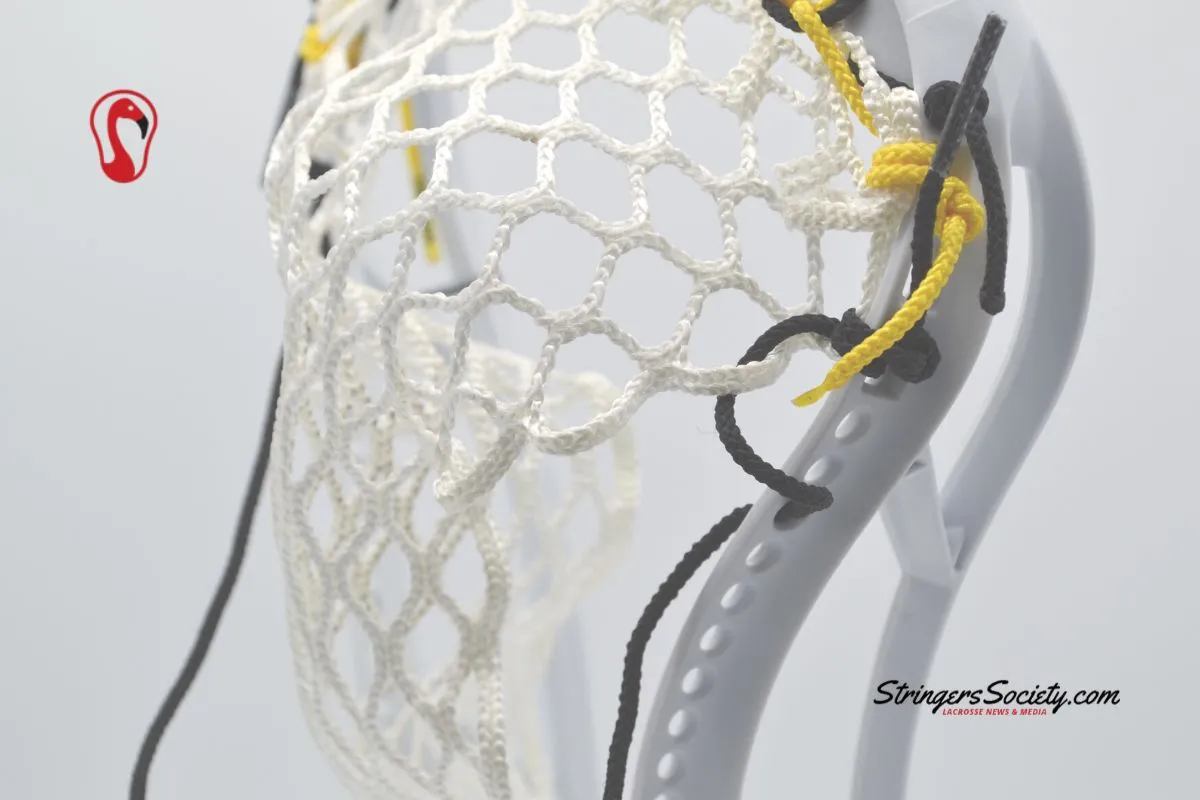
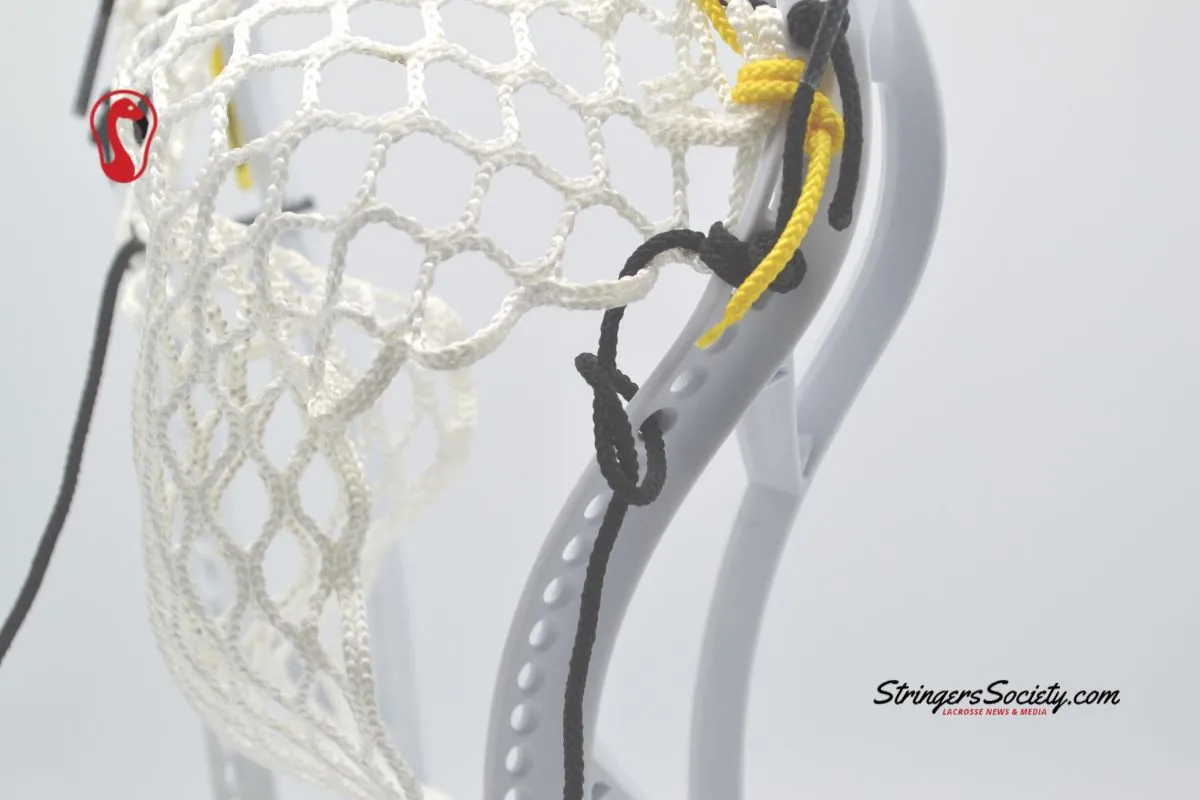
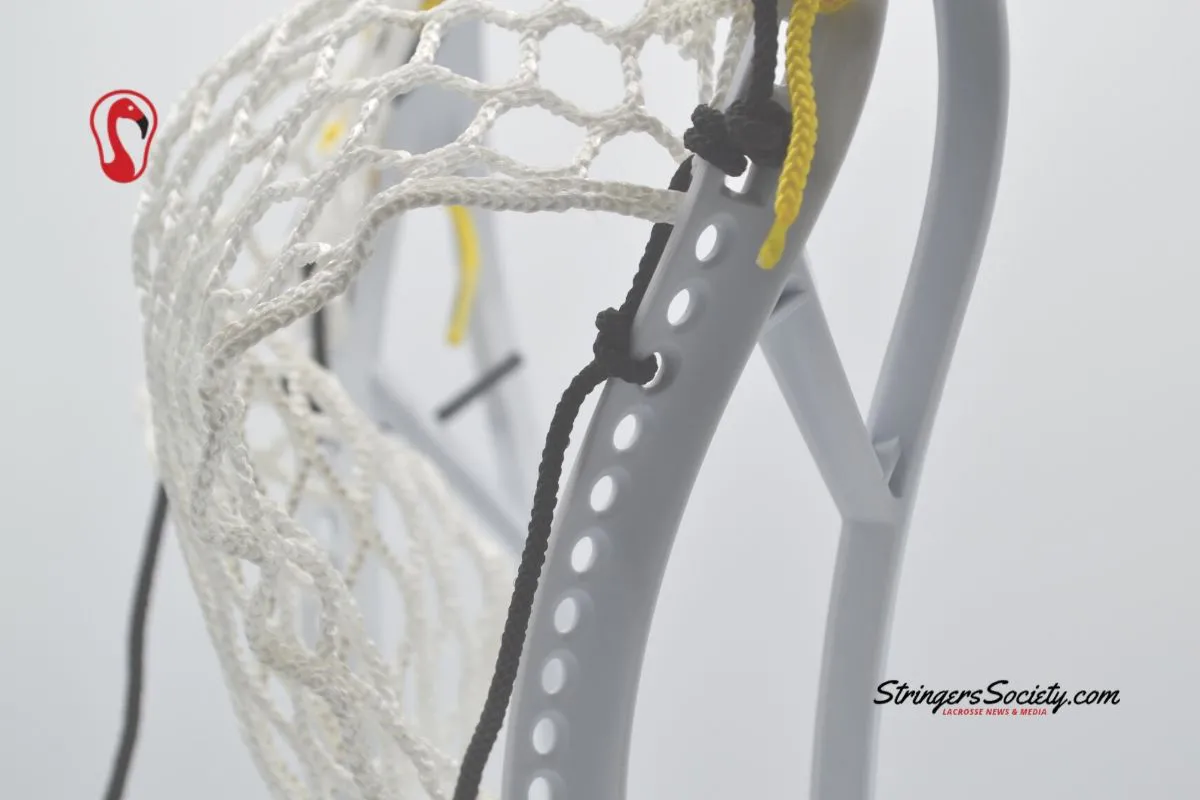
The purpose of skipping holes in the lacrosse sidewall is to pull the mesh down for a tighter channel. A channel is the path a lacrosse ball follows when being released from the lacrosse stick. A tight channel adds hold, delays the release, and add precision to your shooting or passing.
-
Planning Your Lacrosse Pocket

You’ll start to notice a bump forming with the pocket of the lacrosse mesh, and this is when you start planning your lacrosse pocket. Check to make sure both sidewalls are even and symmetrical so you don’t have to worry about redoing a side later on.
-
Anchoring the Lacrosse Mesh Down and Creating a Tighter Channel

To prevent too tight of a channel and to start the incline of the pocket, only skip one hole this time and tie a knotted standard interlock. Skipping less holes, or no hole, deepens the pocket. So your pattern should ideally have more skips before the pocket begins and less around where you’d like it to rest.
-
Check Both Sides and Make Sure They’re Tight

Always make sure you’re checking your progress and making sure both sides are equally tensioned. You want both sidewalls of your lacrosse head to be as close to being identical as possible.
-
Skip One hole and Tie a Knotted SI Again

At this point in stringing your lacrosse pocket, you should see your channel really start to form. You can use your hand, a ball, or a baseball bat to stretch the mesh even more and set the knots in place. This will really show you what you’re working with.
-
Tie Two Knotted SI’s Next to the Last KSI

At the midpoint in the Signature Contract Lacrosse Head, we have a nice channel and need to set the pocket into place. For this particular mid lacrosse pocket, we are going to place three KSI’s together. This will create a snug feel where the ball will rest when cradling.
-
Finishing the Sidewall

Skip Three Holes and Tie A Single Knot
-
Finishing the Sidewall Continued

Go Through the Back of the Mesh, Skip Two Holes and Tie A Knot
-
Finish the Sidewall of Your Lacrosse Head

Once again, take your string through the back of your lacrosse mesh once you reach this step. Then take your lacrosse string through the inside of the lacrosse head and tie it off. This is how to fully complete your sidewall.
-
How To String A Lacrosse Stick Bottom String

Don’t forget, if you’re using StringKing Performance Mesh or Otter Mesh by Epoch Lacrosse, then you’ll have to use a shooting string as your bottom string. If you don’t, then you can ruin your mesh and you’ll have to replace your lacrosse mesh. Sidewall creates too much friction on those meshes and will rip through.
The bottom string on a lacrosse head can be used to quickly adjust your pocket on the fly. If your stick bags out before a game or is throwing low, then most likely you will want to tighten it up. On the other hand, if your pocket is throwing high or shrunk up due to the heat then you might want to loosen it. While the bottom string is small, it can play a major role in your lacrosse stick’s performance.
-
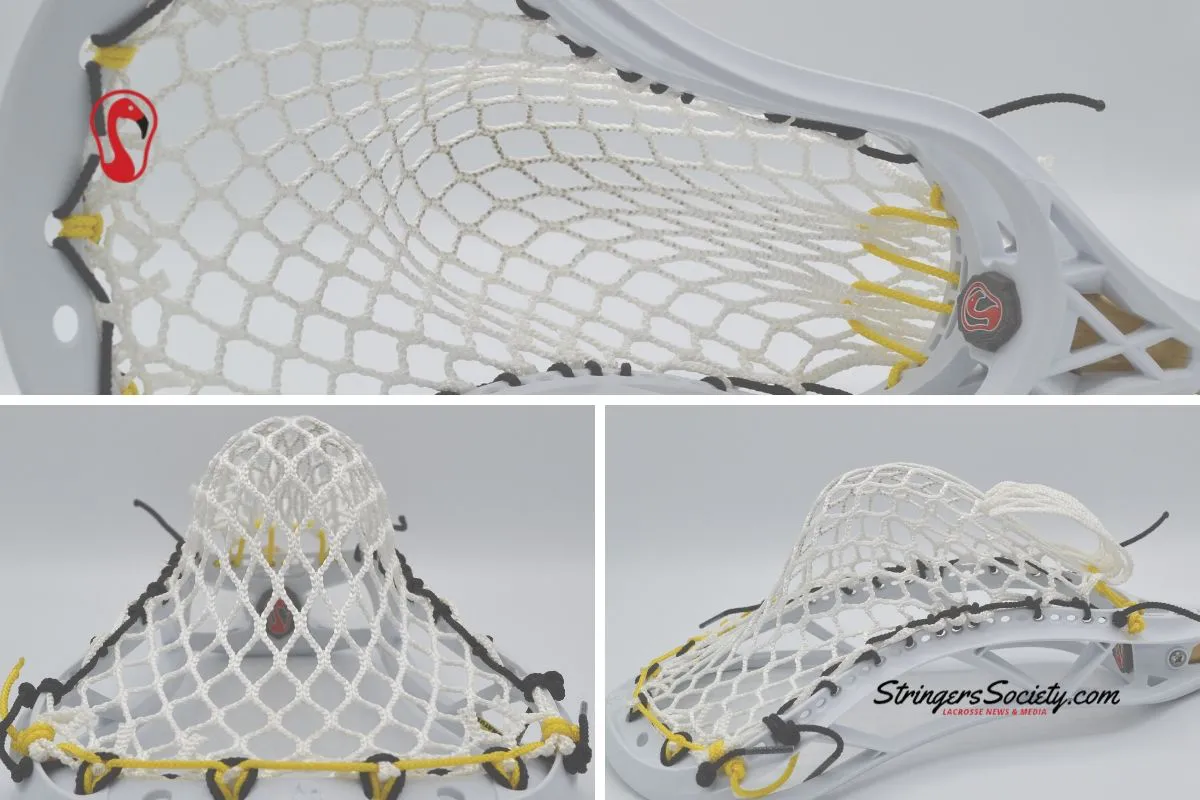
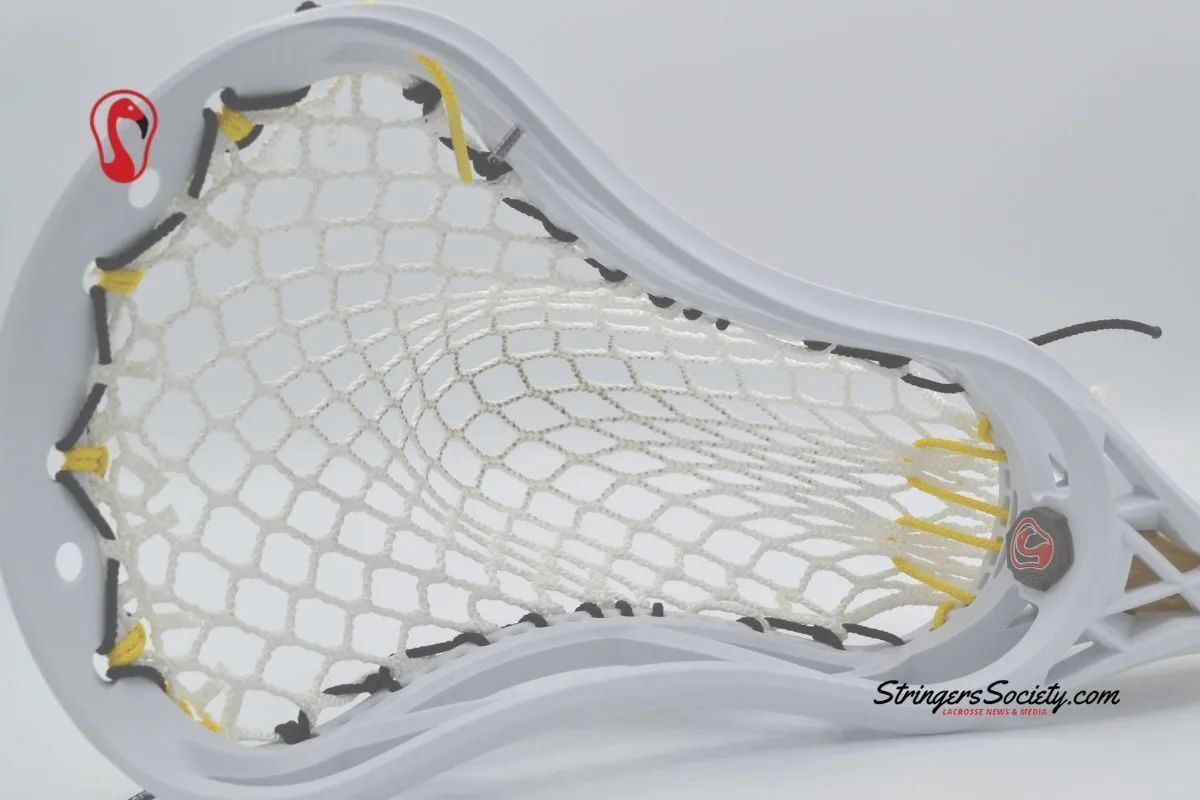
Final Pocket View

Thats it!
Supply:
- Lacrosse Mesh
- Lacrosse Sidewall Kit
Materials: Lacrosse Head
Read Next
- Lacrosse Shooting Strings
- How to String a Low Lacrosse Pocket
- How to String a High Lacrosse Pocket
- Lacrosse Stringing Patterns
Elevate Your Pocket Performance
Find the perfect stringing supplies at Stringer’s Lacrosse Shop to customize your stick for maximum control & power.


