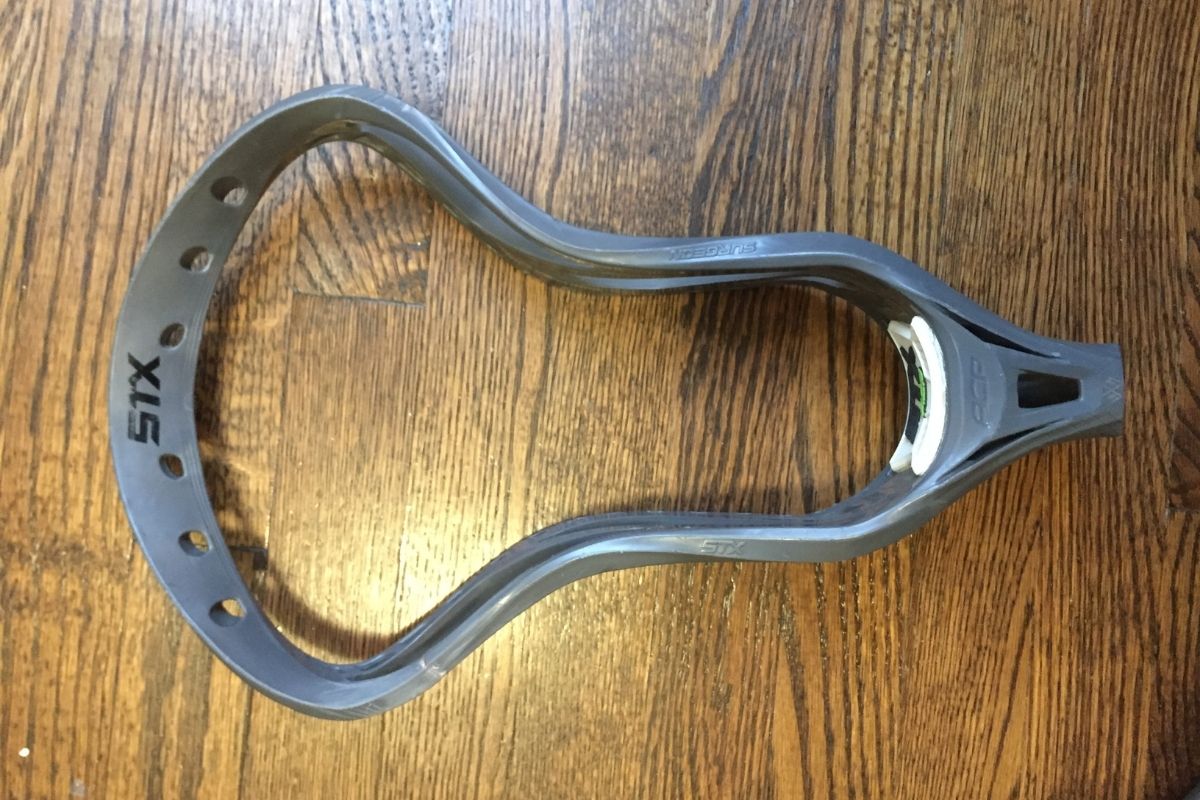
An awesome lacrosse enthusiast, Roly Wood, used their lacrosse ingenuity to find a way to save lacrosse heads from the landfill. Instead of tossing that broken lacrosse head from last season, you may be able to save it. Unfortunately, you won’t be able to use a repaired lacrosse head in a game because it’s illegal and super dangerous; but it makes for a great way to save that favorite head of yours.
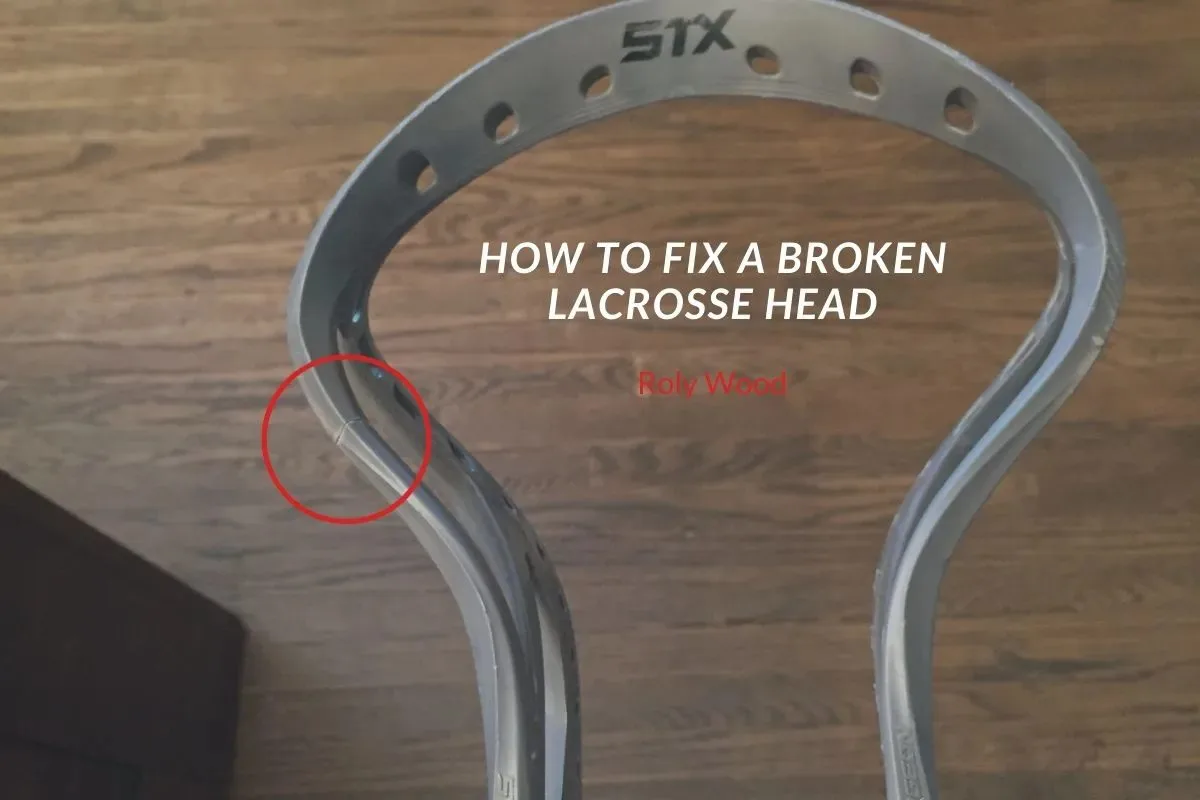
You can still use a broken lacrosse head that you fixed for wall ball, stringing practice, or a great display for your office after just 25 minutes of work.
Total Time: 25 minutes
-
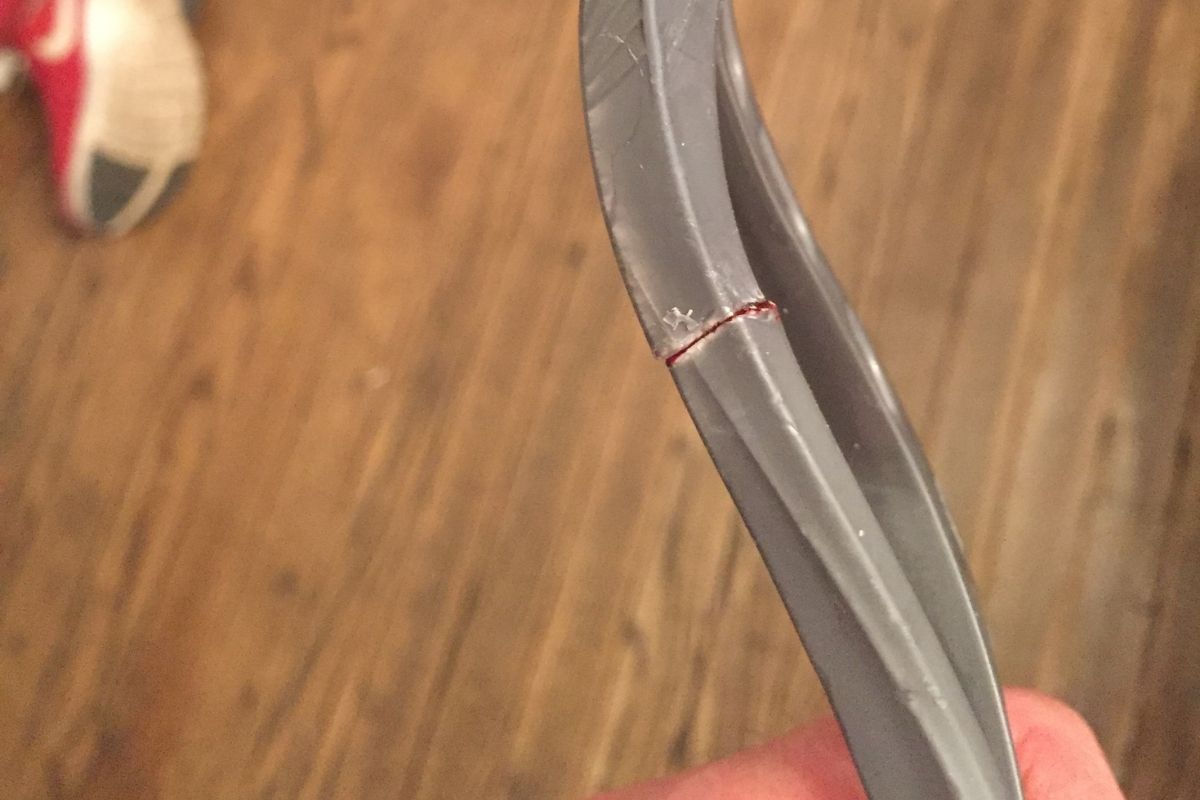
Evaluate the Crack

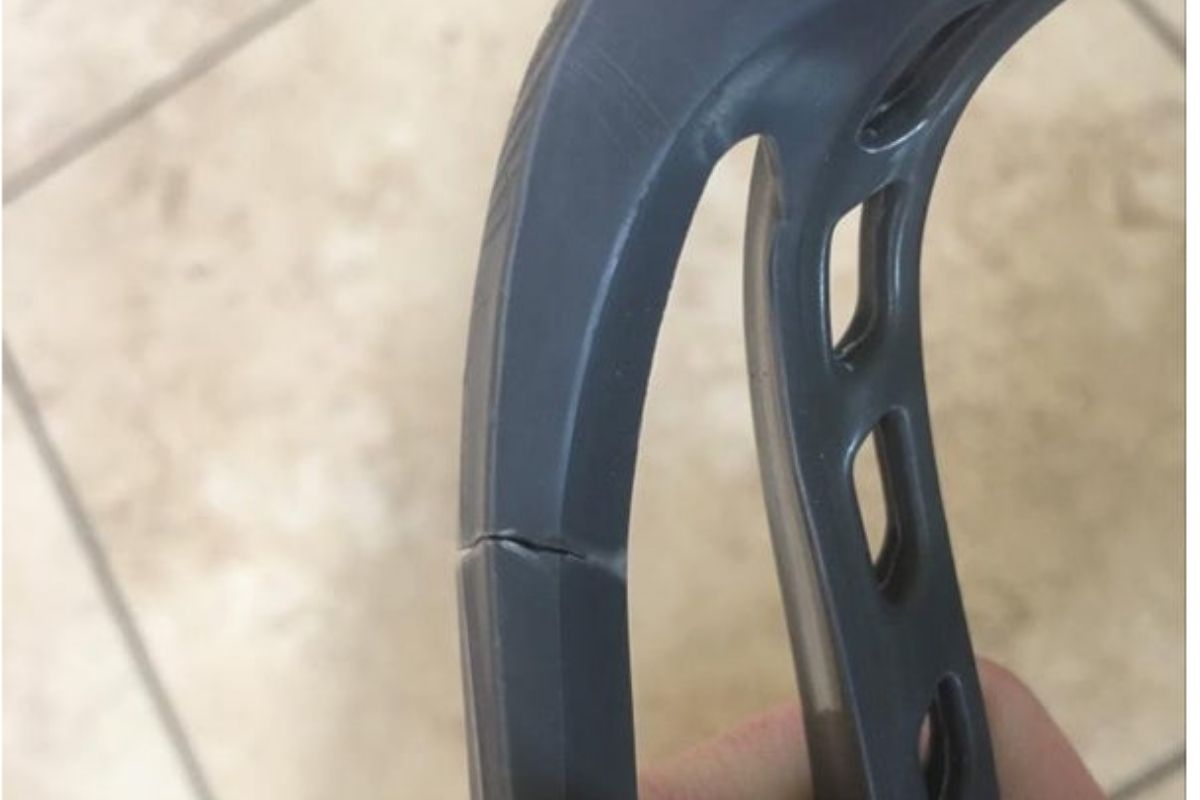
A close up of the crack from the picture posted on SidelineSwap. This break in the lacrosse head is in a good location and well suited for a repair. Cracks at certain locations, like the middle of the scoop, won’t be good candidates for this style of repair.
-
Drill A Hole and Ink the Surface

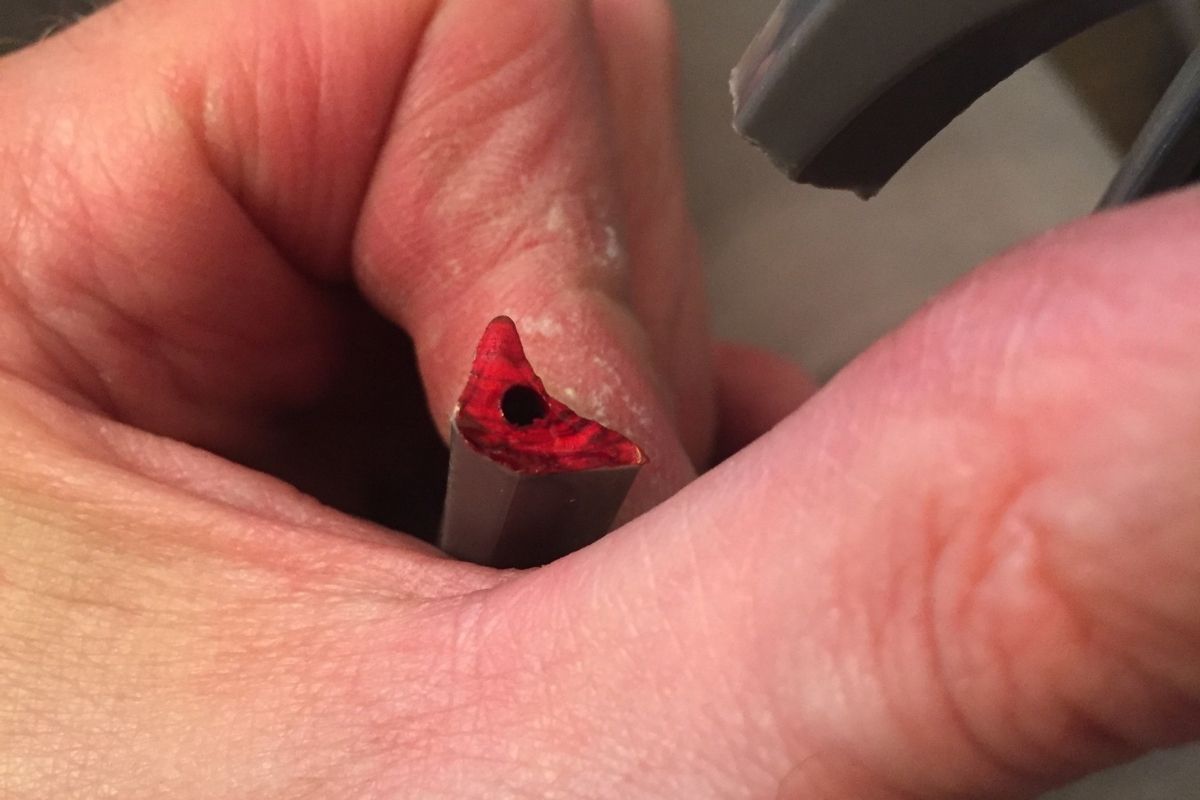
Drill a hole into the middle of the surface of the cracked sidewall strut. With a marker, put a liberal amount of ink on the surface without filling the hole with ink.
-
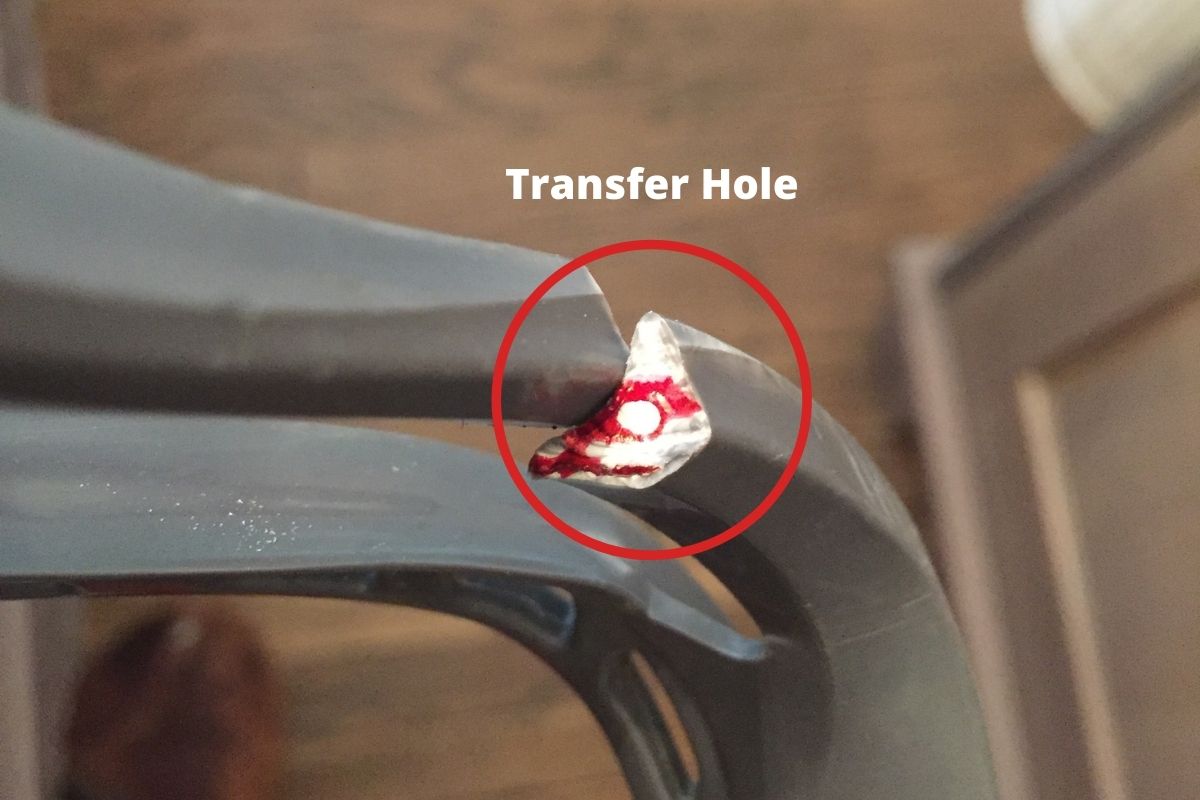
Transfer Hole

Line up and press together the pieces of the strut to transfer ink onto the opposite side of the strut. The ink will leave behind a white circle directly opposite of where the hole was drilled on the other side. Now you’ll want to drill a hole into the circle. A good idea for after drilling both holes is to do a “test fit” with a match stick, tooth pick, or other small thing peg you can use to see how well the holes align.
-
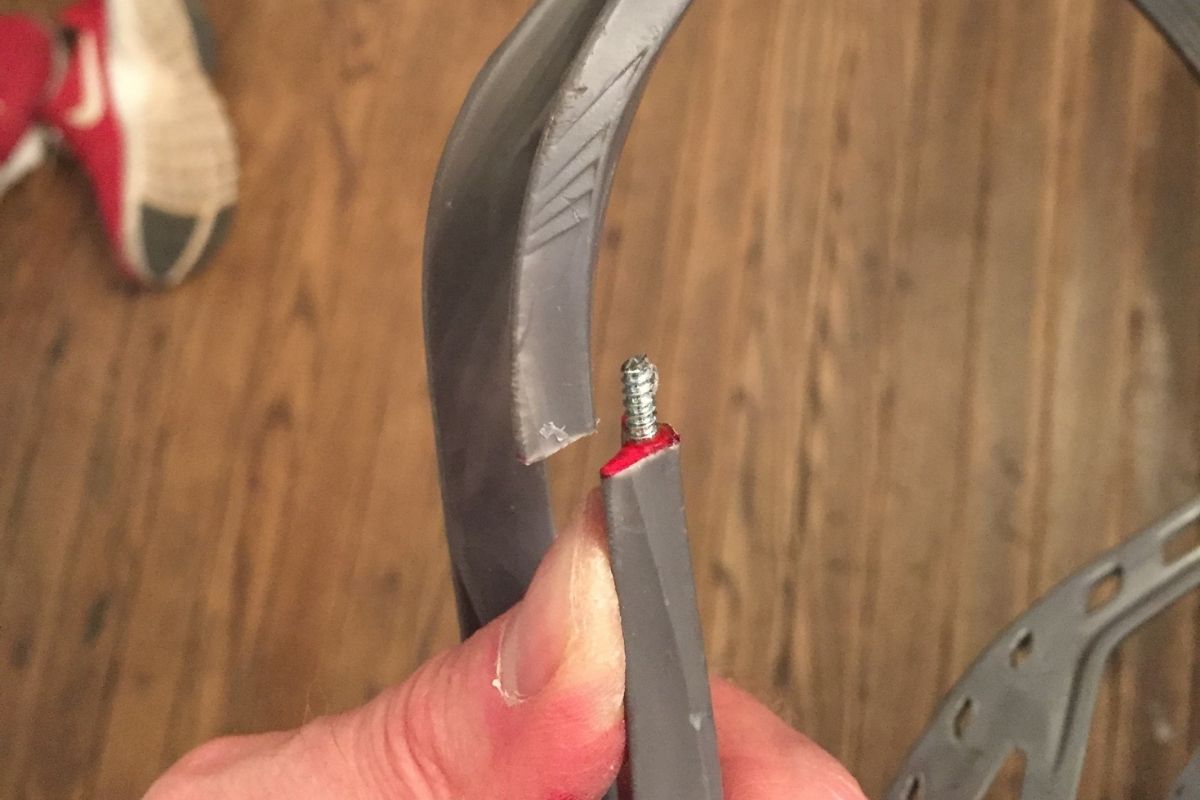
Prepare the Screw

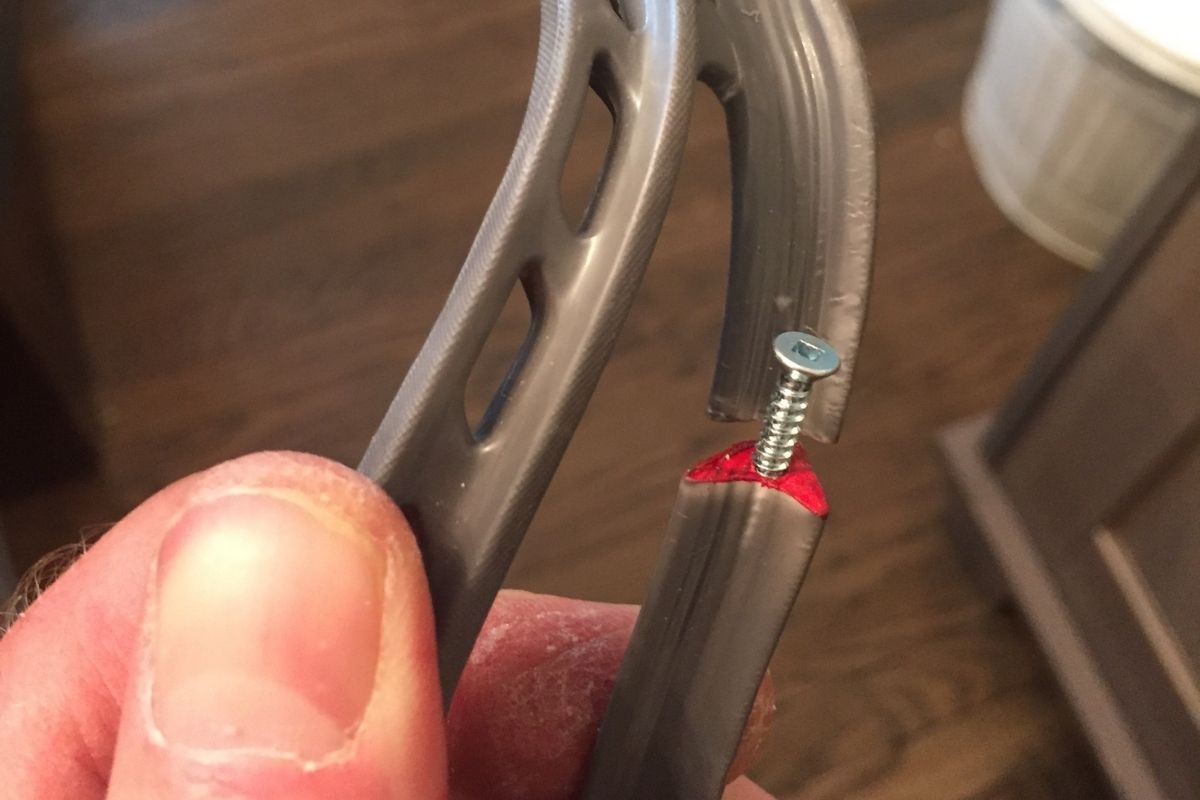
Take a #4, 3/4 inch wood screw and carefully screw it into the inked hole of the sidewall strut without extending too far.
-
Remove the Screw Head

With bolt cutters, or a hack saw, carefully remove the head of the screw. Protective eyewear and patience are both recommended. See if the screw properly aligns with the two holes and allows for an easy connection. Enlarge the hole if necessary without making it too large. Once the screw fits well and lines up correctly, put some crazy glue into the transfer hole as well as on both surfaces of the crack to create the bond.
-
Fit the Struts Together & Evaluate

Line up the edges of the strut to correct the structure of the head and fit the screw into the transfer hole. The two sides need to be held together long enough for the glue to dry, so using a clamp or vice can be helpful if you aren’t willing to hold them together with your hands.
-
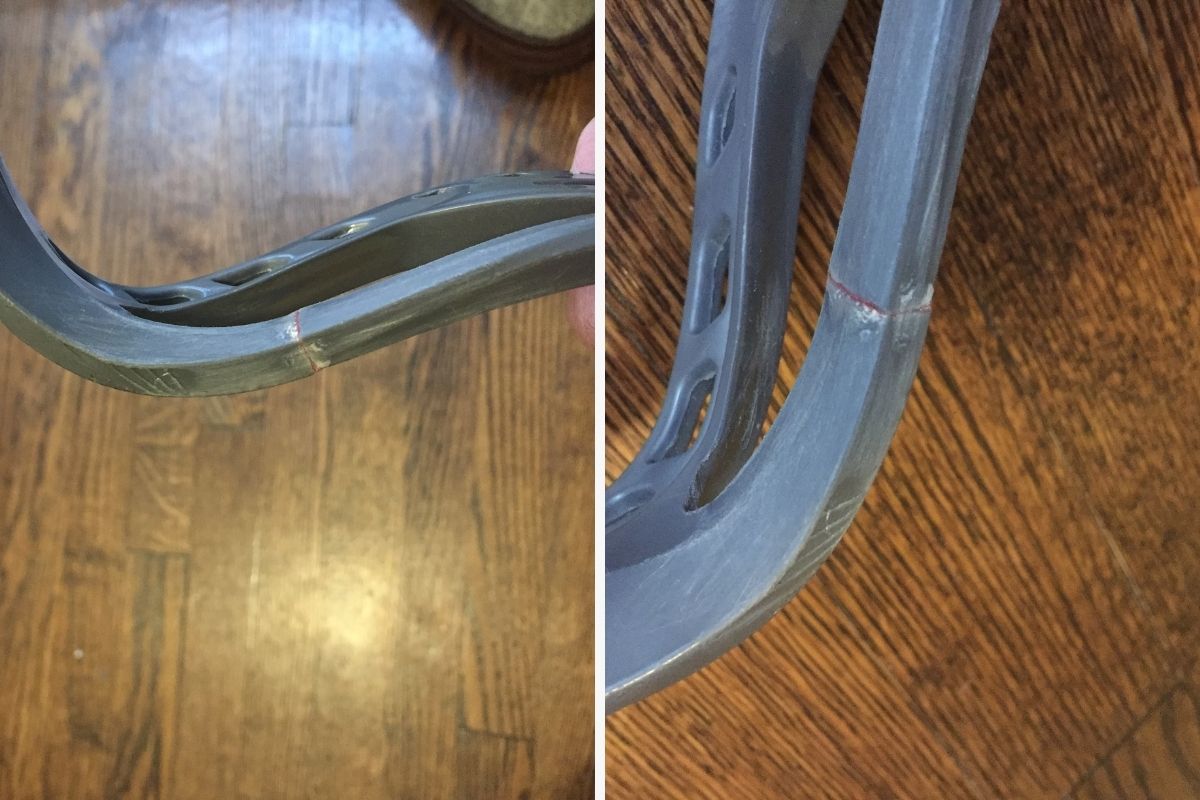
Sand Away Imperfections

Once the glue dries, any excess that seeps out from the connection can be sanded away. Sprinkling a light amount of baking soda onto the glue as it dries can help strengthen the bond too. The baking soda will react with the Krazy glue and harden to a consistency similar to plastic that helps fill any gaps. This baking soda and glue mixture also sands down much better.
-
Admire Your Fixed Lacrosse Head

Admire your end result. The head will be illegal for use in games or practice, but for wall ball, or experimenting with stringing patterns, it certainly does the job. The Japanese art of kintsugi (golden repair) or kintsukuroi (golden joinery) is a pottery repair method that honors the artifact’s unique history by emphasizing, not hiding, the break. An art form born from mottainai — the feeling of regret when something is wasted. I don’t mind seeing the repair made in broken lacrosse heads either.


